Epoxy Flooring for Beginners: The Honest Guide Before You DIY Your Garage Floor
Resin Affairs is reader-supported. If you buy through links on this page, we may earn a small commission at no extra cost to you. We only link to gear we would use ourselves — prices and availability change, so check the current listing. Always follow your resin product’s label and Safety Data Sheet.
As an Amazon Associate I earn from qualifying purchases.
Introduction
If you’ve gotten comfortable mixing small batches of epoxy for coasters or a serving tray, it’s a natural next thought: could I use this stuff on my garage floor?
Epoxy flooring shows up everywhere — from Pinterest garage makeovers to glossy showroom floors — and it’s tempting to assume your skills transfer directly. They partly do. But flooring is a different animal from tabletop crafting, and it’s worth understanding the differences before you buy a kit sized for hundreds of square feet.
In this guide, you’ll learn:
- What epoxy flooring actually is and how it differs from the resin you already work with
- The three main types of epoxy floor coating and which is right for you
- An honest look at the difficulty — what makes flooring harder than tabletop work
- Where these floors get used, at home and commercially
- A step-by-step overview of a real installation
- How to care for and maintain a floor for years to come
- Straight answers to common beginner questions
The short version: you can DIY this — plenty of hobbyists do. You just need to treat it as its own project with its own learning curve, not a bigger version of what you already know.
⚠️ Quick safety note: Floor-sized pours mean far more product, more heat, and more fumes than anything you’ve made at a table. Read our Resin PPE for Beginners and Resin Safety Hub guides before you even consider a floor.
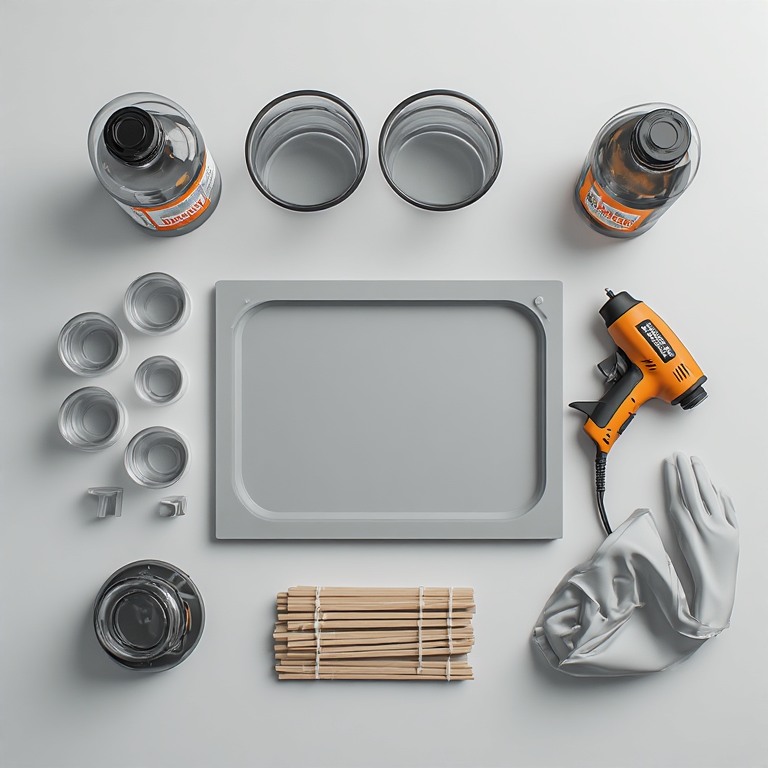
👉 First time scaling up to a floor? A good starter kit removes a lot of guesswork from a project this size. Here’s the gear we’d start with.
Recommended Gear for a Beginner Floor Project
We only link to tools we’d use ourselves. Prices change, so check the current listing — and always follow your product’s own label and Safety Data Sheet before you pour.
1. A beginner-friendly epoxy floor kit (the floor itself)
Start with a product sized for a single-car garage so you’re not mixing far more than you need. Rust-Oleum RockSolid 2.5-Car Garage Floor Kit is the recognizable, low-risk choice for a first pour.
2. Spiked roller + notched squeegee (spreading & de-bubbling)
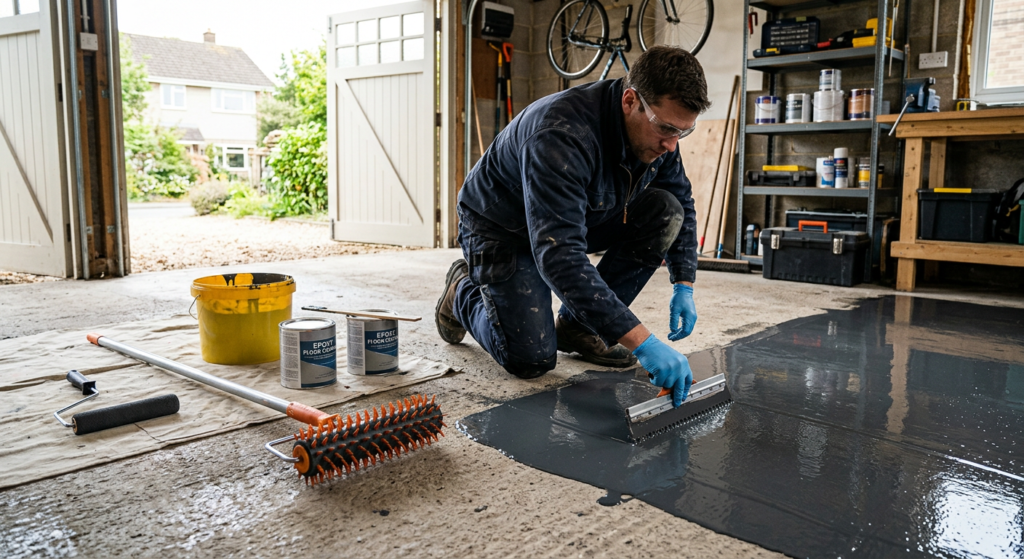
This is the set that makes section work manageable. DUPOL Professional Epoxy Floor Tool Kit bundles a spiked roller, notched squeegee, and spike shoes — exactly the tools described in the installation steps below. A more affordable option is the Self-Leveling Tools Kit.
3. Just the basics (cheapest way to start)
Only want to try a small area? A 9-inch spiked roller is a low-cost entry point if you already own a decent squeegee.
📌 Our pick for most beginners: the DUPOL tool kit plus a single-car epoxy kit. That combination covers spreading, de-bubbling, and walking on the wet coat without extra purchases.
What Is Epoxy Flooring?
Epoxy flooring is a resin-and-hardener coating system applied over concrete (or another substrate) in one or more layers. Once cured, it forms a hard, seamless plastic surface that’s dramatically more durable and chemical-resistant than paint or a bare concrete slab.
Because it’s poured and self-levels — at least partially — it fills in minor surface texture and leaves a smooth, glossy, easy-to-clean finish. There are no seams for dirt or moisture to collect in.
Chemically, it’s the same basic idea as the resin you already know: resin plus hardener triggers a curing reaction. It’s just formulated and applied at a completely different scale, and built to withstand foot traffic, oil, and heavy weight — not just look pretty on a shelf.
💡 Key takeaway: Same chemistry, different world. Your mixing instincts carry over; your expectations and setup shouldn’t.
The Three Main Types of Epoxy Flooring
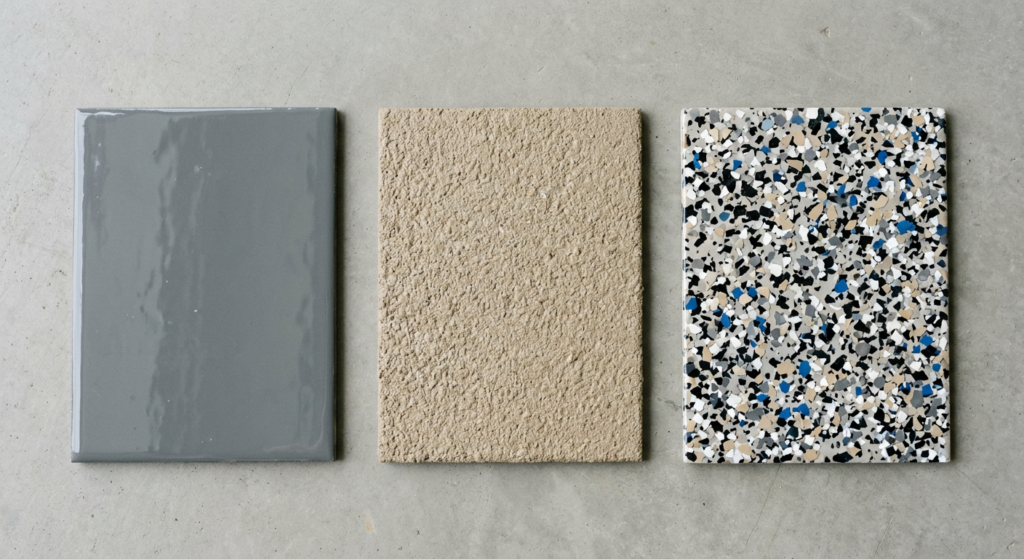
- Self-leveling epoxy — poured and allowed to spread into a smooth, even film. This is the most common residential and commercial floor coating, and the one most first-timers will use.
- Epoxy mortar — a heavily filled, extremely tough formulation used where floors take real abuse: workshops, industrial floors, loading areas.
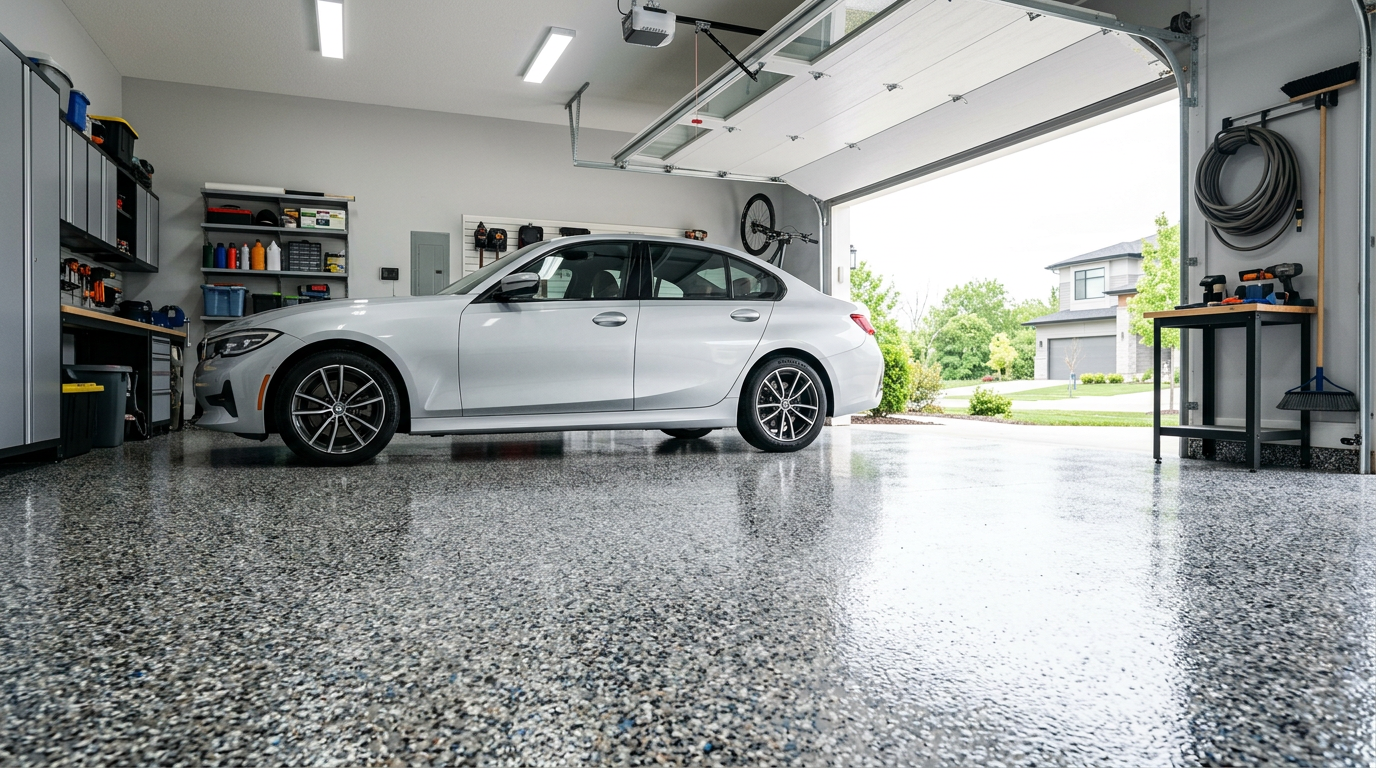
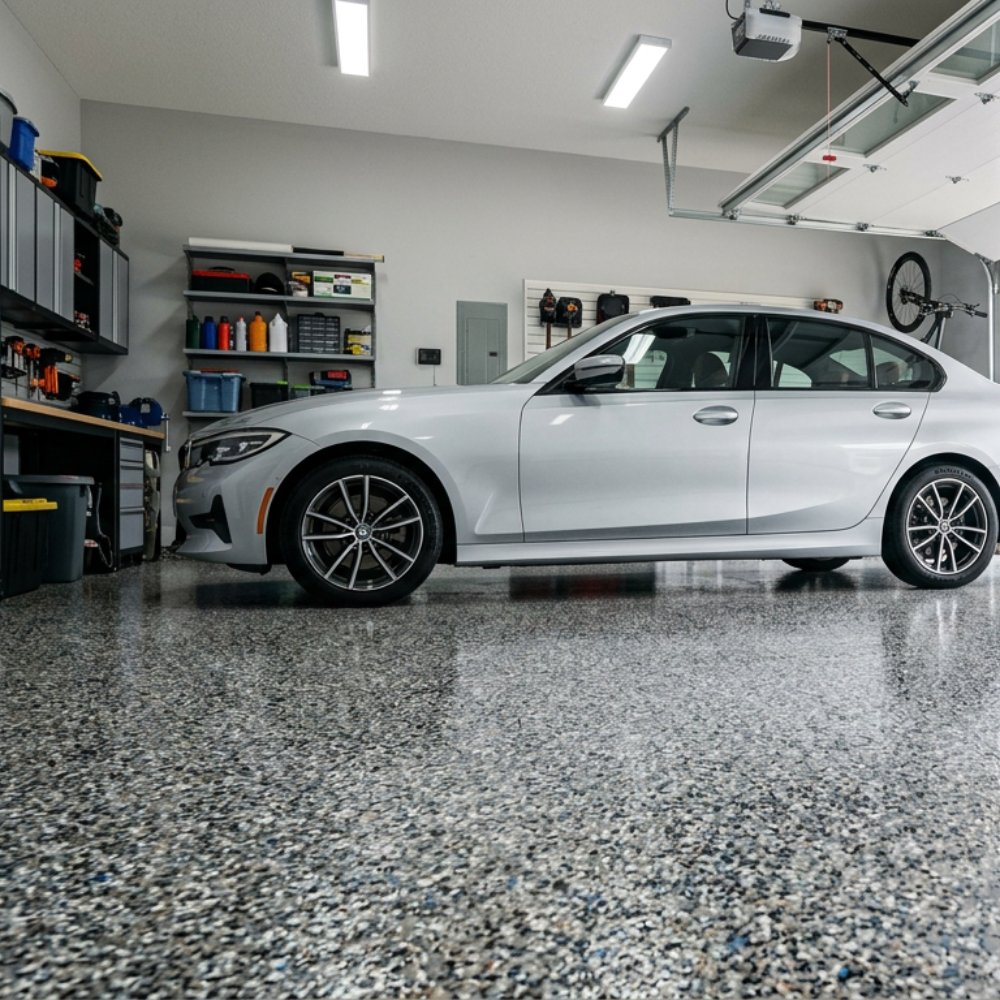
- Flake or terrazzo-style epoxy — a base coat with colored flakes or aggregate broadcast into it, then sealed with a clear topcoat. This is the look behind most of the speckled garage floors you’ve seen online.
Is This a Beginner-Friendly Project?
Honestly — it’s a bigger jump than most people expect. A few things make flooring meaningfully harder than the tabletop projects you’ve likely already done:
- Scale changes the chemistry. Mixing a pint of resin for a coaster and mixing several gallons for a floor behave differently. Larger batches generate more heat as they cure (exotherm), which can shorten your working time and increase fumes.
- Surface prep is unforgiving. Concrete has to be properly cleaned, degreased, and often etched or ground so the epoxy actually bonds. Skip this step and the coating can peel in sheets months later.
- Ventilation and PPE requirements go up, not down. You’re working with far more product, in a larger but often less-ventilated space — garages and basements especially — for a longer continuous session. See our Resin PPE for Beginners and Resin Safety Hub guides before you even think about a floor-sized pour, and plan for cross-ventilation, not just a cracked window.
- There’s no redo. If a coaster goes wrong, you remake a coaster. If a floor goes wrong, you’re grinding up a few hundred square feet of cured epoxy.
None of this means don’t do it — plenty of hobbyists successfully DIY a garage floor. It just means treat it as a distinct project, not a bigger version of what you already know. If you’re still building comfort with basic mixing and curing, it’s worth doing a few more small projects first — start with our Beginner Resin Guides hub if you haven’t already.
✅ Beginner reality check: If you’re not yet 100% confident in measuring ratios, estimating working time, and staying safe on a small pour, master that first. Flooring amplifies every mistake you make.
Where Epoxy Flooring Gets Used
At home:
- Garages — resists oil and tire marks
- Basements — a moisture-resistant, finished look
- Kitchens and mudrooms — hygienic, easy to wipe down
Commercial and industrial:
- Retail floors
- Restaurant kitchens
- Warehouses
- Labs
These spaces all use epoxy for the same core reasons: it shrugs off heavy traffic, resists chemicals and spills, and is genuinely easy to keep clean.
A Realistic Overview of the Installation Process
- Assess and clean the substrate. Strip old coatings, degrease, and remove dust completely — any contamination left behind telegraphs through the finished floor or causes adhesion failure.
- Repair damage. Fill cracks and holes with an appropriate patching compound and let it cure fully before continuing.
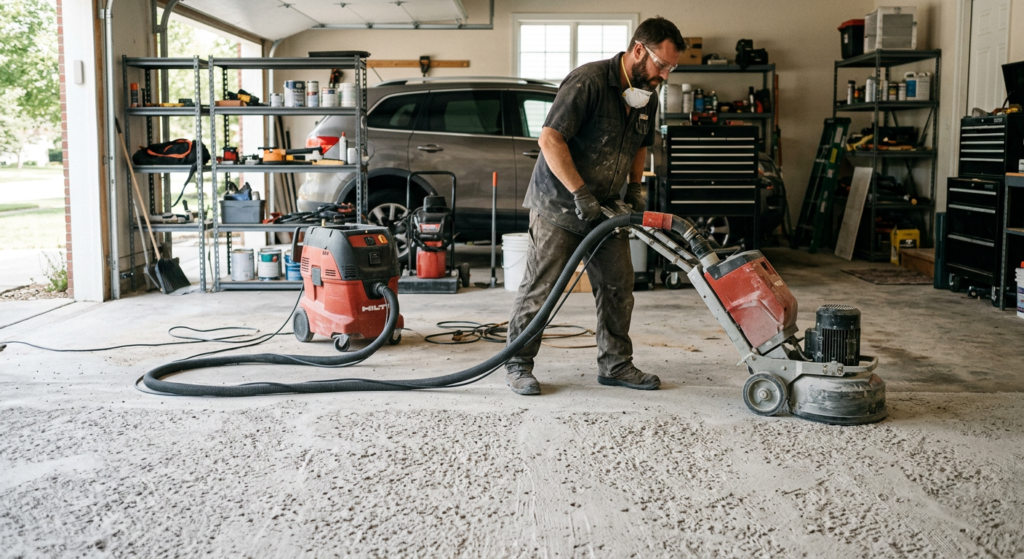
- Etch or grind the surface. Concrete needs a rough, open surface for epoxy to key into — either a mechanical grind or a chemical etch, depending on the product and slab condition. For a simple DIY etch, a concrete etching powder is the beginner-friendly, less caustic route.
- Prime. A primer coat seals the concrete and cuts down on bubbling and pinholing in the finish coats.
- Mix and pour. Combine resin and hardener exactly to the manufacturer’s ratio, then pour and spread with a squeegee or roller — working in sections, and working fast, since floor-grade epoxy usually has a shorter working window than craft resin.
- Broadcast flakes or aggregate (optional). If you’re going for a flake or terrazzo look, this happens while the base coat is still wet — you’ll want decorative flake chips on hand for the classic speckled garage finish.
- Cure. Expect roughly 24–48 hours before the floor is dust-tolerant, and up to a full week before it’s ready for heavy traffic or furniture. Always check your specific product’s data sheet rather than assuming.
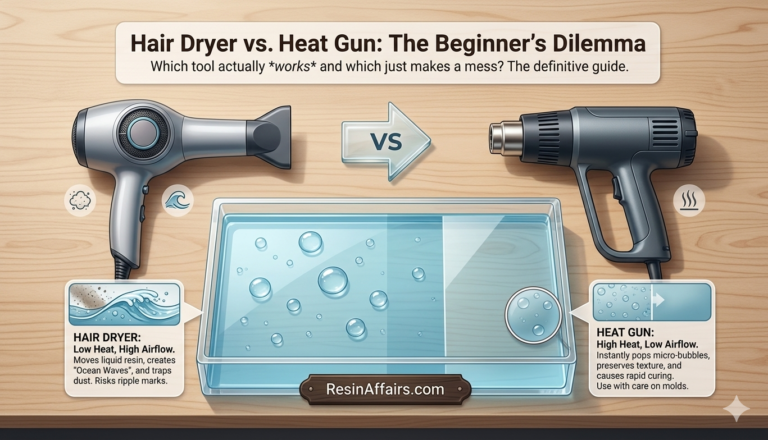
🛠️ Tool note for your first floor: a proper notched squeegee, a long-handled roller with the right nap, and a spiked roller to pop bubbles are worth having. See the tool kit in the gear box above — a cheap one-person set makes section work much easier.
Surface Prep Is Half the Job
The single biggest rookie mistake on a floor is rushing the prep. A skimpily-etched or dusty slab looks fine the day you pour — then the coating can peel in sheets months later. Proper prep is what makes the epoxy actually bond.
- Strip any old paint or coatings
- Degrease the whole slab, not just the stains you can see
- Remove dust completely after grinding — it telegraphs through the finish
- Repair cracks and holes before you prime, and let the patch cure fully
⚠️ Prep is not optional. If you only do one thing well on this project, make it surface prep. It’s the difference between a ten-year floor and a regret.
Living With an Epoxy Floor
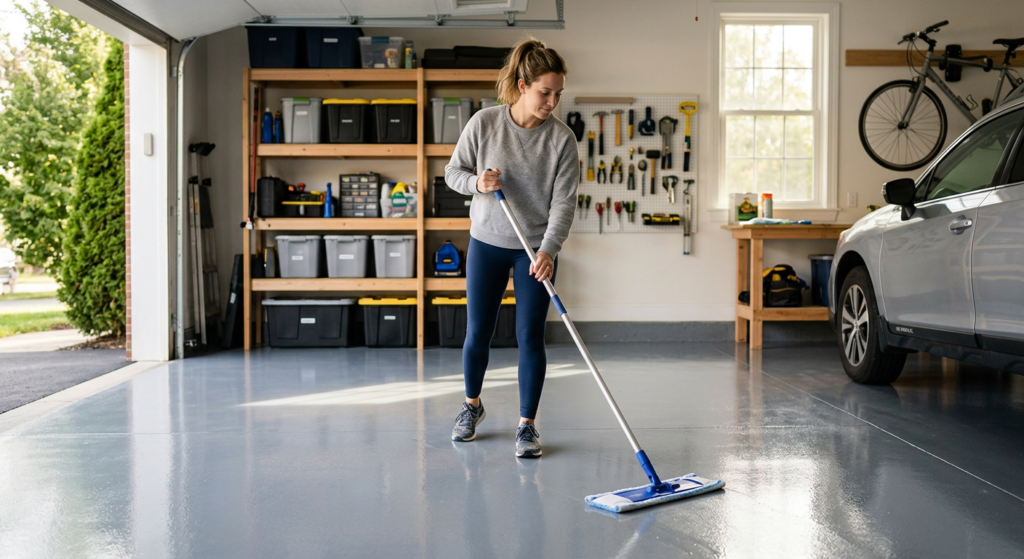
Day-to-day care is genuinely low-effort:
- Sweep or dust-mop regularly
- Damp-mop with a mild, pH-neutral cleaner
- Avoid dragging sharp or heavy objects across the surface
If the floor gets scuffed or dull over the years, a light sand-and-recoat refreshes it without a full tear-out. Small cracks or chips can usually be patched with an epoxy repair kit. Noticeable discoloration is often UV exposure and can be minimized with a UV-stable clear topcoat.
FAQ
How long does an epoxy floor last?
Well-installed epoxy flooring commonly lasts a decade or more, largely depending on prep quality, traffic levels, and maintenance.
Can I do this myself as a beginner?
Yes, but go in with realistic expectations — surface prep is the step people underestimate, and it’s the one that determines whether the coating actually holds up.
Is it slip-resistant?
On its own, cured epoxy can be slippery when wet. Slip-resistant additives can be broadcast into the finish coat for kitchens, entryways, or anywhere spills are likely.
How long until I can walk on it? Park a car on it?
Light foot traffic is typically fine after 24–48 hours; wait closer to a full week before heavy use like parking a vehicle — and always check your product’s specific guidance.
Ready to Scale Up?
Treat flooring as your first big “scale-up” project, and it’s enormously satisfying. Just be honest with yourself about your current skill level, plan your ventilation before you pour, and never skip the prep.
If you’re not there yet, build up your fundamentals first:
- Start with the Beginner Resin Guides hub
- Make sure your safety setup is dialed in with the Resin Safety Hub
Have you tackled a floor, or are you still working your way up to it? Tell us in the comments — we’d love to hear how your first large-scale pour went.
Keep Learning on ResinAffairs.com
Building up to a floor? These guides are the best stepping stones:
- 🪵 The Ultimate Guide to Epoxy Butcher Block → — your next flat-pour project, including the honest food-safety answer.
- 🧤 Resin PPE for Beginners → — gloves, respirators, eye protection and ventilation, explained simply.
- 🥄 How to Mix Epoxy Resin → — ratios, the two-cup method and cure times, step by step.
This guide is educational and not a substitute for your product’s own label and Safety Data Sheet. Epoxy flooring involves large volumes, strong fumes, and serious prep work — always follow the manufacturer’s guidance and the safety a
Enjoyed this guide? Join the Resin Affairs newsletter for new tutorials, safety tips, and project ideas straight to your inbox.