Essential Resin Tools Every Beginner Needs
Disclosure: This article contains affiliate links. If you purchase through these links, we may earn a small commission at no extra cost to you. We only link to gear we would use ourselves.
As an Amazon Associate I earn from qualifying purchases.
You’ve seen the mesmerizing resin art videos – glossy coasters, galaxy-like trays, sparkling jewelry. But when you start searching for what you actually need to buy, the lists are overwhelming. Do you really need a vacuum chamber? A pressure pot? Twelve different colorants?
Here’s the truth: Absolute beginners only need about a dozen essential tools to create beautiful, safe resin projects. Everything else is nice-to-have, not need-to-have.
In this complete checklist, you’ll discover exactly what resin and supplies to buy for your very first project – nothing more, nothing less. We’ll cover safety gear (non‑negotiable), mixing tools, workspace setup, and the one type of resin that won’t fail you. By the end, you’ll have a clear, safe, and affordable shopping list before you start comparing premium brands and kits.
What this guide gives you:
✅ A single, trustworthy checklist for absolute beginners
✅ Safety-first approach (no shortcuts)
✅ What to buy vs. what to skip
✅ Step‑by‑step mixing instructions for success on day one
🧰 Recommended Kit for This Project
- Let’s Resin Sphere & Pyramid All-in-One Kit — a 16 oz 1:1 epoxy set, four silicone molds, a 12-color glitter set, dried flowers, cups, stir sticks, droppers and gloves in one box
- 5 mil Nitrile Gloves — skin protection for every pour, thin enough for real dexterity
- NoCry Anti-Fog Safety Goggles — splash protection that will not fog up mid-pour
📋 Get the Free Resin Safety & Prep Checklist
A one-page printable checklist covering PPE, ventilation, and workspace setup — so you’re not hunting through this guide mid-pour. Enter your email and we’ll send it straight over.
Free. We only email when there’s something useful, never more than twice a month, and you can unsubscribe anytime. Privacy Policy
Understanding the Core Material: Epoxy Resin
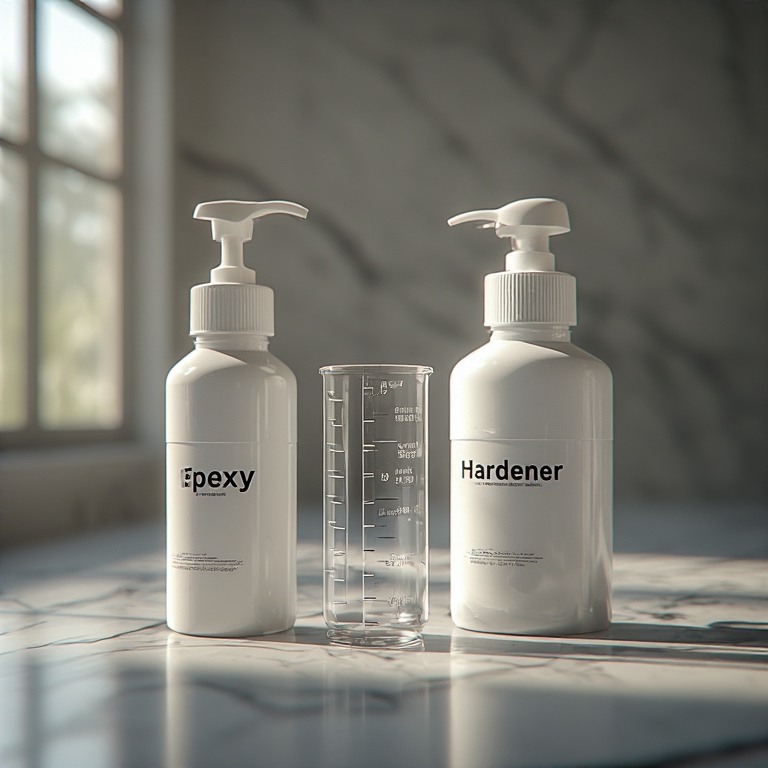
Before you buy any tools, you need the star of the show: epoxy resin. Epoxy is a two-part system (resin + hardener) that, when mixed correctly, cures into a hard, glass-like plastic. It’s self‑leveling, durable, and perfect for art and crafts.
Choosing a Beginner‑Friendly Resin
Not all epoxy is created equal. Industrial or marine resins are too thick, cure too fast, or release harmful fumes. For your first project, look for these features:
| Feature | Why It Matters for Beginners |
|---|---|
| Low viscosity (thin, like syrup) | Pours easily and self‑levels without help |
| 1:1 mix ratio by volume | Easy to measure – no scale required |
| 20–45 minute pot life | Enough time to work, not so long you get impatient |
| Low VOC or VOC‑free | Safer for home use (but still use a respirator) |
| Art or casting formula | Designed for thin layers, molds, and colorants |
Epoxy vs. UV Resin: UV resin cures with a lamp in minutes, but it’s better for small jewelry and requires a UV light. Start with epoxy – it builds foundational skills and works for larger projects like coasters, trays, and art pieces.
Our top beginner resin picks (affiliate links):
- ArtResin Epoxy Resin – Ultra-clear, 1:1 ratio, very low odor. Best for art coatings.
- Lets Resin Epoxy Resin – Affordable, self‑leveling, great for coasters and molds.
- Craft Resin Deep Pour Casting Resin – Budget-friendly, bubble-resistant formula.
Pro Tip: Buy a small 16–32 oz kit for your first project. You’ll have enough for 4–6 coasters without wasting money if you decide resin isn’t for you.
Non‑Negotiable Safety Gear for Resin Art
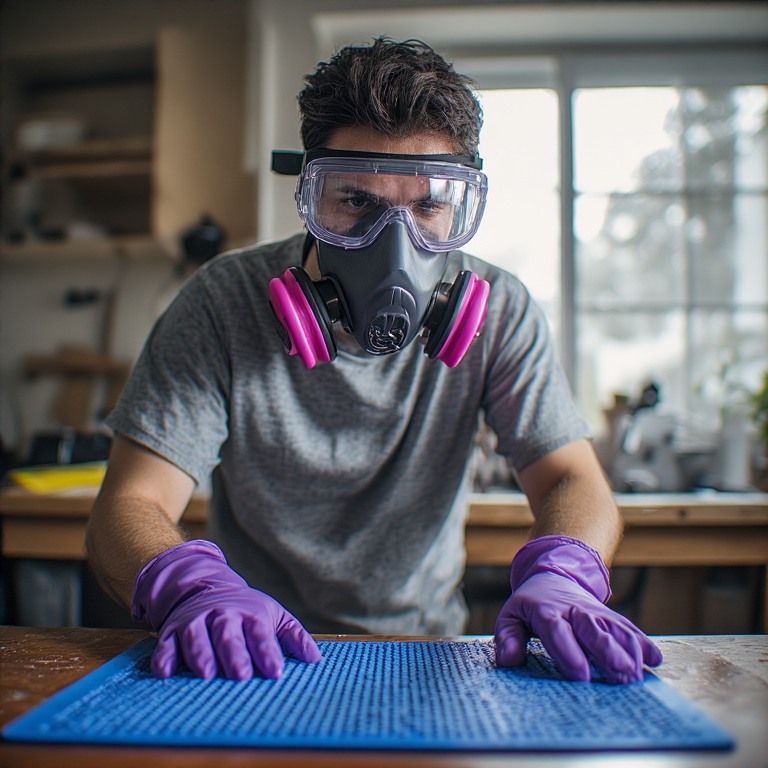
Let’s get this out of the way immediately: resin is not dangerous when fully cured, but uncured resin can irritate your skin, eyes, and lungs. You absolutely must use proper safety gear and essential resin tools every single time you mix or pour.
This is not optional. Not even for “just one quick pour.”
The Safety Checklist
| Tool | Why You Need It | What to Buy (affiliate links) |
|---|---|---|
| Nitrile gloves (5+ mil thickness) | Resin chemicals seep through latex. Nitrile is chemical‑resistant. | 5 mil Nitrile Gloves – box of 100 |
| NIOSH-approved respirator with organic vapor cartridges | A dust mask or N95 does NOT block resin fumes. You need cartridges rated for organic vapors. | 3M 6500QL Respirator + 60926 Cartridges |
| ANSI Z87.1 safety goggles | Splashes to the eye can cause chemical burns. Glasses alone are not enough. | NoCry Safety Goggles (anti‑fog) |
| Protective apron or long sleeves | Keeps resin off skin and clothes. | Silicone Coated Apron – easy to wipe clean |
| Good ventilation | Open windows, cross‑breeze, fan blowing out. Never work in a closet or small bathroom. | Use what you have – no purchase needed |
How much will safety gear cost? About $40–60 for gloves, respirator, and goggles. That’s less than many ruined projects or a doctor’s visit. Buy it once, use it for dozens of projects.
⚠️ Never use kitchen utensils, bowls, or surfaces for resin. Resin is toxic when uncured and should never touch food preparation areas. Dedicate resin tools only.
Workspace Setup – Preparing Your Creative Area
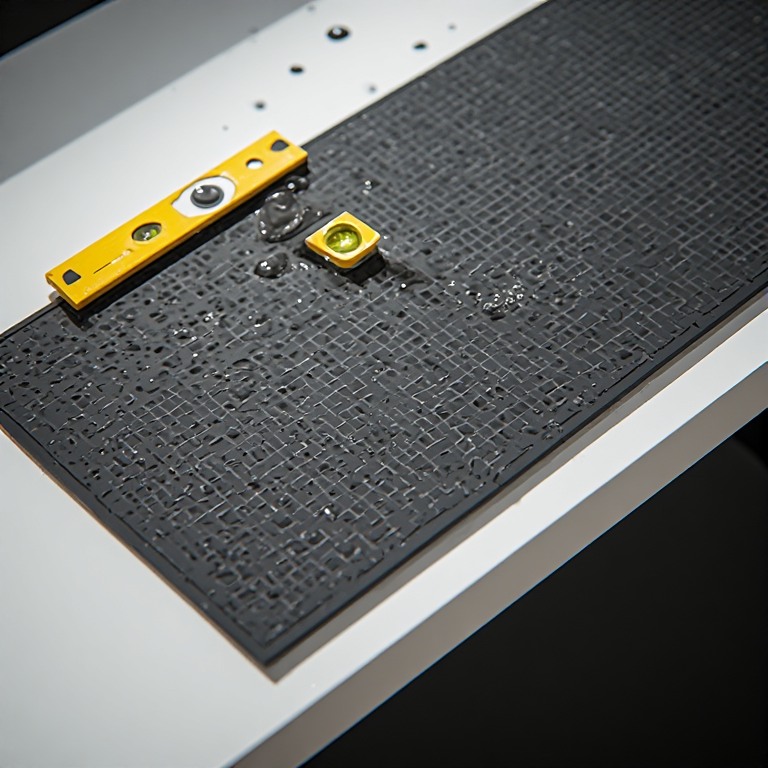
Your workspace doesn’t need to be a fancy art studio. A kitchen table (protected), a garage workbench, or a spare room works perfectly – as long as it’s well‑ventilated and level.
Protecting Your Work Surface
- Large silicone mat (at least 16”x24”): Resin does not stick to cured silicone. Drips peel right off. This is your #1 surface protector.
- Recommendation: Sapid Silicone Mat – large, non‑slip, easy to clean.
- Disposable plastic sheeting or drop cloth: For extra protection on carpet or wood floors. Cheap painter’s plastic works fine.
Leveling Your Work Surface
Resin self‑levels, but it flows downhill. If your table is tilted, your coasters will be thicker on one side.
- Bubble level tool: A $5 hardware store level tells you if your surface is flat.
- Leveling feet or shims: Place under table legs or mold to correct tilt.
Temperature Control
Resin cures best between 70–75°F (21–24°C). Too cold → resin stays sticky or cloudy. Too hot → resin cures too fast and cracks. Keep a small thermometer in your workspace.
The Essential Mixing and Pouring Toolkit
Now for the hands‑on tools. These are the items you’ll use every single time you mix resin.
Graduated Mixing Cups
You need transparent cups with clear measurement markings. Accuracy matters: if the ratio is off, the resin can stay soft or sticky, so measure carefully. To know how much to measure before you start, use my resin calculator.
- What to buy: Pack of 100 disposable 12 oz cups with ounce/mL markings.
- What to avoid: Reusing cups (leftover cured resin ruins future mixes), cups without markings, or solo cups (not accurate).
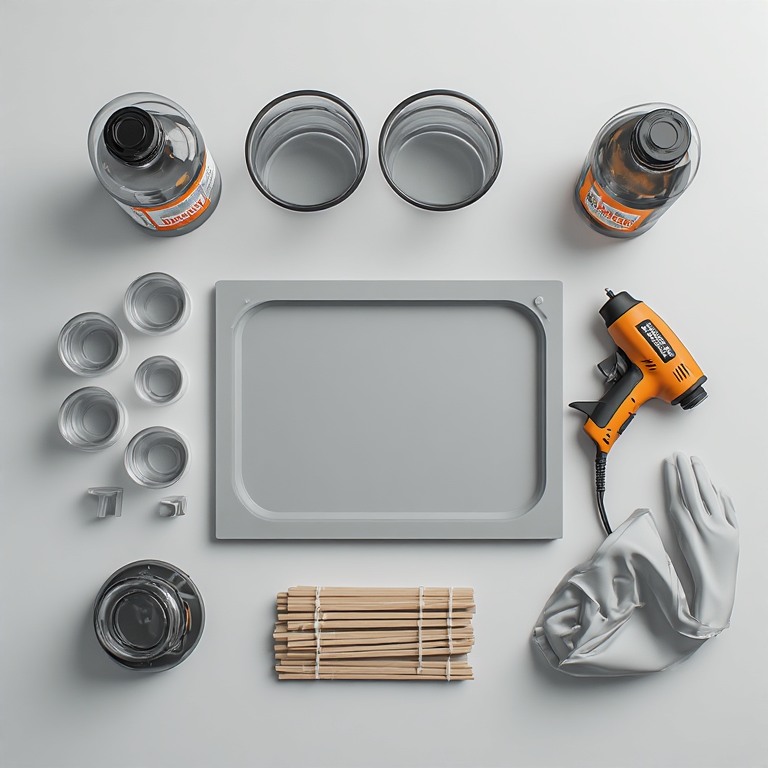
TCP 50‑pack Graduated Mixing Cups And 50 Mixing Sticks
Digital Scale (for weight‑based resins)
If your resin uses a weight ratio (e.g., 100g resin : 85g hardener), a digital kitchen scale is essential. If you’re using a 1:1 volume resin, you can skip the scale.
Digital Kitchen Scale – 0.1g accuracy
Stir Sticks
You need something that won’t introduce bubbles or break apart. Wooden craft sticks (the wide, flat kind) are perfect. Silicone spatulas also work but are harder to clean.
- Avoid: Thin coffee stirrers (too flimsy), popsicle sticks (too porous, shed wood fibers).
- Pro tip: Buy a pack of 500 craft sticks for a few dollars.
TCP 50‑pack Graduated Mixing Cups And 50 Mixing Sticks
Heat Source for Bubble Removal
After pouring, tiny bubbles will appear. A quick pass with a heat source makes them pop instantly.
| Tool | Best For | Notes |
|---|---|---|
| Heat gun | Most beginner projects | Safer on silicone molds than a torch. About $20–30. |
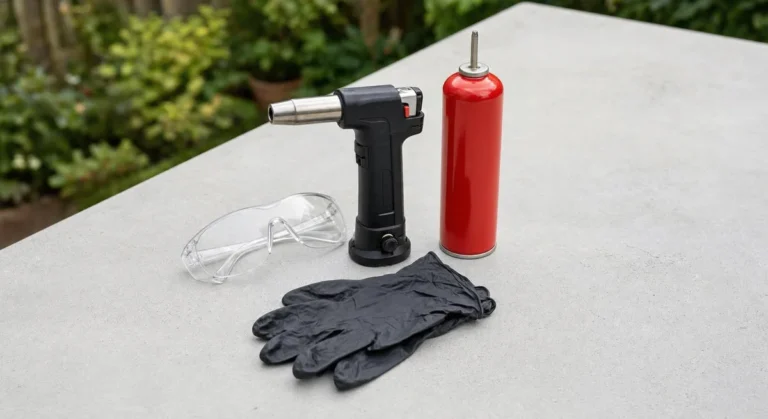
| Small butane torch | Deep pours, large surfaces | Faster but can burn molds if held too close. |
| Hairdryer | Emergency only | Less effective; can blow dust into resin. |
Molds (Silicone Only)
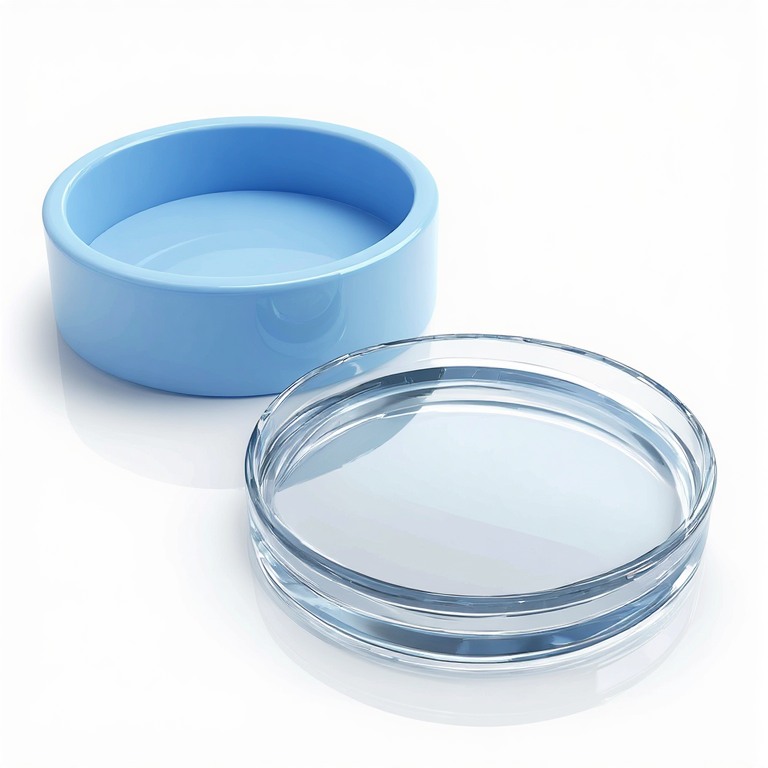
Start with simple silicone molds – coasters, small trays, or basic geometric shapes. Avoid molds with deep crevices or fine details until you master bubble removal.
Best first molds:
Cleanup Supplies
- Acetone or isopropyl alcohol: Cleans uncured resin from tools and countertops only — never use solvents on skin. If resin gets on your skin, wipe off what you can with a dry paper towel, use a waterless hand cleaner, then wash with soap and warm water.
- Paper towels – cheap, disposable.
Step‑by‑Step: How to Mix and Pour Your First Resin Project
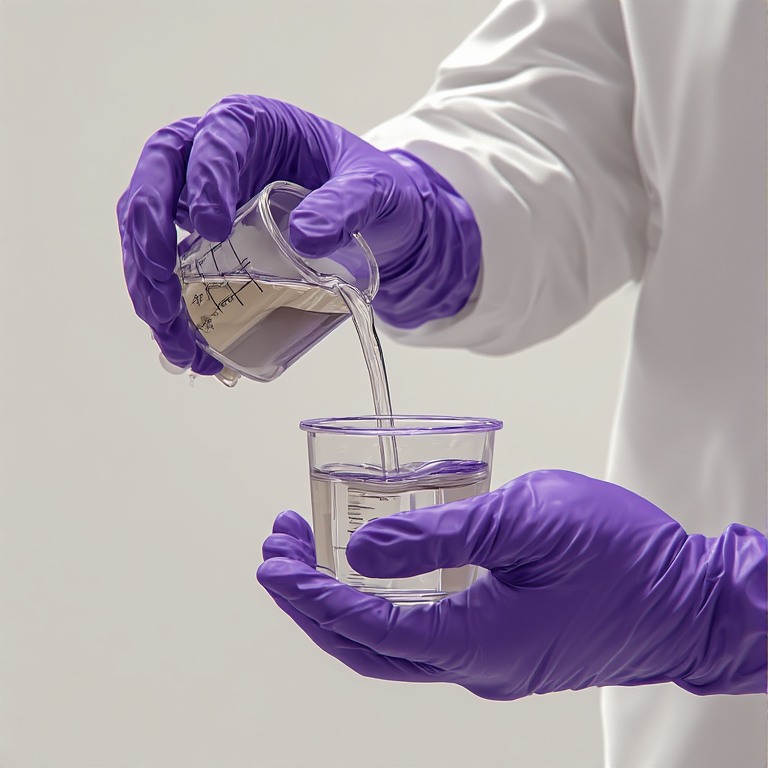
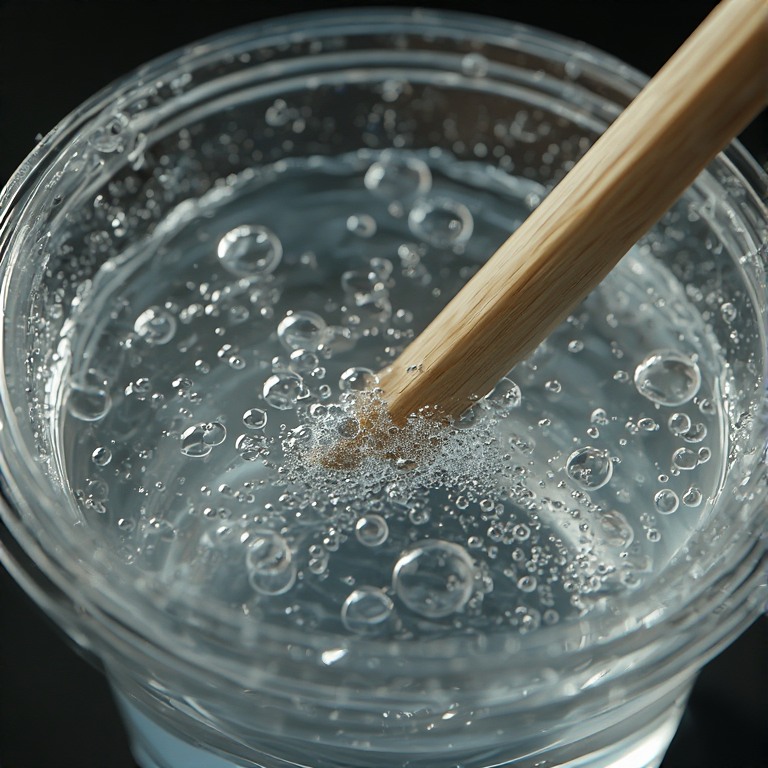
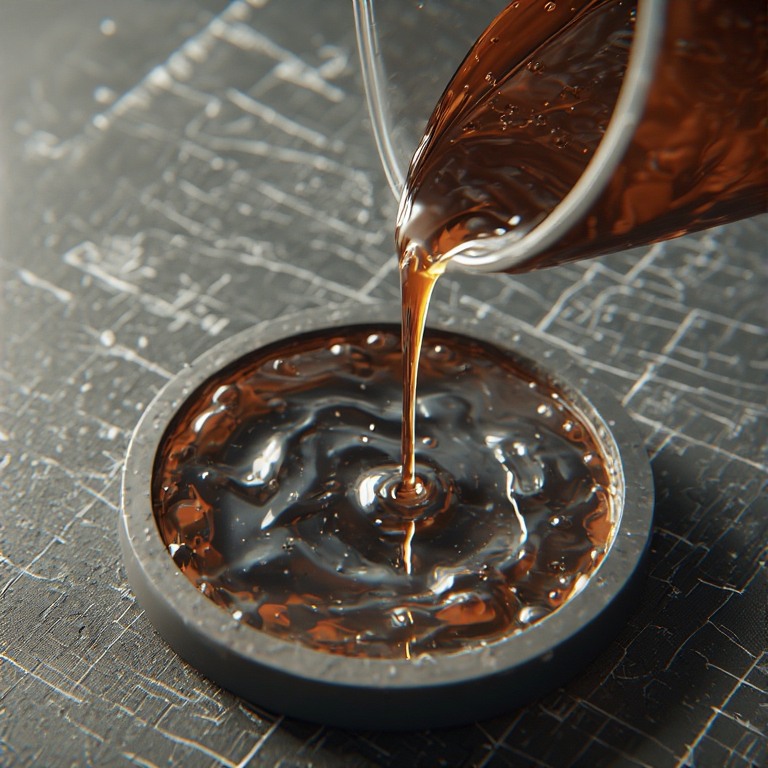
Follow these exact steps for a successful first pour.
Preparation (5 minutes)
- Put on gloves, goggles, and respirator.
- Cover your workspace with the silicone mat.
- Place your mold on a level surface.
- Pre‑measure your resin and hardener (read your product’s instructions).
Mixing (3–4 minutes)
- Pour equal volumes (or equal weight) of resin and hardener into a clean mixing cup.
- Stir slowly and deliberately. Scrape the sides and bottom of the cup constantly.
- Continue stirring until the mixture is completely clear – no streaks, no swirls. This takes longer than you think.
- Do not whisk or whip – that adds bubbles.
Pouring
- Pour the mixed resin slowly into the mold, tilting the cup to let resin flow in a thin stream.
- Pour to about 1/4 inch (6 mm) depth for your first project. Thicker pours can overheat and crack.
Bubble Removal
- Immediately after pouring, pass a torch over the surface at about 4–6 inches, or a heat gun at about 6–8 inches.
- Move slowly – you’ll see bubbles expand and pop.
- Do not linger in one spot (can burn the mold or resin).
Curing (24–72 hours)
- Cover the piece with a dust cover – an upside‑down plastic storage box or a cardboard box with a hole cut for airflow.
- Let it cure undisturbed at 70–75°F.
- Check after 24 hours. Most resins can be demolded at 24 hours, but full hardness takes 72 hours.
Decorating Your Resin – Adding Color and Inclusions
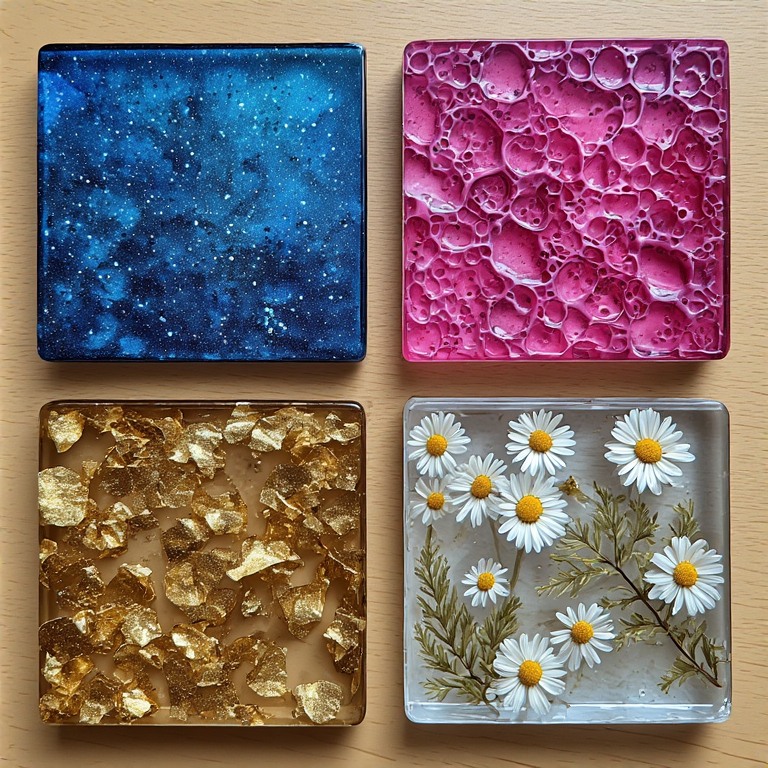
Once you’ve mastered clear resin, try adding colors or objects. Start with just one colorant type per project.
Colorants
| Type | Effect | Beginner‑Friendly? | Notes |
|---|---|---|---|
| Mica powder | Shimmering, metallic | ✅ Very easy | Mix into resin before pouring |
| Alcohol ink | Vibrant, transparent, cells | ⚠️ Medium | Can bleed; practice first |
| Opaque pigment | Solid, non‑transparent | ✅ Easy | Use tiny amounts (1–2 drops) |
Rule of thumb: Do not exceed ~6% pigment by volume. Too much can inhibit curing.
Inclusions (Embedded objects)
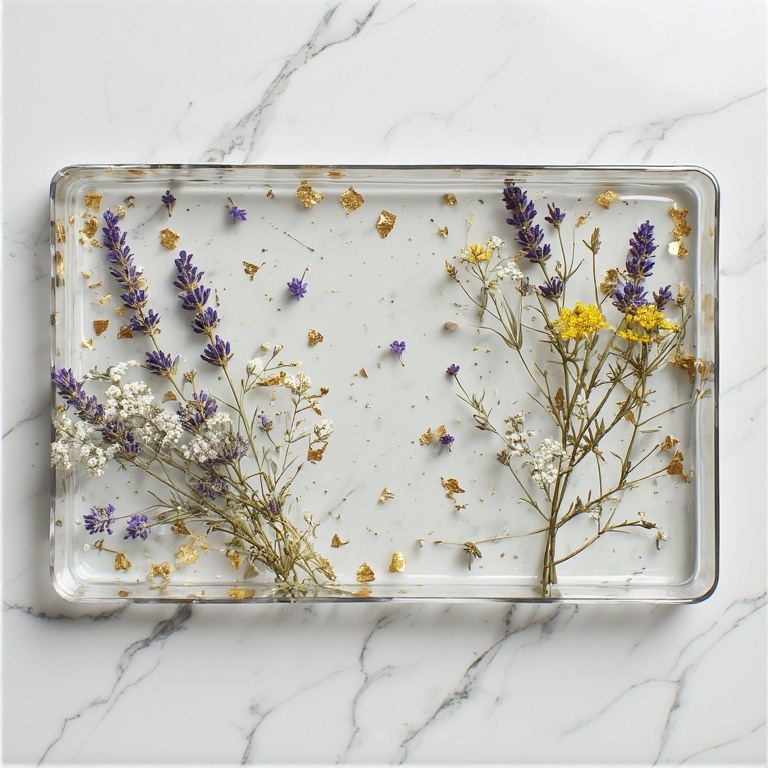
You can embed dried flowers, glitter, foil flakes, shells, or small charms. Critical rule: Inclusions must be 100% dry. Moisture causes bubbles, cloudiness, or even a failed cure.
Good to use: Dried flowers (press them yourself or buy craft dried flowers), cosmetic glitter (polyester based), metal leaf.
Avoid: Fresh flowers, wet shells, paper (unless sealed), organic materials with moisture.
What You Can Skip (For Now) – Optional Supplies for Later
Resin tool marketing can make you feel like you need a lab full of equipment. You don’t. These items are genuinely optional for beginners:
| Item | Why You Don’t Need It Yet |
|---|---|
| Mold release spray | Simple silicone molds release easily without it. Only needed for deep or undercut molds. |
| Vacuum degasser | Removes bubbles before pouring – expensive ($200+) and unnecessary for small projects. |
| Pressure pot | Forces bubbles to dissolve – great for deep pours but overkill for coasters. |
| Electric stirrer | Helpful for large batches (gallon+), but you won’t need it for 16 oz. |
| Lazy Susan | Nice for rotating large art pieces, but your first project won’t need it. |
Spend your money on good resin and safety gear first. Fancy tools won’t fix bad technique.
Common Beginner Mistakes and How to Avoid Them
Learn from others’ mistakes so you don’t waste resin (and money).
| Mistake | The Fix |
|---|---|
| Inaccurate measuring | Use graduated cups or a digital scale. Do not eyeball it. |
| Poor mixing | Stir for a full 3–4 minutes, scraping sides and bottom constantly. Set a timer. |
| Cold workspace | Keep room at 70–75°F. Cold resin stays tacky for days. |
| Pouring too deep | Pour in thin layers (≤1/4 inch per pour). Deep layers overheat and crack. |
| Rushing demolding | Wait 24–72 hours. Soft resin will tear or fingerprint. |
| Skipping safety gear | Always wear nitrile gloves, goggles, and respirator. Every time. |
Real talk: Almost every beginner messes up their first pour – usually bubbles or a soft cure. That’s normal. Learn, adjust, and try again. Resin has a learning curve, but it’s short.
Resin Starter Kits vs. Buying Tools Separately
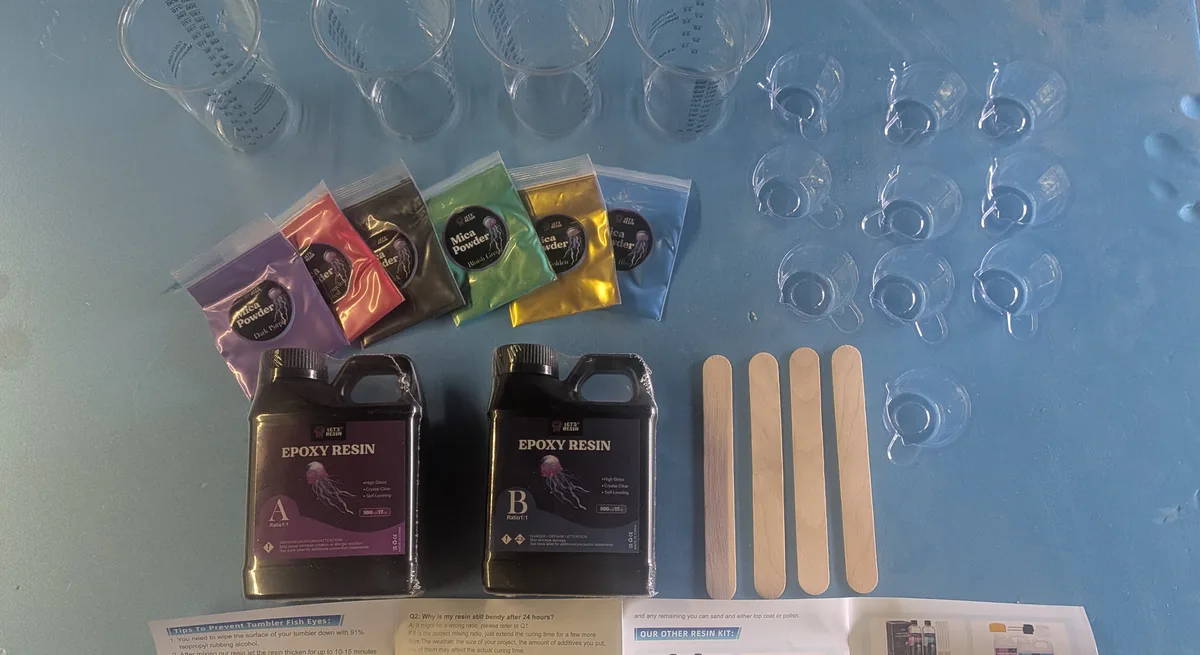
You have two options: buy a pre‑assembled starter kit or buy each tool individually. Which is better for absolute beginners?
Pros and Cons
| Starter Kit | Buy Separately | |
|---|---|---|
| Convenience | ✅ Everything in one box | ❌ Requires research and multiple orders |
| Cost | ✅ Usually cheaper upfront | ❌ Higher upfront cost but better quality |
| Quality | ⚠️ Varies widely – some include cheap resin | ✅ You choose quality brands |
| Customization | ❌ Fixed contents | ✅ Pick exactly what you want |
What to Look For in a Starter Kit
A good beginner kit should include:
- Resin + hardener (clear, 1:1 ratio, at least 16 oz total)
- Graduated mixing cups (at least 5)
- Wooden stir sticks
- Nitrile gloves
- At least one silicone mold (simple shape)
- Instructions
Avoid kits with unknown or unbranded resin, or those missing safety gear.
Our Top Starter Kit Recommendations (Affiliate Links)
| Kit | Best For | Includes |
|---|---|---|
| JDiction Resin Starter Kit | Overall beginners | 34 oz resin, stir sticks, gloves, gold foil |
| Art ‘N Glow Resin Kit | Clear casting & coating | 32 oz resin, UV-resistant, food-safe once fully cured, per the maker (pairs with a separate glow powder for glow-in-the-dark effects) |
| Let’s Resin All-in-One Kit | Best value | 16 oz resin, 4 silicone molds, 12-color glitter set, dried flowers |
Our advice for absolute beginners: Buy a high‑quality starter kit for your first project. It removes the guesswork. Then, as you learn, replace individual tools with premium versions.
Frequently Asked Questions (FAQ)
Can I use any epoxy resin for crafts?
No. Always choose a low-viscosity, art‑grade casting resin designed for thin layers (≤1/2 inch). Industrial, flooring, or marine resins are too thick or cure too fast for craft projects.
Do I need a respirator if I work outside?
Even outdoors, a respirator with organic vapor cartridges is strongly recommended. Wind can shift fumes toward your face, and prolonged exposure (even outside) can cause respiratory irritation. Safety first.
What’s the best way to remove bubbles from resin?
After pouring, use a small torch at about 4–6 inches or a heat gun at about 6–8 inches. Move slowly across the surface. For bubbles trapped inside deep pours, a pressure pot is needed – but as a beginner, stick to thin pours (≤1/4 inch) where bubbles can rise and pop.
How long does epoxy resin take to cure?
Most art resins are demoldable in 12–24 hours and usable at about 72 hours (fully hard at about 7 days). Full hardness and chemical resistance may take up to 7 days. Always check your product’s instructions.
Can I use kitchen utensils for resin?
Never. Resin is toxic when uncured and should never touch food preparation items. Use dedicated resin tools only, and wash them separately (or use disposable items).
Why is my resin still sticky after 24 hours?
Common causes: inaccurate mixing ratio, incomplete stirring (streaks left), or working in a room below 65°F (18°C). Unfortunately, sticky resin will not cure properly – you’ll need to scrape it off and start over.
How do I clean resin off my skin?
Wipe off as much as you can with a dry paper towel. Use a waterless hand cleaner for resin or mixed epoxy, and soap and warm water for hardener, then wash with soap and warm water. Never use acetone, isopropyl alcohol or other solvents on skin — they help resin soak in and raise the risk of an allergy. If a rash develops, stop using resin and see a doctor.
Final Checklist – What to Buy Before Your First Project
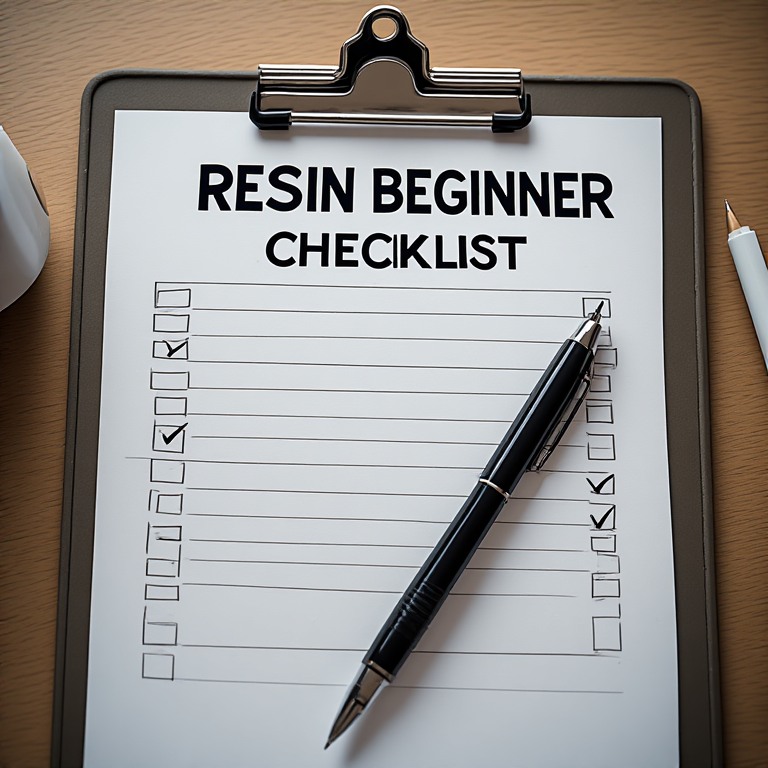
Copy this list and check off each item before you start.
Safety Gear (Do not skip)
- Nitrile gloves (5+ mil) – box of 100
- NIOSH respirator + organic vapor cartridges
- ANSI safety goggles
- Protective apron or long sleeves
Workspace
- Large silicone mat (16”x24” or bigger)
- Bubble level tool
- Thermometer (to monitor 70–75°F)
Mixing & Pouring
- Epoxy resin + hardener (beginner formula, 1:1 ratio, 16–32 oz)
- Graduated mixing cups (at least 10)
- Wooden craft sticks (at least 50)
- Heat gun or small torch (if it’s butane, refill it before you start)
- Silicone mold (simple coaster or tray shape)
Cleanup
- Isopropyl alcohol (91% or higher), for tools and surfaces only, never skin
- Paper towels
- Dust cover (plastic box or cardboard box)
Optional (For later)
- Mica powder or alcohol inks
- Dried flowers or glitter
- Extra molds
Your Resin Journey Starts Here

You now have a complete, safe, and realistic checklist – no fluff, no expensive gadgets you don’t need. With these essential tools and supplies, you can create your first beautiful resin project this weekend.
Recap of your next steps:
- Buy your safety gear first. Respirator, gloves, goggles.
- Choose a beginner resin (1:1 ratio, low viscosity) or a trusted starter kit.
- Set up your workspace – a silicone mat, a level surface, and good ventilation.
- Follow the step‑by‑step mixing guide (slow stirring, thin pour, heat gun for bubbles).
- Be patient – let it cure 24–72 hours before demolding.
Ready to start? Browse our curated collection of beginner‑friendly resin tools and kits below. I like to test every product before I make any recommendations – not every product makes the cut.
Have a question about a specific tool? Leave a comment below – our resin community and experts will help you get started safely and successfully.
Keep Learning on ResinAffairs.com
Got your toolkit sorted? Here’s where to go next:
- 🚀 How to Start Resin Crafting → — the beginner roadmap: what to buy first, what to skip, and the easiest first project.
- 🥄 How to Mix Epoxy Resin → — ratios, the two-cup method and cure times, step by step.
- 🧤 Resin PPE for Beginners → — gloves, respirators, eye protection and ventilation, explained simply.
- 🧩 Best Resin Molds for Beginners → — silicone vs. plastic vs. DIY molds, and which one to buy for each project.
- 🫧 Visit the Resin Safety Hub → — the safety basics that pair with this tool list.
Enjoyed this guide? Join the Resin Affairs newsletter for new tutorials, safety tips, and project ideas straight to your inbox.