Let’s Resin Review: The Epoxy Starter Kit After Two Real Pours
I bought this kit with my own money. Nobody sent it to me or paid for this review. If you buy through my links I may earn a small commission at no extra cost to you.
As an Amazon Associate I earn from qualifying purchases.
Quick answer: Yes, it’s good for small beginner projects, if you pour somewhere warm. The Let’s Resin epoxy kit is an easy 1:1 resin that did the job on two small projects. It cured slowly in a cool garage (still rubbery after a day) and much closer to the stated times when I warmed the work area to about 85°F: set within a day, scratch-hard at two. The catches: my box had no gloves, eye protection or mold, the red and green micas are fancy shades, and the small size runs out fast. In the US it’s sold as the 34 oz kit. If you plan more than a couple of projects, buy the 80 oz size instead.
How I tested it
I buy budget gear first and ask one question: does the cheap kit do the job? So this isn’t a lab test. I bought the kit, then used it on two real projects in my garage and wrote down what happened, including what went wrong.
- Pour 1 (cool room): red and green resin poured into three laser-cut wooden Christmas ornaments. Surfaces read 70.9–74.7°F, just under the 75–85°F Let’s Resin asks for, and the garage got colder overnight.
- Pour 2 (warm room): a clear top coat over the same ornaments, plus a clear pool poured over printed cardboard to check clarity. I warmed the work area with a small electric space heater first (heating the room, not the resin itself). The pieces read 84.8–86.4°F just after the pour.
Both batches were 1 oz of Part A plus 1 oz of Part B, measured in the kit’s cups. I didn’t measure humidity, and I haven’t tested a deep pour, so this review doesn’t cover either.
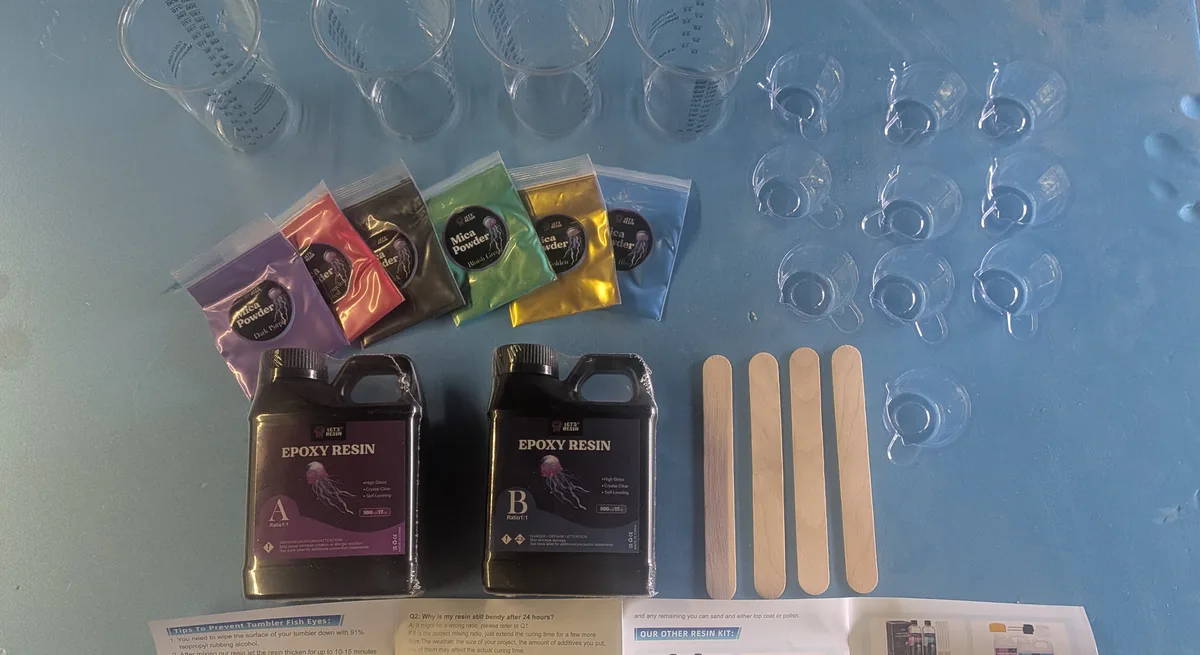
One thing to know up front: I bought mine in Australia, where it’s sold as a 1 L kit. In the US the same box contents are sold as the Let’s Resin 34 oz kit: 17 oz of resin, 17 oz of hardener, six micas, four 8 oz cups, ten small cups and four stir sticks, which is exactly what was in my box. My bottles are labeled in ounces as well as milliliters. I only tested this size. The larger kits’ listings give different working and cure times, so read the listing and the leaflet in your own box.
What’s in the box
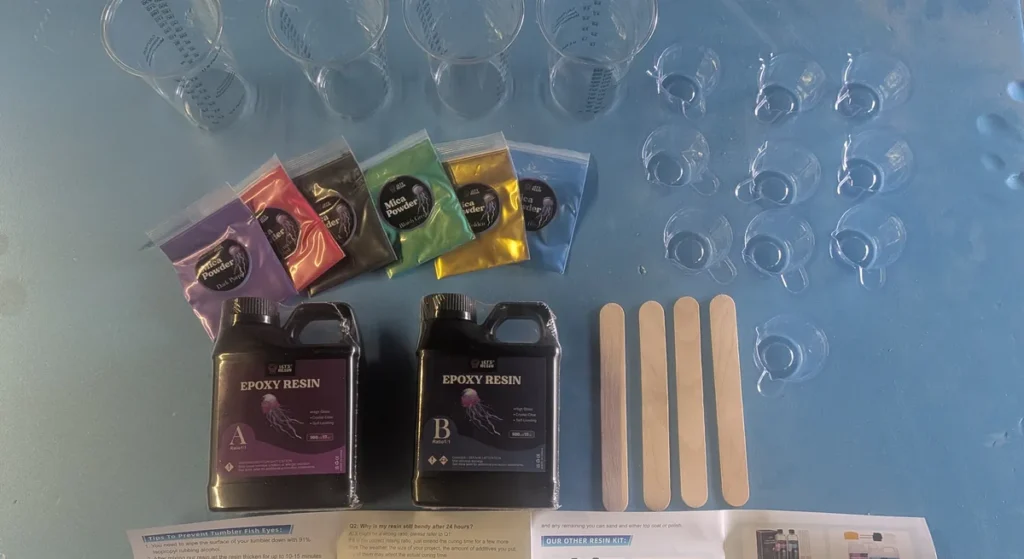
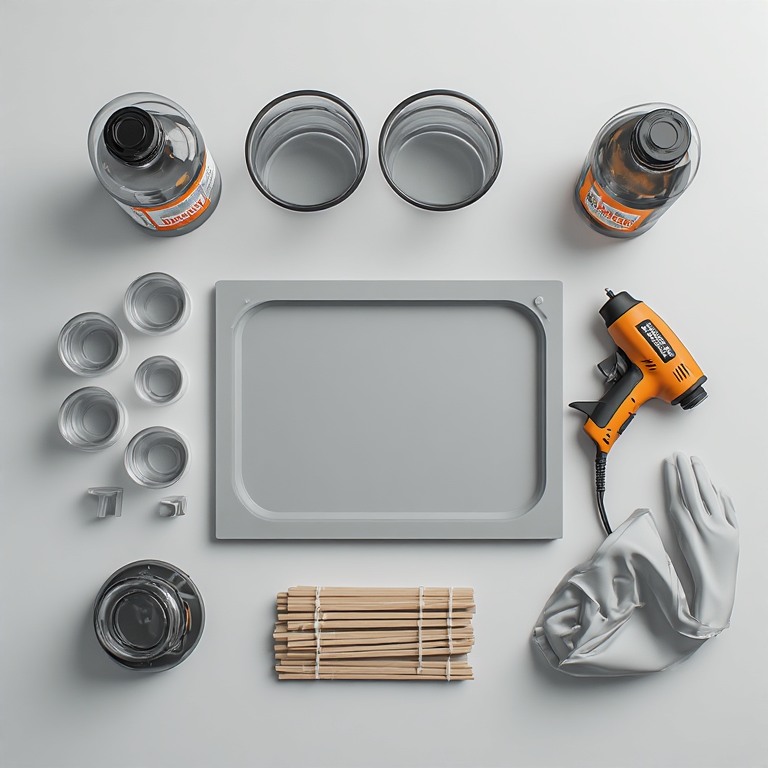
- Part A (resin), 17 oz (500 ml) and Part B (hardener), 17 oz (500 ml). Mix 1:1 by volume.
- Six mica powders: Dark Purple, Watermelon Red, Black, Bluish Green, Golden, Dark Blue.
- Four graduated mixing cups (about 8 oz / 240 ml), printed “approximate measurements”.
- Ten small spouted cups, four wooden stir sticks and a fold-out leaflet.
Not in my box: gloves, eye protection and a mold. The listing I bought from mentions gloves; mine had none. Buy these with the kit:
- Nitrile gloves and safety glasses (see the resin PPE guide).
- A silicone mold (see best resin molds for beginners).
- A heat gun for surface bubbles, or a small butane torch on open surfaces only (not on silicone molds).
Reading the labels and the leaflet
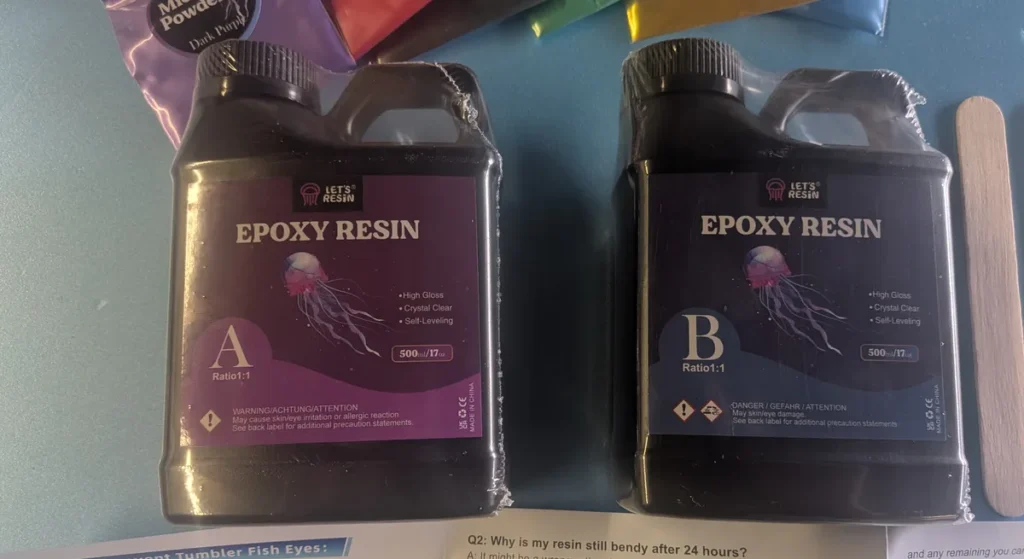
On my kit, Part A carries a WARNING (skin or eye irritation, allergic reaction). Part B carries DANGER (skin and eye damage). That’s normal for epoxy hardeners, and it’s why gloves and eye protection matter even for a 2 oz batch. More in is epoxy resin safe?.
Two things in the leaflet don’t match how I work:
- “Non-toxic.” The leaflet says so, which I take to mean the resin once it has cured. It doesn’t spell that out. The liquid parts are a different matter: the hardener label says DANGER, and uncured resin is a skin sensitizer. While you’re pouring, go by the label and the safety data sheet.
- Cleaning resin off skin. The leaflet suggests alcohol or hand sanitizer. Epoxy makers WEST SYSTEM and System Three both say never to use solvents on skin, because solvents can help carry the resin into your body. Solvents are for tools and the bench, not hands. See Cleaning up below.
The good parts: it’s clear the ratio is by volume, it warns that long direct sun speeds up yellowing, and its troubleshooting is short and sensible.
Pour 1: red and green in a cool room
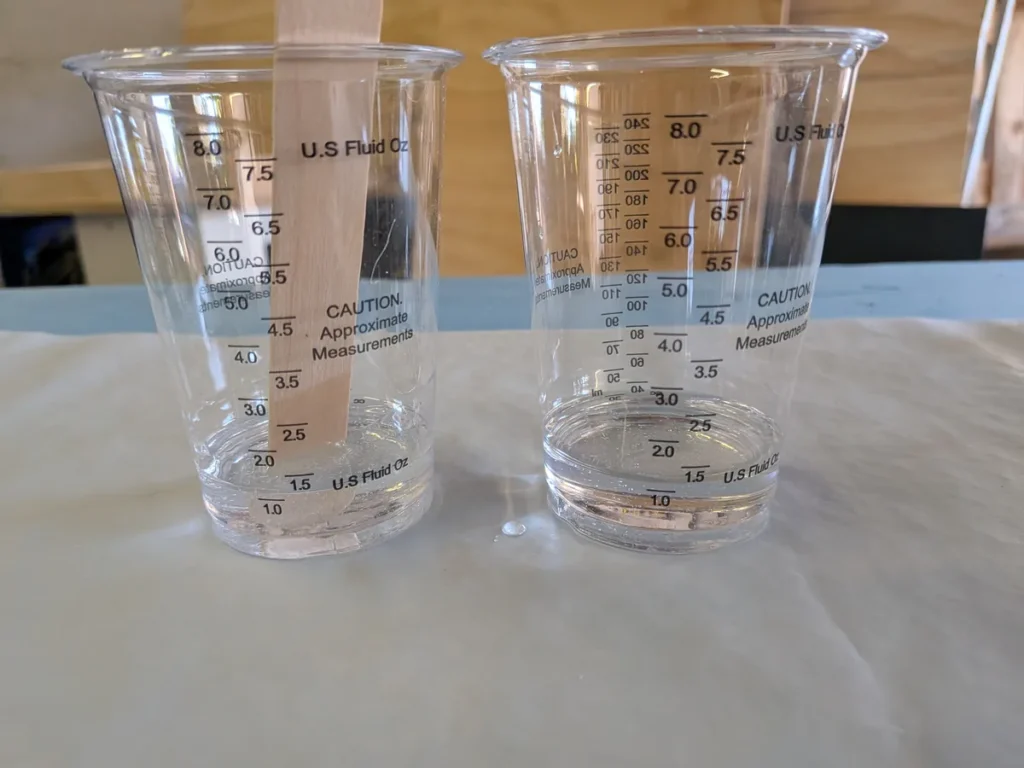
The resin mixed cloudy and streaky, then cleared after 2 to 3 minutes of stirring. (Let’s Resin says to stir for at least 3 minutes, so don’t cut it shorter than I did.) I brushed a clear coat onto the wood, tinted two small cups with Watermelon Red and Bluish Green, and poured.
- It stayed pourable. I was still pouring color about 25–30 minutes after mixing. Let’s Resin says 40–50 minutes of working time.
- It warmed up, even in a tiny batch. The resin read 80.1°F on a bench at about 73°F, half an hour after mixing.
- A little goes a long way. 2 oz was more than three 3-inch ornaments needed. A lot ran off the edges.
- The cure was slow. Set but rubbery at 4 hours. Still rubbery everywhere at 26 hours, past the 8–24 hours Let’s Resin gives for demolding. Hard enough to sand at about 2 days.
That’s a slow cure, not a failed one. The maker’s times assume its temperature range, and a cold night can add a day or more. Rubbery and slowly firming up is slow. Still wet or sticky after several days is a problem.
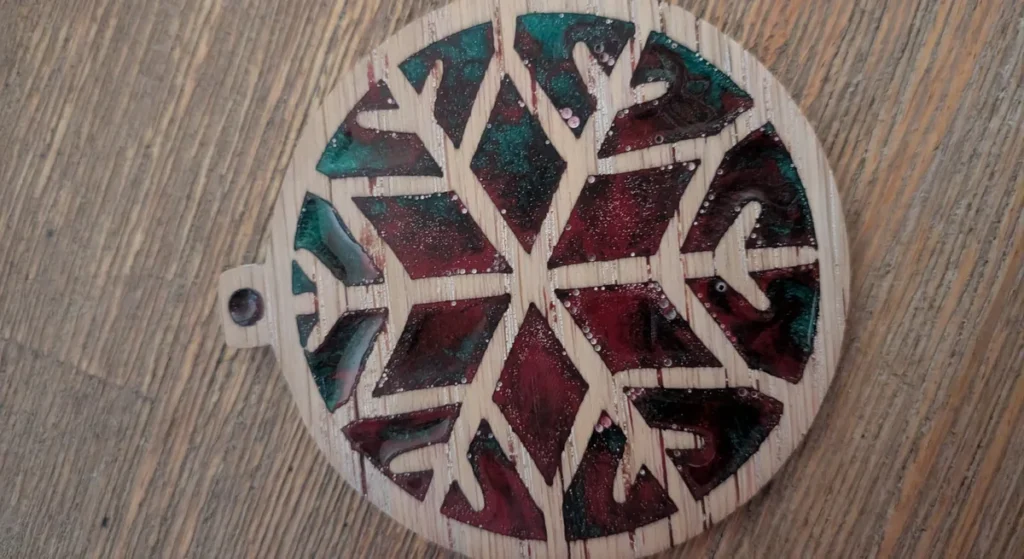
What went wrong. Sanding the faces flush opened dozens of pinholes: bubbles just under the surface that the torch pass never reached, most likely air coming out of the open-grained wood. The red also wicked along the grain past the cut edges. Neither is the resin’s fault, but a beginner pouring into bare wood will hit both.
The colors. The kit’s green is Bluish Green, which leans teal, and its red is Watermelon Red. They’re nice, but they aren’t plain. For a first project I’d rather test with plain colors, so the result is what you pictured. If you want a true Christmas red and green, add a basic mica set with plain colors, like this 24-jar mica set. I haven’t used that set myself. Let’s Resin says to keep colorant under 6% of the mix; a pinch of mica is far below that (more in how to color resin). I haven’t used the other four micas yet.
Pour 2: a clear coat in a warm room
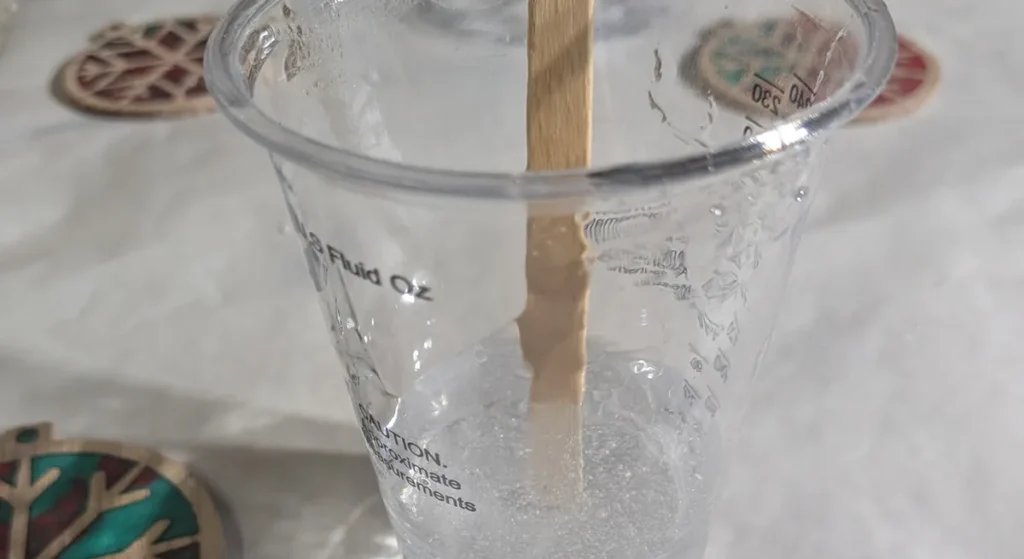
The box says “bubble free”, “crystal clear” and “self-leveling”. Here’s what I saw.
- Bubbles: not bubble free out of the cup. The mixed resin was cloudy with fine bubbles. There were noticeably fewer than in the first, cooler pour, and after a torch pass the cured coat has very few. I’d warmed the bottles in front of the heater first. One pour each way isn’t proof, but it matches Let’s Resin’s advice to work at 75–85°F. If you’re fighting bubbles, see how to get bubbles out of resin.
- Self-leveling: it flowed out and leveled on the ornaments, and ran over the edges. On the flat cardboard it pulled back from two edges. Cover more bench than you think you need.
- Cover it while it cures. A bug landed in one of the ornaments while the resin was still curing. Put a clean box or tub over the pieces as soon as you’ve torched them, without letting it touch the surface.
- Clarity: the print read sharp through the wet resin, and it still does three days on. The cured pool is very clear: no cloudiness and no sign of yellowing. It isn’t flawless: a few dust specks set into the surface, and the edge cured with a ripple where the resin ran off the card.
- My torch was too much. I use a plumbing torch, and it scorched the paper around the pieces. Clear paper and anything flammable off the bench before you torch. For resin, a small refillable butane torch held 4–6 inches up and kept moving is far more forgiving. Never use a lighter.
Cleaning up, and getting resin off your hands
Tools and the bench. Wipe wet resin off tools and surfaces with paper towels first. A solvent such as acetone or isopropyl alcohol will clean up what’s left of uncured resin. Keep your gloves on, keep the air moving, and keep solvents well away from the torch and any heater: acetone and alcohol are both highly flammable. Turn the heater off and let the torch cool before you open a solvent, and follow the warnings on its container. Then take the gloves off and always wash your hands with soap and warm water afterwards, even if they look clean.
Resin on your skin. It happens, even with gloves. Get it off right away:
- Wipe off as much as you can with a dry paper towel.
- For resin or mixed epoxy, which doesn’t dissolve in water, rub in a waterless hand cleaner (the kind mechanics use) and wipe it off with more paper towels. One example is Fast Orange pumice lotion, sold as a waterless cleaner for mechanics. I haven’t used that one on resin myself.
- For hardener on its own, go straight to soap and warm water. WEST SYSTEM notes that epoxy hardener is water-soluble.
- Finish with soap and warm water either way, then use a hand cream, since the cleaner strips the skin’s oils.
If resin gets on your clothes, change them right away. If a spot has already started to set on your skin, the same rule holds: no solvents. Wash it, and let the rest wear off.
Don’t use acetone, alcohol or hand sanitizer on skin. If resin gets in your eyes, flush with low-pressure water for 15 minutes and get medical help. If your skin turns red, itchy or swollen after using resin, stop and see a doctor: that can be the start of an allergy that can get worse with later exposures.
Cure times: mine vs Let’s Resin’s
| Stage | Let’s Resin’s help center says (at 75–85°F) | Pour 1: about 71–75°F, colder overnight | Pour 2: pieces at about 85°F at the pour |
|---|---|---|---|
| Working time | 40–50 min | Still pourable at 25–30 min | Started to thicken at about 30 min |
| About 4 hours | not stated | Set, rubbery, takes a fingerprint | not checked |
| About 24 hours | demold 8–24 h | Still rubbery (26 h) | Cured, but the surface could still be scratched |
| 2–3 days | full cure | Hard enough to sand at 2 days | Hard at 2 days: couldn’t scratch it |
| 6 days | not stated | Completely hard, no yellowing I can see | Hard and still clear, no signs of yellowing |
My general rule for craft epoxy: usable after about 72 hours, fully hard after about 7 days. Handle it gently in between, and give coasters the full week before a hot mug goes on them. To help a slow cure, use a heat lamp or a curing box at 85°F or below and keep the air moving. Never use an oven, and a UV lamp won’t cure epoxy. More in how long resin takes to cure.
Let’s Resin rates the cured resin as heat resistant to about 160°F. I haven’t tested that. Treat coasters as fine for a warm mug, not a pot off the stove.
What I liked
- 1:1 by volume is about as simple as epoxy gets.
- Enough working time for a slow first pour. I was still pouring at 25–30 minutes in the cool room. In the warm room it started to thicken at about 30 minutes, so warm means faster.
- It behaved better in my warm pour. Fewer bubbles and a cure close to the stated times at about 85°F.
- It cured clear. No cloudiness and no yellow tint in my test piece at three days.
- The small spouted cups make it easy to split one batch into colors.
What I didn’t like
- No gloves in the box, though the listing mentions them, and no eye protection or mold.
- “Non-toxic” on the leaflet with no note that it means the cured resin, plus skin-cleanup advice I don’t agree with.
- Not bubble free. Expect to torch.
- The red and green are fancy shades, not plain ones.
- The cups are too big for small batches. 1 oz sits near the bottom of an 8 oz cup marked “approximate”, where one line’s error is a big share of the mix. Use smaller cups and read both parts at eye level. See the mixing guide.
- In my two pours, the stated cure times only held in the warm room. In an ordinary cool garage, plan on an extra day.
Which size should you buy?
Two small projects used about 4 oz of mixed resin, roughly an eighth of the kit. Coasters use much more: I allow about 8 oz of mixed resin for four standard coasters. I tested the 34 oz size only. I haven’t poured the two larger kits.
| Kit | Total mixed resin | Roughly how many coasters |
|---|---|---|
| Let’s Resin 34 oz kit (what I tested) | 34 oz | about 16 |
| Let’s Resin 80 oz kit | 80 oz | about 40 |
| Let’s Resin 1.5 gallon kit | 192 oz | about 96 |
These are estimates. Trays and deeper molds use far more, and some always stays in the cup. To work out your own project before you choose a size, use my resin calculator.
- Just want to try resin once? The 34 oz kit is the one I tested, and it’s the cheapest way in. Check today’s price on Amazon.
- Planning coasters or more than a couple of projects? The 80 oz kit leaves room for mistakes. It’s on Amazon (in the table above) or direct from Let’s Resin, where orders over $30 ship free in the continental US.
- Making gifts or planning to keep going? The 1.5 gallon kit usually costs less per ounce. Check its listing for what’s included.
Who should buy it, and who should skip it
A good fit if you are new to resin, want a simple 1:1 epoxy for coasters, ornaments, keychains or small castings, and can pour somewhere warm.
Skip it, or add something, if you:
- Want classic red and green out of the box. Add a basic mica set.
- Want deep castings or river pieces. Use a deep-pour resin; see casting vs coating resin.
- Want pieces that touch food. Only treat a resin as food safe if its own label or SDS says so for the cured product.
- Want fast, small pieces cured under a lamp. That’s UV resin; see epoxy vs UV resin.
Not sure which type you need? Start with how to pick the right resin.
What to buy with it
🧰 Recommended Kit for This Project
- Nitrile gloves. Ansell Microflex MidKnight Touch 93-732. Check the size before you order: the listing I found is a Medium, and I wear a Large.
- Safety glasses. NoCry clear anti-fog safety goggles.
- A coaster mold. ResinWorld 4-inch coaster molds, 8-pack (4 round, 4 square). For other shapes, see best resin molds for beginners.
- A small butane torch. Sondiko refillable butane torch.
From the workshop: The gloves are the ones I pour in: black nitrile, about 4 mil at the fingers. They fit and grip well, didn’t tear, and no resin got through. Great for resin pours. I haven’t tested the glasses, the mold or the torch linked here.
📋 Get the Free Resin Safety & Prep Checklist
A one-page printable checklist covering PPE, ventilation, and workspace setup — so you’re not hunting through this guide mid-pour. Enter your email and we’ll send it straight over.
Free. We only email when there’s something useful, never more than twice a month, and you can unsubscribe anytime. Privacy Policy
A pour log you can print
Writing down the temperature and the times is what made the slow cure easy to explain. Here’s a free log to use on your own resin: Resin Test Pour Log (PDF).
Frequently Asked Questions
Is Let’s Resin good for beginners?
Yes. Let’s Resin’s 1:1 epoxy kit suits small beginner projects such as coasters and ornaments. The ratio is easy and it gave me enough working time. Buy gloves, eye protection and a mold with it, and pour somewhere warm.
How long does Let’s Resin take to cure?
Let’s Resin’s help center says demold in 8–24 hours and full cure in 2–3 days at 75–85°F. In my cool garage it was still rubbery at 26 hours and hard at about 2 days. Warmed to about 85°F, it was set but still scratchable at one day and scratch-hard at two. Allow about 72 hours before use and about 7 days for full hardness.
How many coasters does a Let’s Resin kit make?
At about 8 oz of mixed resin per four coasters: the 34 oz kit makes about 16, the 80 oz kit about 40 and the 1.5 gallon kit about 96. Thicker coasters use more.
Is Let’s Resin epoxy food safe?
Don’t assume so. Only use a resin on surfaces that touch food if its own label or safety data sheet says the cured product is suitable.
Can I cure Let’s Resin epoxy under a UV lamp?
No. Epoxy cures by a chemical reaction between resin and hardener, not by light. To help a slow cure, use a heat lamp or curing box at 85°F or below. Never use an oven.
Sources
- Let’s Resin help center, Know More About Epoxy Resin: working time, demold and full cure times, the 75–85°F range, the 3-minute stir, the 6% colorant limit, the 160°F heat rating and the sunlight warning.
- The kit’s own bottle labels and leaflet: the WARNING and DANGER statements, the ratio and the leaflet’s cleanup advice.
- System Three, Safe handling of epoxy: never use solvents on skin; use waterless hand soap and paper towels, then a skin cream.
- WEST SYSTEM, Preventing Overexposure: waterless cleanser for resin and mixed epoxy, soap and warm water for hardener, solvents for residue on tools, and the 15-minute eye flush.
- WEST SYSTEM, Health Effects From Overexposure to Epoxy: contact dermatitis and sensitization.
- WEST SYSTEM, Epoxy Chemistry: epoxy cures by a chemical reaction between resin and hardener, and warmth speeds it up.
- NIOSH (CDC), Epoxies and resins: wash skin or change clothing as soon as possible after contact.
- INCURE, Can You Use UV Light on Epoxy Resin?: a UV-curing equipment maker: UV light doesn’t speed up the cure of standard two-part epoxy; heat does.
- Resin Obsession, What’s the Difference Between UV Resin and Epoxy Resin?: epoxy cures through a chemical reaction between the resin and hardener, not by light.
Keep Learning on ResinAffairs.com
- How to Make Epoxy Resin Coasters → the classic first project for a kit like this.
- Resin Christmas Ornaments → the project from my first pour.
- How Long Does Resin Take to Cure? → the normal timeline, and how room temperature changes it.
- How to Get Bubbles Out of Resin → torch and heat gun technique.
- Resin PPE for Beginners → gloves, eye protection and when you need a respirator.
- How to Pick the Right Resin → epoxy, UV and the rest, by project.
- 🎁 Gifts for Resin Artists 2026 → — kits, molds and safety gear by budget, for anyone buying for a resin crafter.
- Is resin food safe? → — what “FDA compliant” really means, and what my own resin labels say.
This review is general information for hobby use, not professional occupational-health advice. Always follow the label and the Safety Data Sheet for your resin.
Enjoyed this guide? Join the Resin Affairs newsletter for new tutorials, safety tips, and project ideas straight to your inbox.