Casting Resin vs. Coating Resin: What’s the Difference?
Resin Affairs is reader-supported. If you buy through links on this page, we may earn a small commission at no extra cost to you. We only link to gear we would use ourselves — prices and availability change, so check the current listing. Always follow your resin product’s label and Safety Data Sheet.
As an Amazon Associate I earn from qualifying purchases.
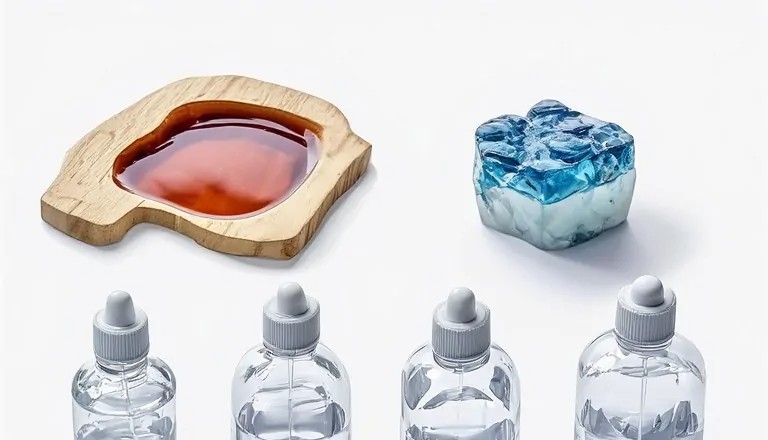
Walk into a craft store or browse resin online and almost everything is labeled with the same two generic words: “epoxy resin.” Same bottles, same promises of crystal-clear results — so it’s natural to assume one bottle is much like another. Here’s the thing most beginners only learn the hard way: casting resin and coating resin are two different formulas, engineered for two different jobs, and swapping one for the other is a leading cause of cracked, overheated, yellowed, or never-quite-flat projects.
It usually goes like this. A maker buys a tabletop/coating kit for a bar top, has half the kit left over, and pours it two inches deep into a silicone mold “because it’s what’s on hand.” Hours later the mold is hot to the touch, the resin has cracked straight down the middle, and the center is rubbery while the edges are brittle. Or the reverse: someone brushes thin casting resin across a tabletop and watches it sit there — refusing to self-level into that glass-smooth finish, sagging off the edges, and costing twice what the right product would have.
This guide fixes that confusion for good. You’ll learn what casting resin actually is, what coating resin actually is, how they differ in pour depth, working time, heat, and finish — plus exactly which one your project needs and what to do if you’ve already bought the wrong bottle. If you’ve read our beginner’s guide to picking resin for your project, think of this as the close-up sequel: same family (epoxy), two very different personalities.
Casting resin is a thin, slow-curing epoxy made for deep pours (typically ½ inch to 2+ inches per layer, depending on the formula) with low heat buildup — best for molds, jewelry, and river tables. Coating resin (tabletop resin) is a thicker, faster-curing epoxy made for thin layers (typically ⅛–¼ inch per coat) that self-levels to a hard, high-gloss finish — best for bar tops, tabletops, and sealing artwork. They are not interchangeable: coating resin poured deep can overheat and crack, while casting resin used as a coating levels poorly and cures slowly.
⚠️ Safety first: work in a well-ventilated space, wear nitrile gloves and eye protection, and keep uncured resin off your skin. New to resin safety? Start with Is Epoxy Resin Safe? and Resin PPE for Beginners.
What Is Casting Resin?
Casting resin is an epoxy formula engineered to be poured thick. Where a coating resin panics at anything over a quarter inch, a casting resin stays calm at half an inch, a full inch, or — in the case of purpose-built deep-pour formulas — two to four inches in a single pour. That single capability shapes everything else about how it behaves.
The defining trait of casting resin is low viscosity. Fresh out of the cup it flows almost like warm honey or vegetable oil — noticeably thinner than tabletop resin. That thinness is deliberate: it lets the resin flow into fine mold details (filigree bezels, tiny lettering, flower petals) and lets trapped air bubbles rise and escape rather than getting suspended mid-cure. If you’ve ever demolded a pendant to find it riddled with micro-bubbles, thin casting resin plus a patient bubble-pop routine is the fix — see our mixing guide for the two-cup method that keeps bubbles out from the start.
The second defining trait is a slow, low-exotherm cure. All epoxy generates heat as it hardens (the “exotherm”), and heat is the enemy of deep pours: a large mass of resin can’t shed heat from its center, so the middle gets hotter, cures faster, gets hotter still — a runaway loop that ends in cracking, yellowing, or a smoking cup. Casting resins use a slower hardener chemistry that spreads the reaction over many hours, keeping peak temperatures low even in deep layers. The trade-off is patience: expect 24–72 hours to full cure depending on brand, depth, and room temperature, versus roughly 24 hours for most coatings.
Typical casting resin specs at a glance:
- Pour depth per layer: ~½″–2″ for standard casting formulas; up to 2″–4″ for deep-pour formulas (always check your label — this number is the whole game)
- Working time: long — commonly 45 minutes to 2+ hours
- Full cure: 24–72 hours
- Finish: clear and glossy out of a polished mold, though large flat surfaces may need a flood coat or polish for a perfect shine
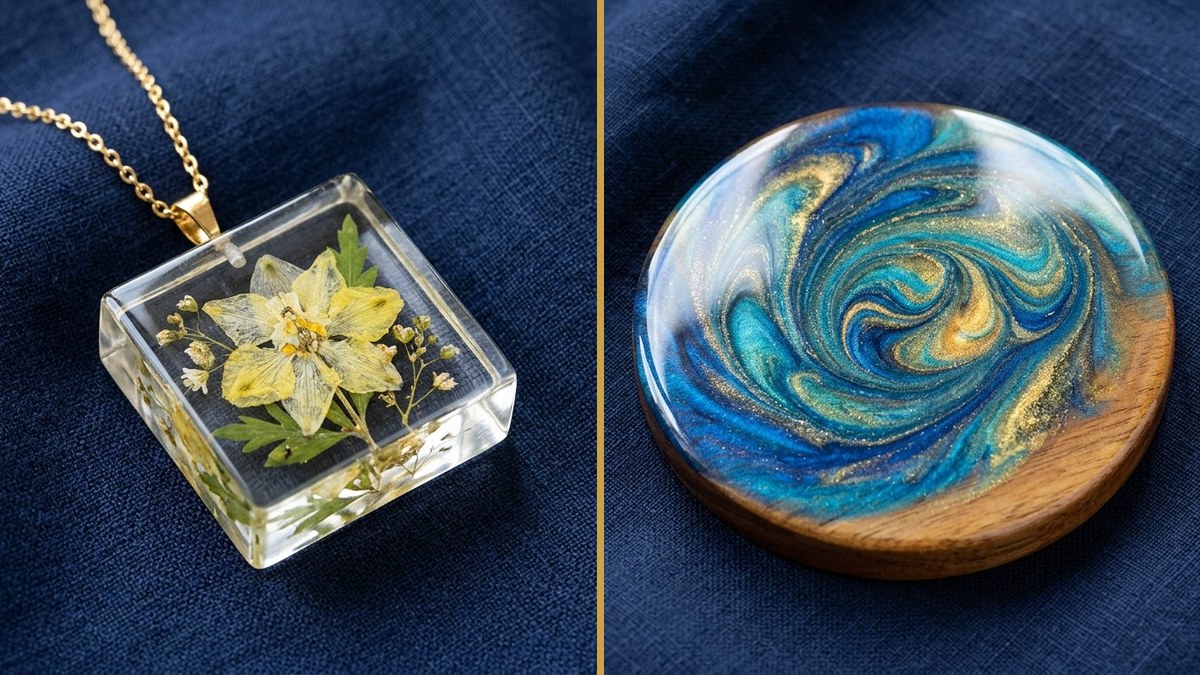
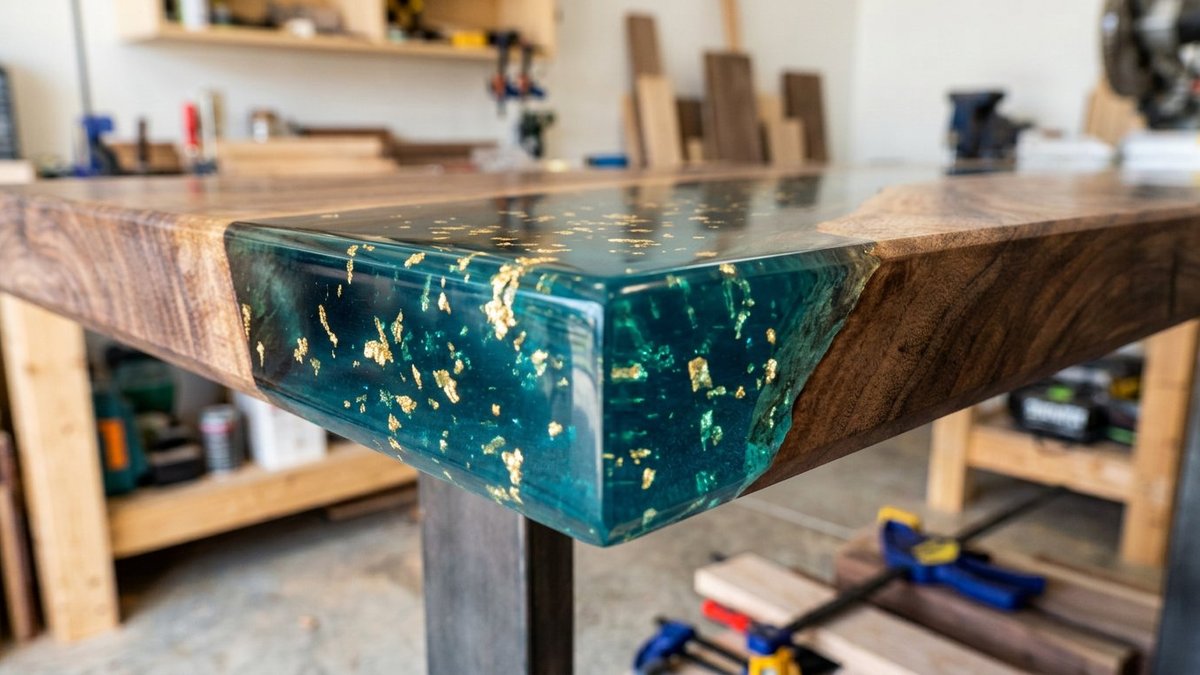
What casting resin is best for: silicone-mold jewelry and pendants, dice, paperweights, sculptures and figurines, preserved-flower blocks, and river tables (with a deep-pour-rated formula — a standard casting resin at ½″ per layer would make a river table a month-long layering exercise). It’s also the right pick any time resin needs to cure inside something rather than on top of something.
One honest caveat: casting resin’s thinness and slow cure make it a poor choice for coating jobs, which is exactly why the second formula exists.
What Is Coating Resin?
Coating resin — sold as tabletop resin, bar-top resin, or flood-coat resin — is an epoxy formula engineered to be spread thin and flat. Its entire chemistry is optimized for one beautiful trick: poured or brushed over a surface at ⅛ to ¼ inch thick, it flows out, releases its own bubbles, and settles into a mirror-flat, glass-hard, high-gloss skin. That bar top you ran your hand across and couldn’t believe wasn’t glass? Coating resin.
Compared with casting resin, coating resin is more viscous — closer to room-temperature honey. That body is what lets it hang on a surface rather than running straight off, and it’s the reason coating resin self-levels so well: the film is thick enough that surface tension pulls it flat before it gels. Our epoxy serving-tray tutorial is a textbook coating-resin project — a thin flood coat over wood that levels itself while you watch.
The cure is faster and hotter than casting resin. A typical tabletop formula gels in a few hours and is ready for light use in about 24 hours (full chemical cure still takes up to 72 hours — don’t set hot mugs on it on day one). That faster reaction is fine in a thin film, where heat escapes easily into the air and the substrate. It is not fine in a deep mass, which is why every coating resin label carries a maximum pour depth — usually ⅛″–¼″ (3–6 mm) per coat. Need more build? You pour multiple thin coats, scuff-sanding lightly between them once tack-free, rather than one deep one.
Typical coating resin specs at a glance:
- Pour depth per layer: ~⅛″–¼″ per coat; build thickness with multiple coats
- Working time: shorter — commonly 20–45 minutes (warmer rooms shorten it further)
- Full cure: ~24 hours to handle, up to 72 hours for full hardness and heat resistance
- Finish: its superpower — a hard, UV-stabilized, high-gloss surface straight off the pour
What coating resin is best for: bar tops, tabletops, and countertops; flood-coating wood, canvas, and resin art; sealing photographs, prints, and puzzles under glass-clear epoxy; and “doming” small pieces like pendants and keychains with a final glossy cap. If the resin needs to sit on top of something and look like glass, reach for coating resin.
The honest caveat in this direction: everything that makes coating resin brilliant in thin films — fast cure, higher exotherm, thicker body — makes it dangerous in deep molds. Which brings us to the side-by-side.
Key Differences at a Glance
If you remember nothing else from this guide, remember this table. Tape it to your craft-room wall.
| Casting Resin | Coating (Tabletop) Resin | |
|---|---|---|
| Designed for | Thick pours into molds | Thin layers over surfaces |
| Max depth per layer | ~½″–2″ (standard); up to 2″–4″ (deep-pour formulas) | ~⅛″–¼″ per coat |
| Viscosity | Thin — flows like warm honey or oil | Thicker — flows like room-temp honey |
| Working time | Long: ~45 min–2+ hrs | Shorter: ~20–45 min |
| Cure time | Slow: 24–72 hrs to full cure | Faster: ~24 hrs to handle, 72 hrs full |
| Heat buildup (exotherm) | Low — stays cool in deep layers | High — only safe in thin films |
| Self-leveling / finish | Good in molds; large flat areas may need a flood coat or polish | Excellent — mirror-flat, high-gloss, its headline feature |
| Bubble release | Easier (thin formula lets bubbles rise) | Good in thin layers; deep pours trap bubbles permanently |
| Typical uses | Jewelry, dice, deep molds, sculptures, river tables, flower preservation | Bar tops, tabletops, countertops, sealing art/photos, doming |
| Rough price | $$$ — typically more per ounce (you’re paying for deep-pour chemistry) | $$ — typically less per ounce at tabletop volumes |
| Beginner-friendliness | Forgiving on timing, demanding on patience | Forgiving on finish, demanding on speed and prep |
Two rows in that table deserve underlining. Max depth per layer is the single most important number on any resin label — more important than brand, more important than price. And heat buildup is the reason the max-depth number exists: it’s not a suggestion, it’s physics. A coating resin poured two inches deep doesn’t just cure badly; it can flash-cure, smoke, crack, yellow, and in extreme cases damage the mold or scorch the wood around it.
💡 BEGINNER TIP: Shopping and can’t tell which type you’re holding? Check the label for pour depth first. If it says “pour up to ¼ inch per coat,” it’s a coating resin. If it says “pour up to 2 inches,” it’s a casting/deep-pour resin. If it doesn’t say at all, put it back — reputable brands always print this number.
What Happens If You Use the Wrong One
Let’s get specific, because “don’t do it” is less convincing than knowing exactly what goes wrong. Both directions of this mistake are common, and both are painful in different ways.
Coating resin poured deep (the dangerous direction)
This is the failure mode that fills craft forums and our resin troubleshooting hub. Pour a ¼″-rated tabletop resin two inches deep into a mold and you trigger an exothermic runaway:
- It overheats. The center of the mass can’t shed heat, so the reaction accelerates. The mold may become too hot to touch; in extreme cases the resin smokes, flash-cures in minutes instead of hours, and can warp silicone molds or scorch wood.
- It cracks. Rapid, uneven curing builds internal stress. The classic result is a crack straight through the piece — sometimes audible while it cures.
- It yellows or clouds. Excess heat degrades the epoxy’s clarity. A piece that should be water-clear comes out amber, cloudy, or with a scorched-looking core.
- The center stays soft. Paradoxically, a flash-cured piece can end up with a rubbery or tacky middle that never fully hardens, because the runaway reaction gels the outside before the inside finishes cross-linking.
Can you fix it? Honestly: almost never. An overheated pour is a chemistry failure all the way through, not a surface flaw you can sand out. The piece is usually a loss — wear gloves, let it cool fully, and dispose of it per your local waste rules. The real fix is prevention, plus knowing the legitimate workaround: coating resin can build depth if you pour it in multiple thin layers (¼″ at a time, letting each layer reach a firm tack before the next). It’s slow, but it’s safe — and for small molds under an inch deep, it’s a reasonable way to use up a tabletop kit.
Casting resin used as a large flat coat (the disappointing direction)
This direction won’t smoke or crack — it just quietly underperforms while costing you more:
- Poor self-leveling on broad surfaces. Thin casting resin keeps flowing long after you’d like it to stop. On a tabletop it can drift toward the low corner, leave thin spots, and cure with a subtly wavy surface instead of that mirror-flat flood-coat look.
- Sagging and runs on edges. That same thinness means it won’t hang on vertical edges or table sides — it sheets off, leaving drips underneath and bare spots on top. Coating resin’s thicker body is specifically designed to coat an edge in one pass.
- A soft, slow schedule. With working times measured in hours and full cures stretching to three days, a casting-resin “tabletop” stays vulnerable to dust, pet hair, and fingerprints far longer than necessary.
- You’re overpaying. Casting resin typically costs more per ounce. Coating a 20-square-foot bar top with deep-pour formula is like painting a house with artist’s oils — technically possible, financially regrettable.
The bottom line in both directions: the wrong resin doesn’t just work a little worse — it fails at the exact thing the right resin was engineered to do. Match the formula to the job and nine out of ten “resin disasters” never happen.
Which One Do You Need?
Find your project below. If it appears in both columns anywhere online, trust the pour-depth logic, not the product title — marketing names are inconsistent, physics isn’t.
- Jewelry, pendants, earrings, dice, small figurines → casting resin. You’re pouring into molds, often ½″–1″ deep, with fine detail to capture. Thin viscosity + slow cure is exactly what you want. (Making molded pieces? Our beginner’s mold guide pairs well with this one.)
- River tables and thick slabs → deep-pour-rated casting resin. Standard casting resin (½″–1″ per layer) turns a 2″ river into a tedious multi-week layering job. Buy a formula explicitly rated for 2″+ pours. This is the one project where the exact depth rating on the label matters most.
- Bar tops, countertops, tabletops, desks → coating (tabletop) resin. Thin flood coats, self-leveling gloss, hard-wearing finish. The serving-tray tutorial linked above is the same technique at small scale.
- Coasters and small flat pours → either, with a pour-depth caveat. Thin coasters (¼″ or less) work beautifully with coating resin; deeper molded coasters (½″+) want casting resin. When in doubt, measure your mold depth and obey the label — our how-to-pick guide’s pour-depth section walks through this decision in detail.
- Sealing resin art, paintings, photos, or prints → coating resin. You want a thin, glass-clear, self-leveling skin — coating resin’s home turf. One flood coat is usually enough; two for gallery depth.
- Doming stickers, keychains, or small flat pieces → coating resin (or UV resin for tiny jobs). A thin cap of tabletop resin gives that rounded glass dome. For pieces under a couple of inches, UV resin cures the same dome in minutes.
- Flower preservation blocks and paperweights → casting resin. Deep, clear, slow — the trifecta this formula was born for. Dried flowers only; fresh flowers rot inside resin.
Still torn? Answer one question: how deep is a single pour? Over ¼″ → casting. At or under ¼″ on a flat surface → coating. That one measurement resolves nearly every case. Once you know the depth, my resin calculator tells you how much to mix and how many layers that takes.
🧰 Recommended Kit
- Casting / deep-pour epoxy resin kit — look for a ½-gallon+ kit with a printed depth rating (e.g. “up to 2 inches per pour”). Craft Resin Deep Pour Epoxy Resin Kit, 2″ Pours (1.5 Gallon) — a genuine deep-pour-rated formula, single-layer pours up to 2 inches with a low-exotherm cure built for river tables and thick castings.
- Tabletop / coating epoxy resin kit — look for a 1-gallon kit, heat-resistant and UV-stabilized. Craft Resin Table Top Epoxy Resin Kit (1 Gallon, UV Resistant) — same trusted brand as the deep-pour kit above, self-leveling and non-yellowing for coasters, trays and countertops.
- Graduated mixing cups + stir sticks set — accurate ratios are non-negotiable. Creahaus Silicone Measuring Cups Tool Kit — reusable graduated cups plus stir sticks and pipettes in one set.
- Nitrile gloves (box) — non-negotiable every pour; resin is a skin sensitizer.
📋 Get the Free Resin Safety & Prep Checklist
A one-page printable checklist covering PPE, ventilation, and workspace setup — so you’re not hunting through this guide mid-pour. Enter your email and we’ll send it straight over.
Free. We only email when there’s something useful, never more than twice a month, and you can unsubscribe anytime. Privacy Policy
Common Mistakes
- Assuming all “epoxy resin” is interchangeable. The single biggest beginner error, and the reason this post exists. “Epoxy” describes the chemistry family, not the job. Casting, coating, deep-pour, doming, and quick-cure formulas can all say “epoxy resin” on the front — the differences live in the fine print (viscosity, depth rating, cure schedule). Read the back of the bottle, not just the front.
- Not checking the label’s max pour depth. Experienced makers check this number before every project, even with a brand they’ve used before — because brands sell both types in near-identical packaging. Make it a habit: find the depth rating, measure your mold or coat thickness, and confirm the first number is bigger than the second. Thirty seconds that prevents 90% of heat failures.
- Using leftover coating resin for a deep mold “because it’s what’s on hand.” We get it — resin isn’t cheap, and the leftover half-kit is right there. But a ruined mold, a cracked piece, and wasted pigment cost more than the right bottle would have. Legitimate ways to use up leftovers: thin flood coats, doming, sealing art, or layered thin pours into a shallow mold. Illegitimate way: one deep pour. If you catch yourself saying “it’ll probably be fine” — it probably won’t be.
- Buying deep-pour resin for a tabletop (the expensive mistake). Less dramatic than a flash-cure, but painfully common: a beginner buys premium 2″-rated casting resin for a bar top, then fights sagging edges and a three-day dust window. Match the formula to the job in both directions.
- Ignoring temperature. Both formulas assume roughly 70–80°F (21–27°C). Cold rooms thicken resin (worse leveling, trapped bubbles); hot rooms accelerate cure (shorter working time, higher exotherm — genuinely dangerous with deep coating pours). If your workspace is outside that band, fix the room before you open the bottles.
Frequently Asked Questions
What’s the difference between casting resin and coating resin?
Casting resin is a thin, slow-curing epoxy made for deep pours (½″–2″+ per layer) with low heat buildup — ideal for molds, jewelry, and river tables. Coating resin is a thicker, faster-curing epoxy made for thin layers (⅛″–¼″ per coat) that self-levels to a hard, glossy finish — ideal for tabletops and sealing artwork. They use different hardener chemistry and are not interchangeable.
Can I use coating resin in a mold?
Only if the mold is shallow — at or under the resin’s max pour depth (usually ¼″). For deeper molds, either switch to casting resin or build the piece in multiple thin layers, letting each layer reach a firm tack before pouring the next. One deep pour of coating resin can overheat, crack, and yellow.
Can I use casting resin as a tabletop coating?
You can, but you’ll likely be disappointed: thin casting resin levels poorly on broad surfaces, sags off edges, stays dust-vulnerable for days, and costs more per ounce than tabletop resin. For tabletops and bar tops, a purpose-made coating resin gives a flatter, harder, cheaper result.
Which resin is better for jewelry?
Casting resin, in most cases. Jewelry molds are typically ¼″–1″ deep with fine detail — exactly what thin, slow-curing casting resin is designed for. Use coating resin on jewelry only for the final “doming” cap over an already-cured flat piece, or switch to UV resin for very small fast-cure pieces.
Why does casting resin take longer to cure than coating resin?
It’s deliberate chemistry, not a flaw. A deep mass of resin can’t shed heat from its center, so casting resins use a slower hardener reaction that spreads heat release over many hours, keeping peak temperatures safe. Coating resins cure faster because thin films shed heat easily. The slow cure is what makes deep pours possible.
Can you mix casting and coating resin together?
No — never mix different resin systems, or Part A from one kit with Part B from another. Each formula’s resin-to-hardener ratio and chemistry are calibrated as a pair; mixing systems produces unpredictable curing, soft spots, or a piece that never hardens. Use up each kit on projects suited to its type instead.
Keep Learning on ResinAffairs.com
- 🧪 Which Type of Resin Should You Use? → — the full resin-type decision guide this post zooms in on
- 🥣 How to Mix Epoxy Resin: Ratios, Timing & No Bubbles → — the two-cup method, ratios, and bubble control for either formula
- 🔧 Common Resin Problems and How to Fix Them → — overheating, cracking, soft spots, and cloudiness, diagnosed
- 🍽️ How to Make an Epoxy Serving Tray → — a coating-resin project start to finish
- 🌊 Epoxy Pouring for Beginners → — the pour technique itself, step by step, for either formula
Enjoyed this guide? Join the Resin Affairs newsletter for new tutorials, safety tips, and project ideas straight to your inbox.