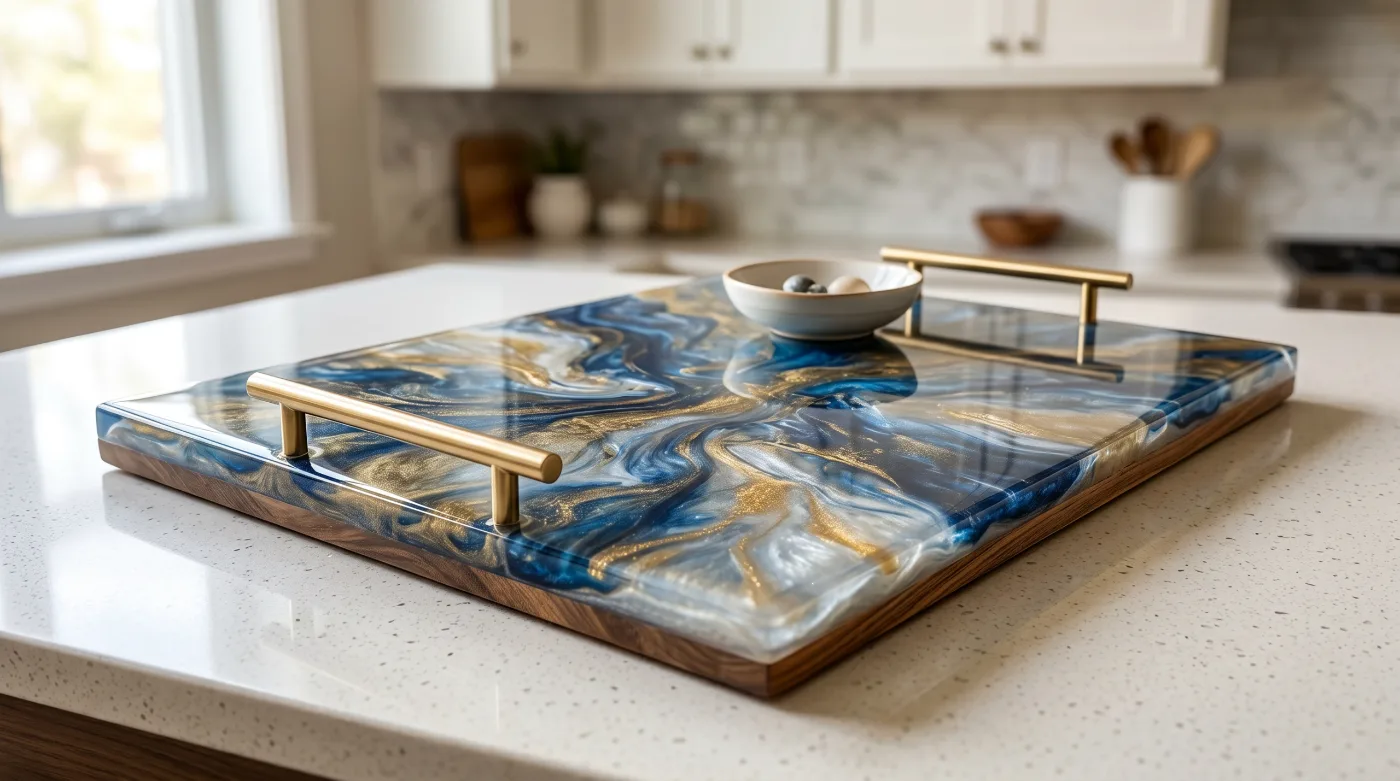
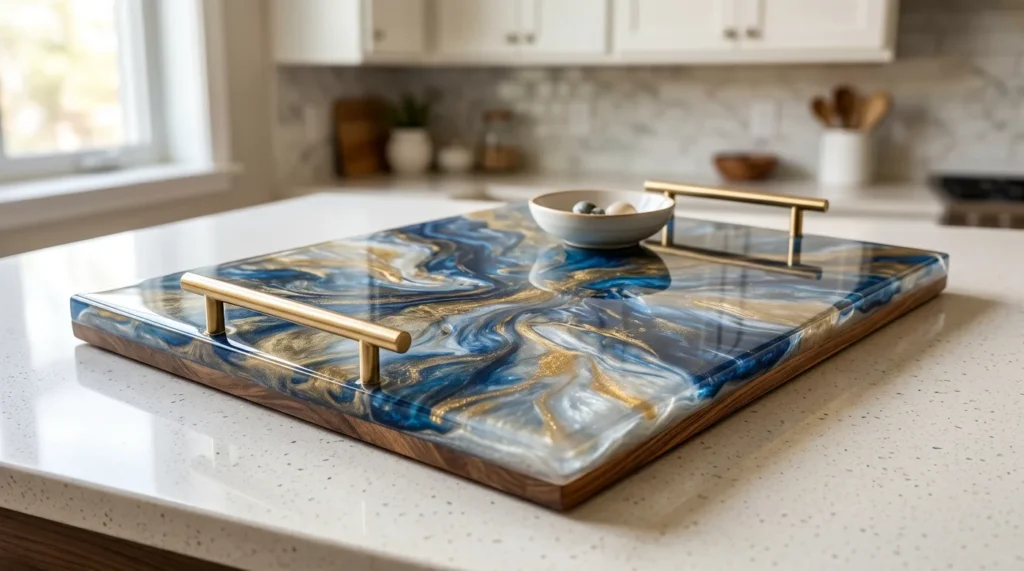
How to Make an Epoxy Serving Tray (Beginner Step-by-Step)
Resin Affairs is reader-supported. If you buy through links on this page, we may earn a small commission at no extra cost to you. We only link to gear we would use ourselves — prices and availability change, so check the current listing. Always follow your resin product’s label and Safety Data Sheet.
As an Amazon Associate I earn from qualifying purchases.
Quick answer: Buy a wooden tray with raised edges. Seal the wood, tape the underside edge, level your table, then mix and pour coating epoxy about 1/8 inch (3 mm) at a time. Pop bubbles with a heat gun or torch, cover it, and leave it 72 hours before handling. Treat the finished tray as wipe-clean decor unless your resin’s maker says the cured product is food safe, and even then: cold or room-temperature food only, no cutting, hand-wash only.
🧰 Recommended Kit for This Project
- Let’s Resin 34 oz epoxy kit: the kit I tested; enough for about one tray
- Let’s Resin Epoxy Resin Crafting Kit with Dyes & Accessories (1 gallon): for several trays
- Wooden serving tray with raised edges: a ready-made base, so you don’t need a mold
- Wagner HT1000 heat gun: for bubbles, and the only heat tool near alcohol ink
- Nitrile gloves: for every pour
What You Need
- A tray with raised edges. Wood is the easiest. The rim holds the resin like a mold. Skip flimsy plastic, which can warp.
- Coating epoxy, not deep pour. Coating (tabletop) epoxy self-levels to about 1/8 inch (3 mm) per coat. Deep-pour resin is made for thick river pours and cures for days. Not sure which you have? See casting vs coating resin.
- Mixing: graduated cups, stir sticks and a spreader. Mixing cups · Silicone stir sticks
- Bubbles: a heat gun, or a small butane torch for a clear open pour. Never a lighter.
- Sealer: a clear brush-on sealer for the wood, or a thin coat of the same epoxy (see Step 1).
- Prep: painter’s tape, a level, a silicone mat or plastic sheet, a box to cover the tray, and isopropyl alcohol for tools and spills (never on skin).
- Finishing: wet-or-dry sandpaper, 120 to 400 grit for drips and edges.
- Color (optional): mica powder or resin dye. See how to color resin.
Safety First
Uncured epoxy can irritate skin, eyes and lungs. You can become sensitized after many exposures or just one, and after that each reaction can be stronger (WEST SYSTEM). So:
- Nitrile gloves for every pour, plus safety glasses.
- An organic-vapor respirator (this one) indoors without cross-ventilation, for larger pours, when you use a torch or heat gun, or if you can smell resin. Surgical and charcoal masks don’t protect you (CDC NIOSH). Full details: resin PPE for beginners.
- Resin on skin? Wipe it off, use a waterless hand cleaner, then wash with soap and warm water. Never use solvents on skin.
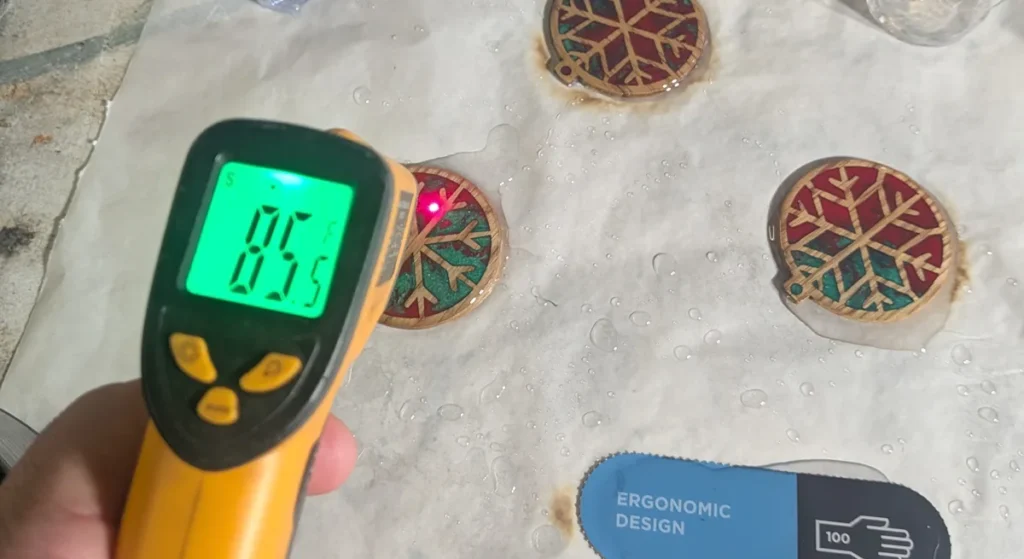
- Room: 70–80°F (21–27°C), humidity 60% or lower. Keep kids and pets out of the room while you mix, pour and cure. Check your label: Let’s Resin asks for 75–85°F.
Step-by-Step: How to Make an Epoxy Serving Tray
Step 1: Prep and seal the wood
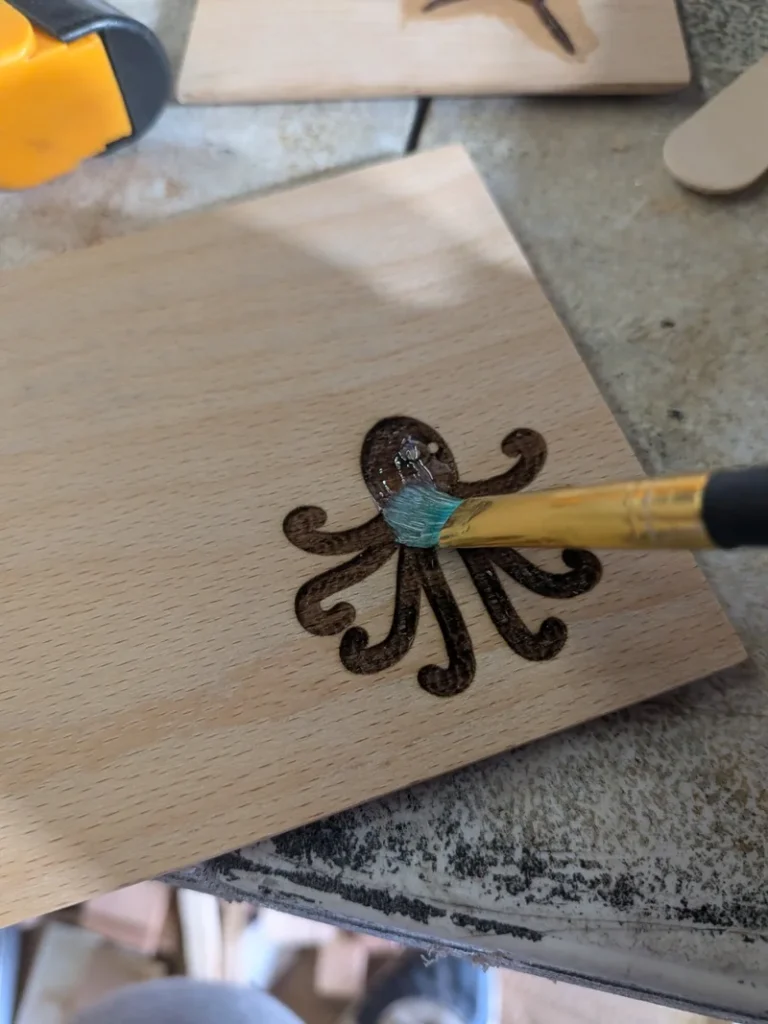
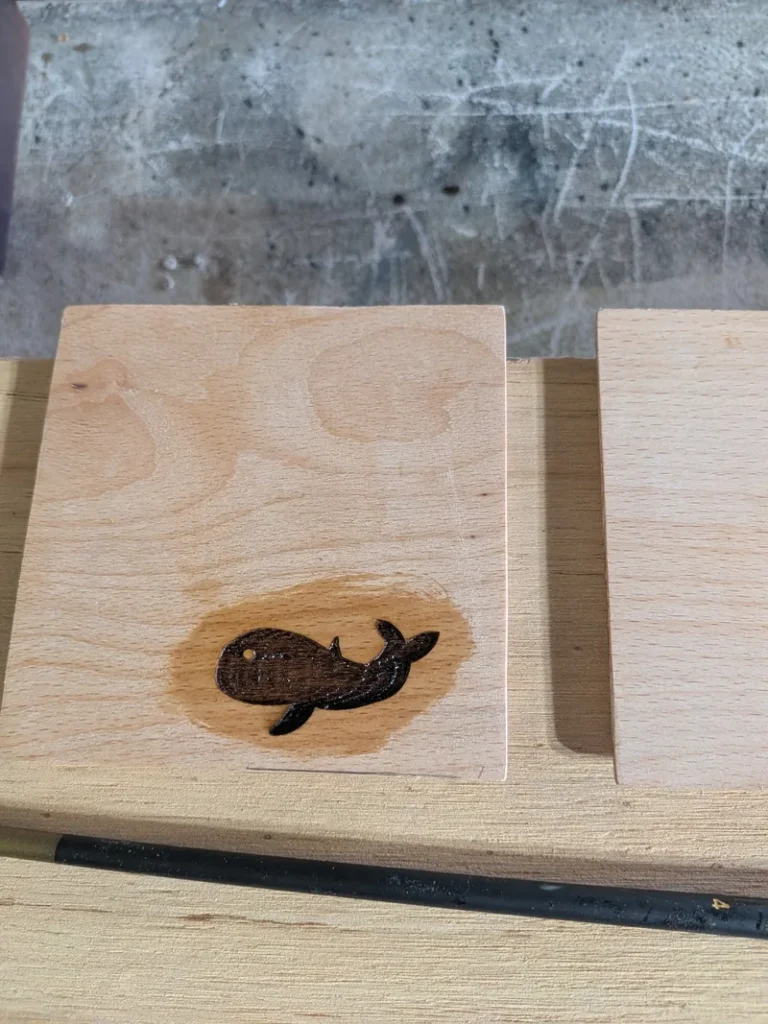
Wipe off dust and sand any rough spots lightly. Then seal the wood. Raw wood holds air, and that air can rise into your pour as bubbles hours later. Raw wood also soaks up resin like a sponge (ArtResin). ArtResin recommends a clear brush-on sealer for wood, worked into knots and cracks. Let it dry completely first, or the resin can cure cloudy. A thin coat of the same epoxy also seals, but it can darken the wood, so try either one on a scrap or the underside first.
From my bench: I sealed a set of engraved beech coasters with the leftover epoxy from a coaster pour. It ran past the engraving and soaked into the bare wood, leaving a brown halo around every shape. Sanding took it out, but next time I’ll test the seal coat on a scrap first.
Step 2: Tape the underside edge and level the table
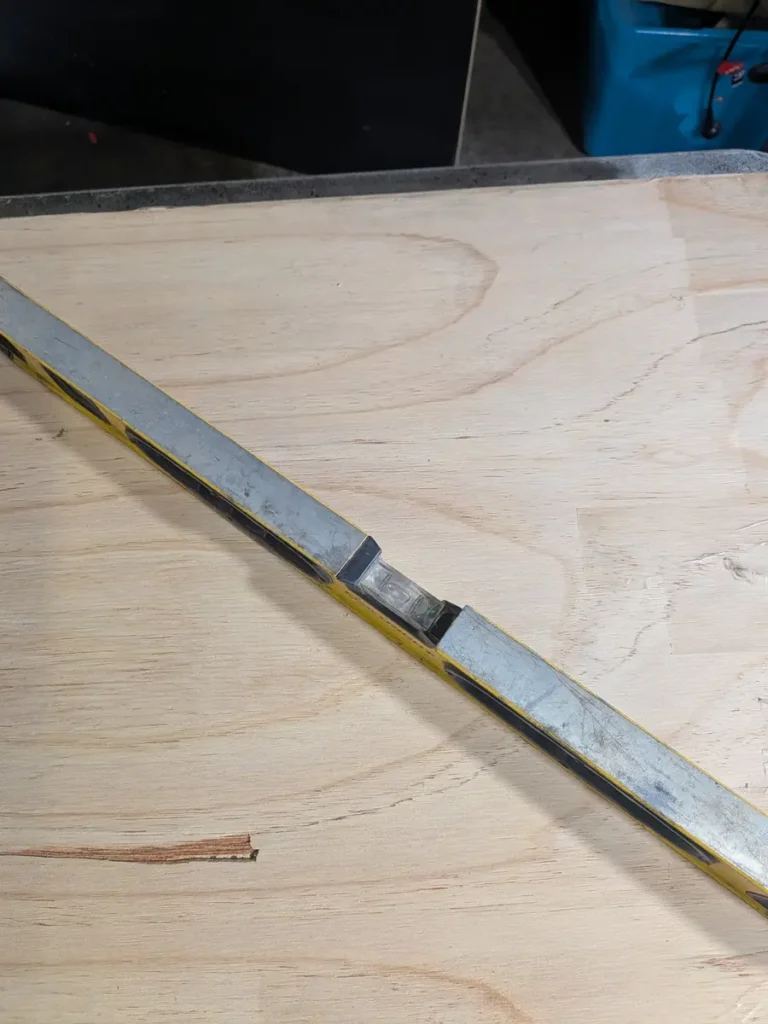
Run good painter’s tape along the underside of the rim to catch drips. Cheap tape can soak up resin or let it creep underneath (ArtResin). Set the tray on bottle caps or cups so drips fall clear. Check the board with a level. A tilted table gives you a tray that’s thick at one end.
Step 3: Work out how much resin you need
Pour water into the tray to the depth you want, measure it, then dry the tray completely. That’s your total mixed resin. For a plain rectangle, enter the inside length and width and 1/8 inch in the resin calculator. A 12 × 16 inch tray needs about 13 fl oz per 1/8-inch coat. Mix about 10% extra.
Step 4: Mix
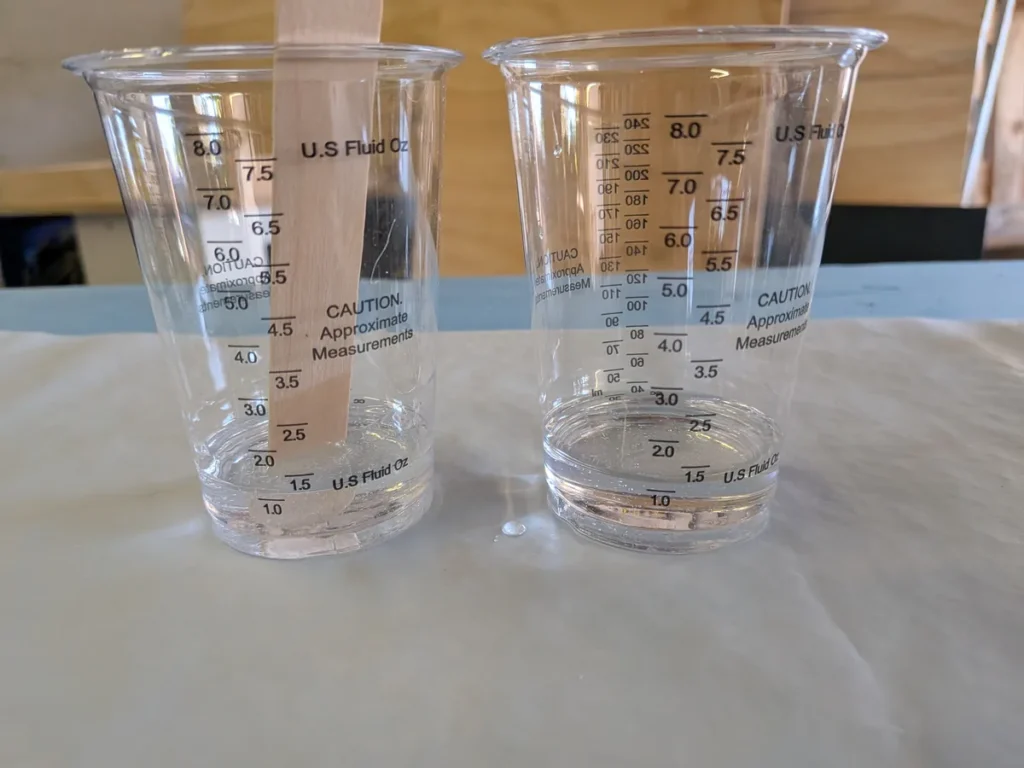
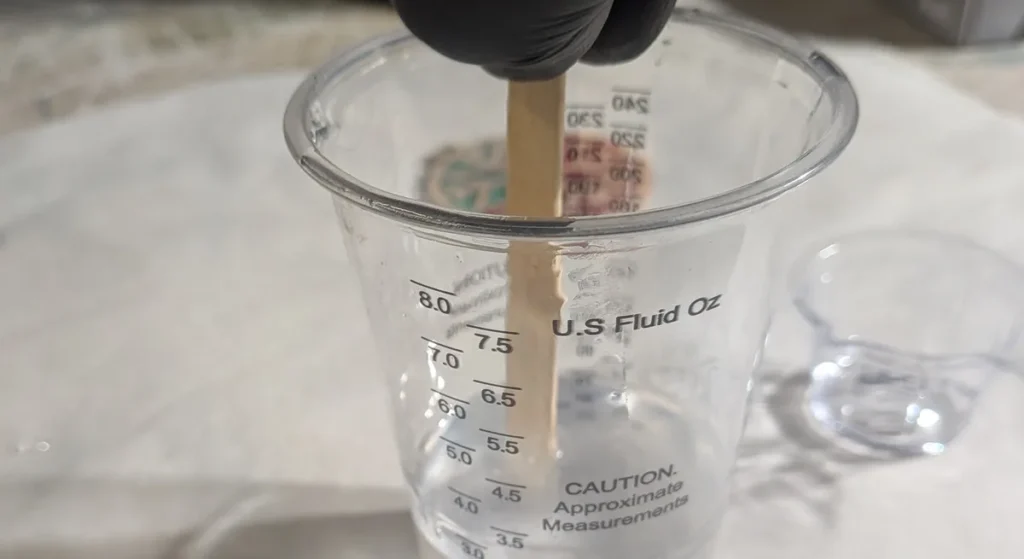
Measure resin and hardener exactly as your label says (Let’s Resin is 1:1 by volume). Stir slowly for at least 3 minutes, scraping the sides and bottom. Then pour into a second clean cup and stir 1 to 2 minutes more. Let’s Resin suggests letting it sit 5 minutes so bubbles can rise (Let’s Resin). More detail: how to mix epoxy resin.
Step 5: Add color (optional)
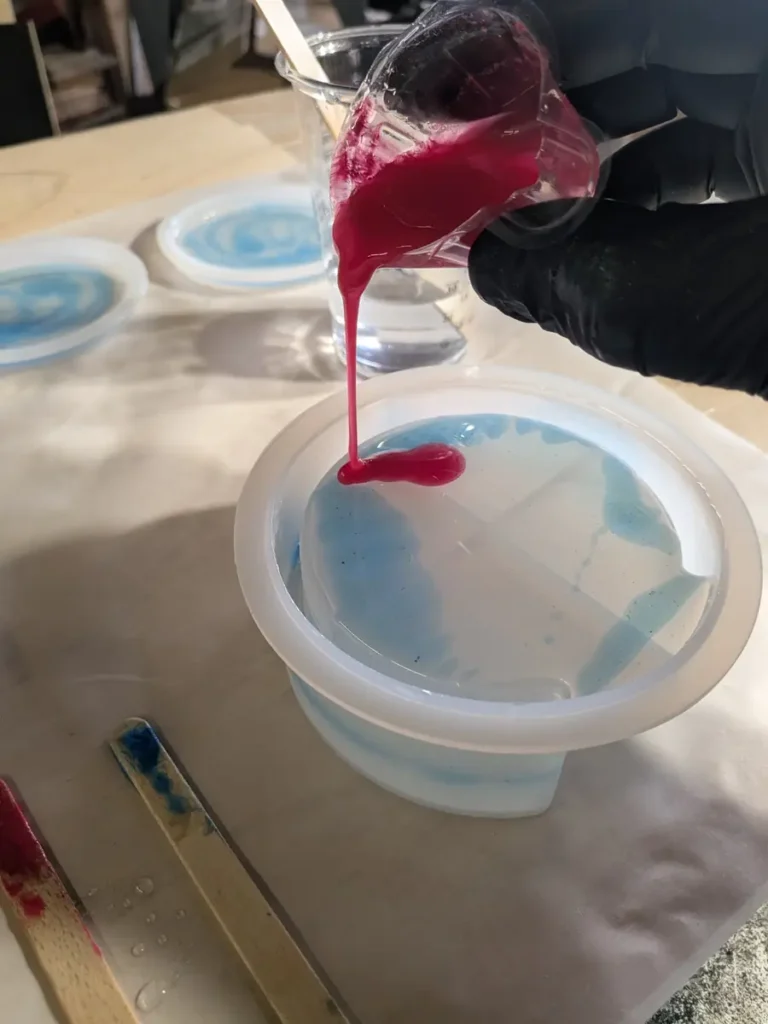
Split the mixed resin into small cups and add color a little at a time. Keep it to 6% or less of the mixed resin, or it may not cure properly. Some acrylic paints can thicken resin or make it set too fast, so use only small amounts of good artist’s acrylic, or stick to mica and resin dyes (ArtResin FAQ). Colored resin can also void a maker’s food-safe claim (see below).
Step 6: Pour and spread
Pour into the middle and let the resin level itself. Nudge it into the corners with a spreader, and stop once it starts to thicken. Keep each coat to about 1/8 inch (3 mm), because coating epoxy is made for thin layers (ArtResin FAQ). Want it deeper? Pour another coat later (see the layers section below).
Step 7: Pop the bubbles
Sweep a heat gun about 6–8 inches above the surface, or a small torch about 4–6 inches, and keep it moving. Two or three quick passes is plenty. Use a heat gun, not a flame, if you added alcohol ink, because alcohol ink is flammable. A toothpick gets the last few. Every method: how to get bubbles out of resin.
Step 8: Cover and cure
Put a box over the tray to keep dust out, and leave it where it won’t be bumped. Pull the tape once the resin is dry to the touch, at about 18–24 hours; left longer, it bonds in. Epoxy is usually usable at about 72 hours and fully hard at about 7 days (check your label). Anything that will hold food waits the full 7 days. Cold room? See how long resin takes to cure.
Sanding Drips and Edges
Sand only resin that is fully hard. Sanding soft or partly cured resin raises your risk of becoming sensitized (WEST SYSTEM). Sand drips off the underside edge first, then any high spots. Wear an N95 dust mask or better and safety glasses. Wet sanding, or a sander with a vacuum hose, keeps the dust down. Sanded resin turns matte and cloudy. That’s normal, and a fresh thin coat brings the gloss back, because the scratches disappear under it (ArtResin FAQ).
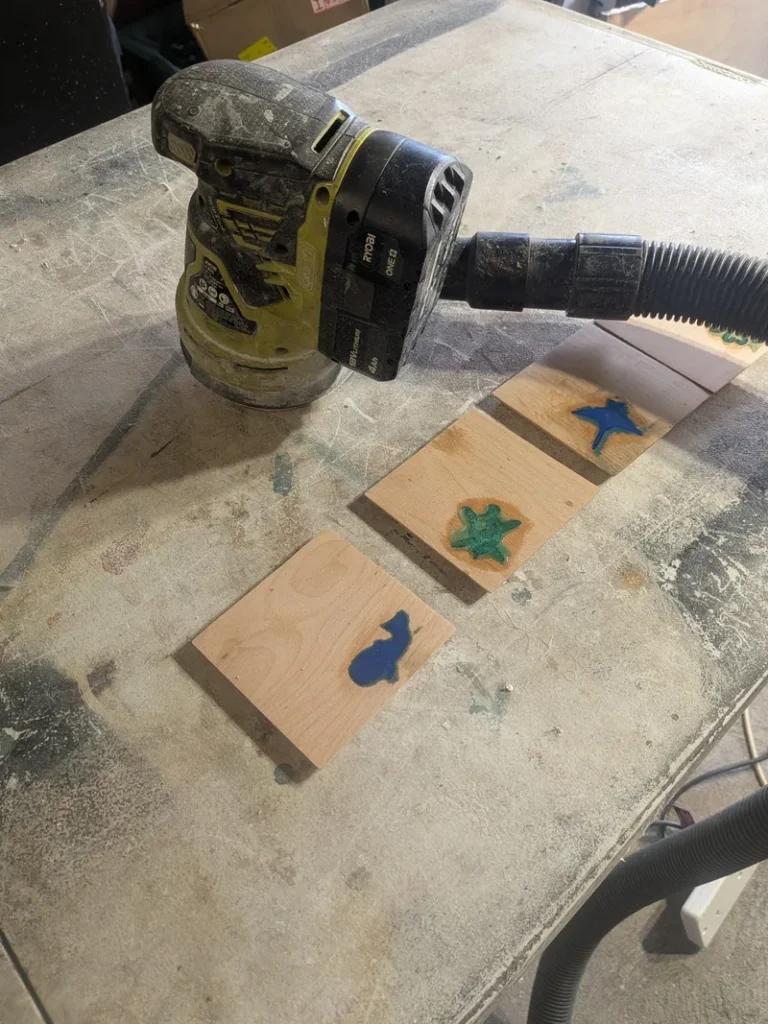
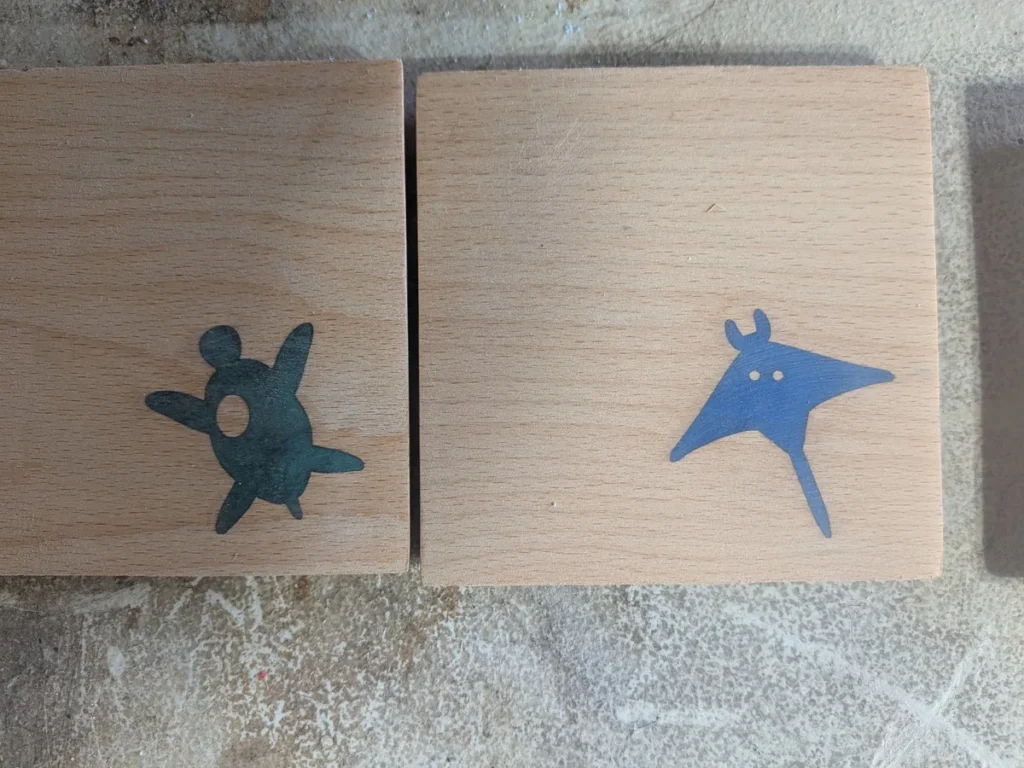
On my inlay coasters I started at 120 grit on an orbital sander with a vacuum hose, then went from 240 up to 3000 on a drill pad, spraying the surface for wet sanding. I wore a dust mask.
A full sanding guide is coming in December. For dust control now, see resin sanding dust collection.
Layers, Add-Ins and Design Ideas
- Second coat: pour it when the first has reached a gel stage (about 3–5 hours for ArtResin), or let the first cure fully, sand it lightly, and then pour (ArtResin FAQ). Check your label’s recoat window.
- Flowers, shells, paper: make sure they’re fully dry. Seal paper and flowers with a clear sealer spray, glue them down so they don’t float, and cover them with a clear coat. Dried flowers for resin · How to preserve flowers in resin
- Ocean tray: blue and teal with white pushed into lacing. Step by step: resin ocean wave art.
- Full-resin tray: pour into a silicone tray mold instead. Use a heat gun, not a flame, on silicone molds.
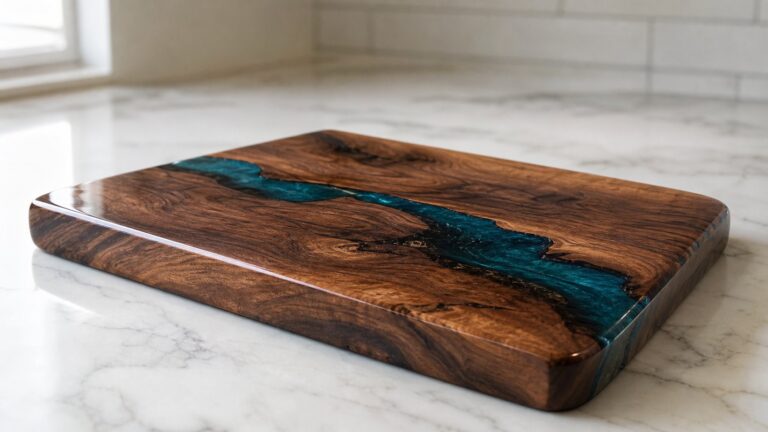
- Live-edge river tray: that’s a deep-pour project with a form. Start with epoxy river tables for beginners.
Is an Epoxy Serving Tray Food Safe?
Only if the maker says its cured resin is food safe, and only under the maker’s conditions. The US rule for resin coatings (21 CFR 175.300) is something the maker declares it meets; the FDA doesn’t approve individual resins. ArtResin lists serving trays and charcuterie boards as food-contact uses once fully cured, and warns that alcohol inks, nail polish and solvent-based dyes compromise the claim (ArtResin). TotalBoat says a serving board is fine but a cutting board is not (TotalBoat).
- Let’s Resin, the kit above, makes no food-contact claim on its help center; check your own label. So a Let’s Resin tray is decor, or serve on a plate or liner. If you want a resin whose maker does claim it: Art ’N Glow Crystal Clear (food safe once fully cured, per the maker).
- Wait the full 7 days. Makers test at 72 hours; this site waits 7 days before food touches resin.
- No cutting. Knife marks groove the surface.
- No hot food. Cured craft epoxy starts to soften at about 120°F (50°C), and ArtResin says hotter items can permanently damage the finish.
- Hand-wash only. Dishwashers wash at about 130–140°F and can rinse at up to 180°F (Finish).
The full answer, with what the labels actually say, is coming in November.
Fixing Common Tray Problems
| Problem | Usual cause | Fix |
|---|---|---|
| Bubbles in the cured top | Unsealed wood, fast stirring | Sand when fully hard, then pour a thin fresh coat |
| Sticky or soft spots | Ratio off or under-mixed | Don’t sand soft resin. Scrape out wet spots (gloves on); pour a fresh, carefully measured coat over a tacky but firm surface |
| Drips under the rim | Tape missing or left on too long | Sand them off, or soften with a heat gun and lift them with a blade |
| Thick at one end | Table not level | Sand flat when hard; recoat on a level table |
| Cloudy | Damp or cold room, wet sealer | Sand and recoat in a warm, dry room |
| Dust or hair | No cover | Sand lightly and recoat under a box |
| Yellowing over time | UV light | Keep it out of direct sun; see why resin turns yellow |
More fixes: common resin problems and how to fix them.
📋 Get the Free Resin Safety & Prep Checklist
A one-page printable checklist covering PPE, ventilation, and workspace setup — so you’re not hunting through this guide mid-pour. Enter your email and we’ll send it straight over.
Free. We only email when there’s something useful, never more than twice a month, and you can unsubscribe anytime. Privacy Policy
Caring for Your Tray
Treat it like glass. Wipe it with a soft damp cloth and a little dish soap, then dry it. ArtResin advises against paper towels and microfiber cloths on cured resin because they can scratch. Keep it out of the dishwasher and long direct sun, and use a trivet under anything hot. A food-safe board oil is for bare wood only (the underside and edges), not the resin.
Thinking of selling trays? See how to sell resin crafts online.
Frequently Asked Questions
How much resin do I need for a serving tray?
Fill the tray with water to the depth you want and measure it; that’s your total mixed resin. For a rectangle, use length × width × depth in the resin calculator. A 12 × 16 inch tray needs about 13 fl oz per 1/8-inch coat. Mix about 10% extra.
Is an epoxy serving tray food safe?
Only if the resin’s maker says the cured product is food safe, and only under its conditions: exact ratio, no colorants it hasn’t cleared, a full cure (this site says 7 days), cold or room-temperature food, no cutting, hand-wash only. Otherwise treat it as decor or serve on a plate or liner.
Can you put hot food or drinks on an epoxy tray?
No. Cured craft epoxy starts to soften at about 120°F (50°C), and ArtResin says hotter items can permanently damage the finish. Use a trivet or coaster under anything hot.
Should I use a heat gun or a torch on an epoxy tray?
Either works on a clear, open pour: a heat gun about 6–8 inches away, a small torch about 4–6 inches, always moving. Use a heat gun, not a flame, on silicone tray molds and on anything with alcohol ink in it. Never use a lighter.
How long before I can use my epoxy tray?
Most epoxy is usable at about 72 hours and fully hard at about 7 days; check your label. Wait the full 7 days before food touches it.
Can you put an epoxy tray in the dishwasher?
No. Dishwashers run well past the 120°F (50°C) where cured craft epoxy starts to soften. Hand-wash it with a soft cloth and mild soap.
Sources
- ArtResin FAQ: 120°F limit; treat cured resin like glass and avoid microfiber; self-levels to about 1/8 in; 3–5 hour gel stage for a second coat; acrylics can thicken or flash cure; colorant under 6%
- ArtResin: Should I seal my artwork before I resin?: wood releases air as bubbles; brush-on sealant for wood; dry fully first; a resin seal coat can change wood’s color
- ArtResin: How do I fix epoxy resin drips?: tape the underside; remove tape at 18–24 hours; sand cured drips
- ArtResin: Is epoxy food safe?: serving trays as a food-contact use once fully cured; colorants that compromise it
- TotalBoat: What does limited food contact mean?: serving board yes, cutting board no
- Let’s Resin Help Center: Know more about epoxy resin: stir 3 minutes, rest 5, 75–85°F; no food-contact claim
- WEST SYSTEM: Preventing overexposure: N95 or better when sanding; partly cured dust raises sensitization risk
- WEST SYSTEM: Health effects from overexposure to epoxy: sensitization after one or many exposures
- CDC NIOSH: Epoxies and resins: surgical and charcoal masks don’t protect
- Finish: Dishwasher temperature: 130–140°F wash, up to 180°F rinse
Keep Learning on ResinAffairs.com
- How to make epoxy resin coasters: a smaller first project with the same steps
- How to mix epoxy resin: ratios, timing and the two-cup method
- How to get bubbles out of resin: every method, before and after curing
- Resin PPE for beginners: gloves, respirators and eye protection
- Resin ocean wave art: the ocean tray look, step by step
Enjoyed this guide? Join the Resin Affairs newsletter for new tutorials, safety tips, and project ideas straight to your inbox.