Halloween Resin Crafts for Beginners: 6 Easy Spooky Projects
Resin Affairs is reader-supported. If you buy through links on this page, we may earn a small commission at no extra cost to you. We only link to gear we would use ourselves — prices and availability change, so check the current listing. Always follow your resin product’s label and Safety Data Sheet.
As an Amazon Associate I earn from qualifying purchases.
Introduction
Halloween is one of the easiest holidays to translate into resin — small pieces, forgiving color palettes (black, orange, purple and green all hide beginner mistakes well), and a built-in reason to finally try that glow-in-the-dark pigment sitting in your craft drawer.
This isn’t one big project — it’s six small ones, each using skills you likely already have from mixing your first batch of epoxy and coloring resin. Pick two or three that match the molds and pigments you own, or work through all six as a weekend Halloween-craft session.
⚠️ Quick safety note: small decorative pours still give off vapor while curing, and liquid resin can irritate and sensitize skin. Work in a ventilated space, wear nitrile gloves, and read Resin PPE for Beginners before you start — especially if kids are “helping” with the fun parts.
Timing tip: searches for Halloween crafts start climbing in early September and peak in the first half of October. If you’re making these to sell or gift, aim to finish by mid-October — epoxy needs several days to fully cure before it’s ready to handle, package or wear.
What You’ll Need
A few materials show up across most of these projects, so gather them first:
- Beginner epoxy or UV resin kit — epoxy is the most forgiving for beginners; UV resin (see UV Resin for Beginners) is handy for the smallest pieces because it cures under a lamp instead of overnight.
- Glow-in-the-dark resin pigment powder — the star ingredient for the ghost charms, and worth adding to any of the other projects.
- Alcohol ink or mica powder in black, orange, purple and green — see How to Color Resin for technique.
- Small silicone molds — round pendant, keychain and small dish molds all work; see Best Resin Molds for Beginners if you need to stock up.
- Digital scale, mixing cups, stir sticks and nitrile gloves — the standard kit from Essential Resin Tools Every Beginner Needs.
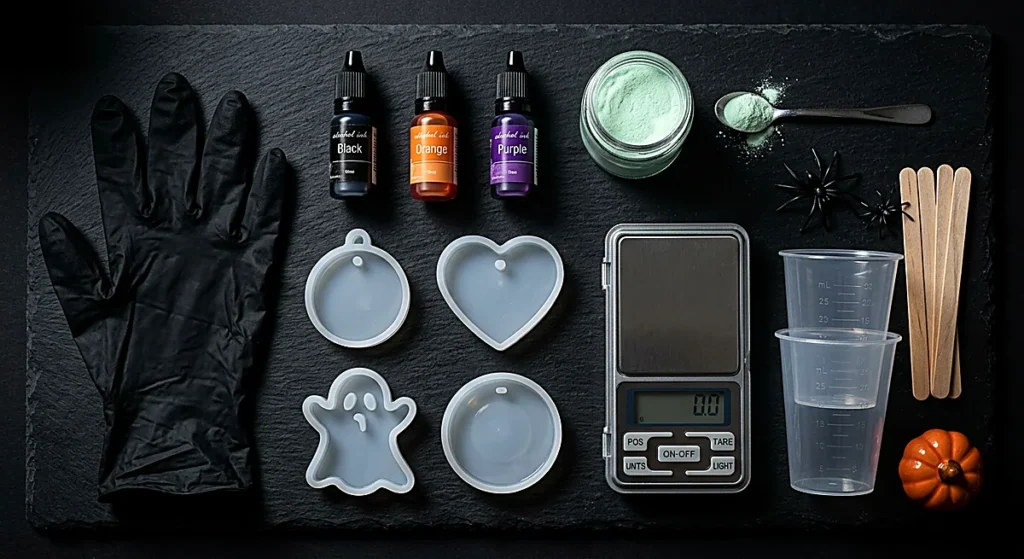
🧰 Recommended Kit for These Projects
- Let’s Resin Sphere & Pyramid All-in-One Kit — resin, hardener and a starter set of small molds in one box, if you’re starting from nothing
- Glow-in-the-Dark Resin Pigment Powder (Multi-Color) — the headline ingredient for the ghost charms and any piece you want to glow
- LET’S RESIN 48-Color Concentrated Alcohol Ink Set — covers the black, orange, purple and green Halloween palette
- LET’S RESIN 36-Color Mica Powder Pigment Set — a shimmery alternative for pumpkins and “harvest moon” edges
- Digital Gram Scale and Creahaus Silicone Measuring Cups Tool Kit — accurate small batches are what make tiny pours cure properly
- Nitrile Gloves — non-negotiable, even for a pendant-sized pour
1. Glow-in-the-Dark Ghost Charms
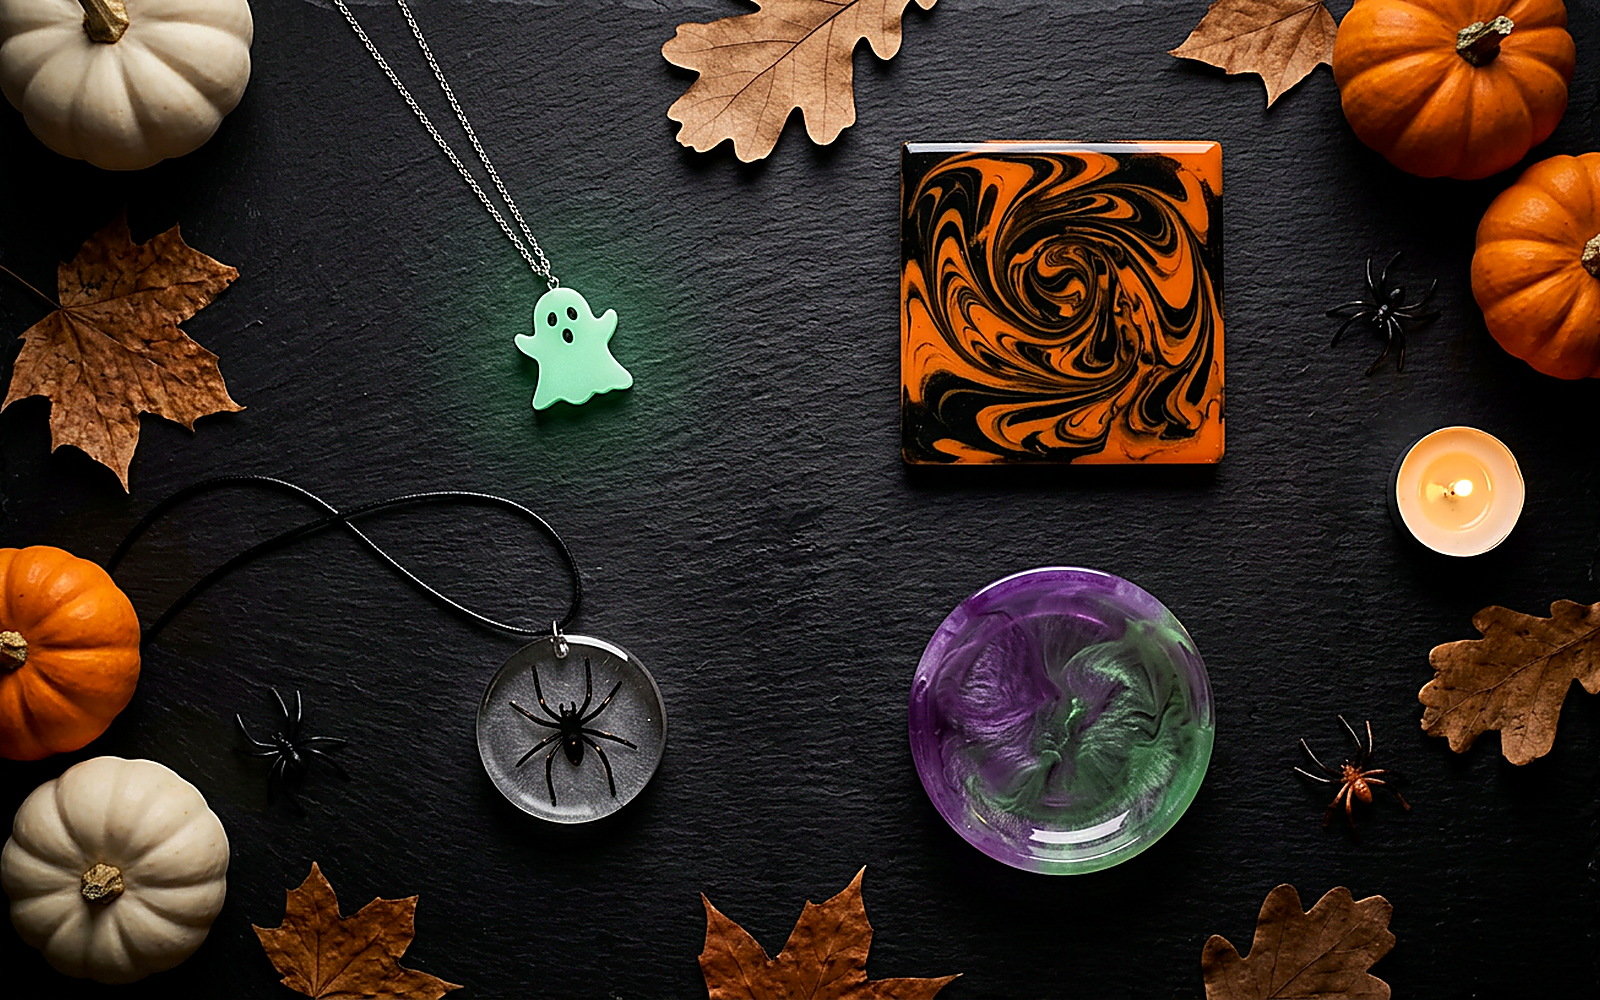
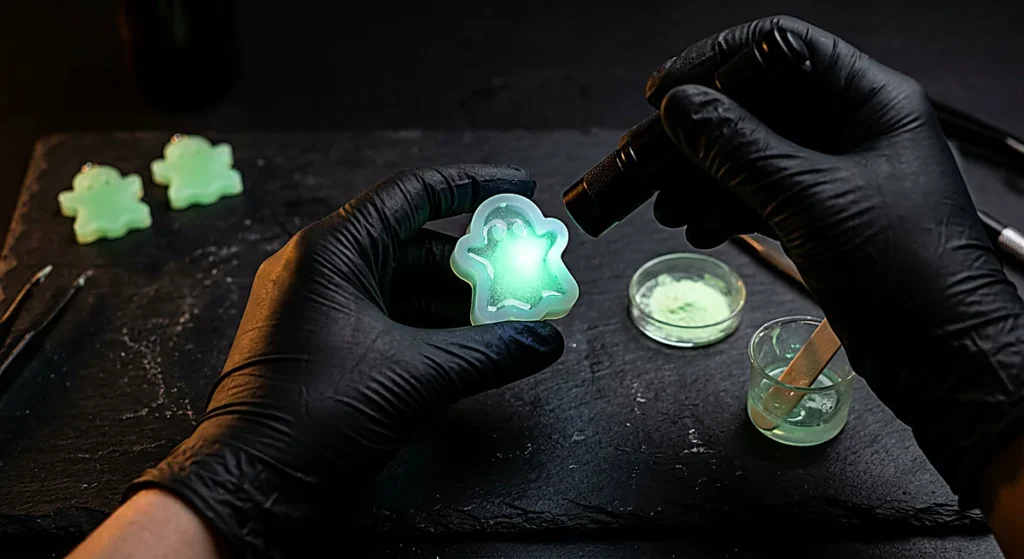
The easiest project on this list and the one most likely to get a “whoa”. Mix a small batch of clear resin, stir in glow-in-the-dark pigment until it’s fully dispersed (it settles fast, so give it one more stir right before pouring), and pour into a small ghost, star or round silicone mold.
Beginner tip: glow pigment isn’t self-luminous — it needs “charging” under bright light, sunlight or a small UV flashlight before it glows. Charge finished pieces for a few minutes right before you want to show them off in a dark room.
Using UV resin instead? Heavy glow-pigment loads block UV light, so a thick, heavily pigmented pour can stay soft underneath. Cure glow pieces in thin layers and check the base is hard before adding the next one.
2. Spooky Embed Pendants
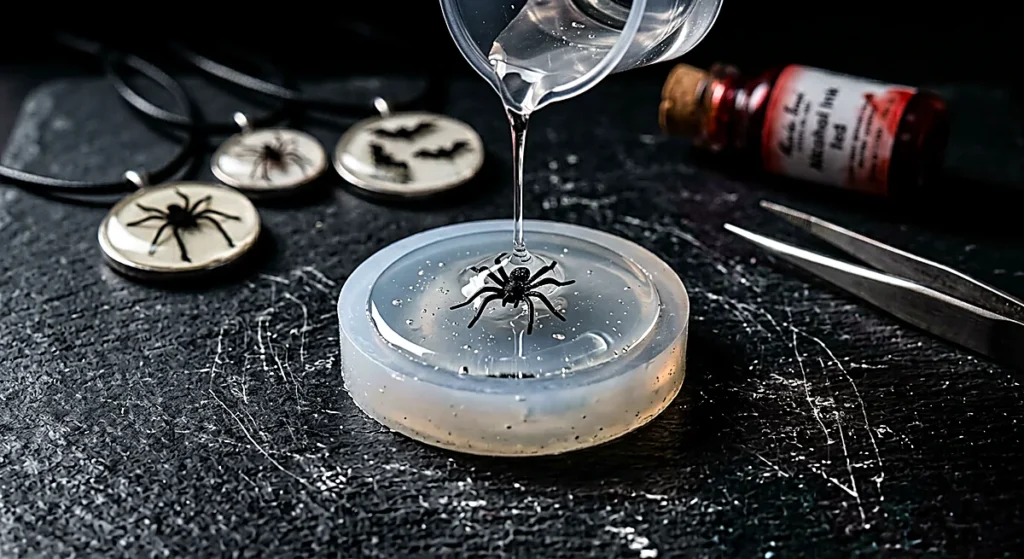
Plastic spiders, tiny bats, or a drop of fake “blood” (red alcohol ink) suspended in clear resin makes a genuinely creepy pendant. Pour a thin base layer, let it reach a tacky gel stage, place your embed, then fill the rest of the mold. This two-layer approach stops small embeds from sinking or floating sideways — the same layering logic used in How to Preserve Flowers in Resin.
3. Mini Pumpkin Pours
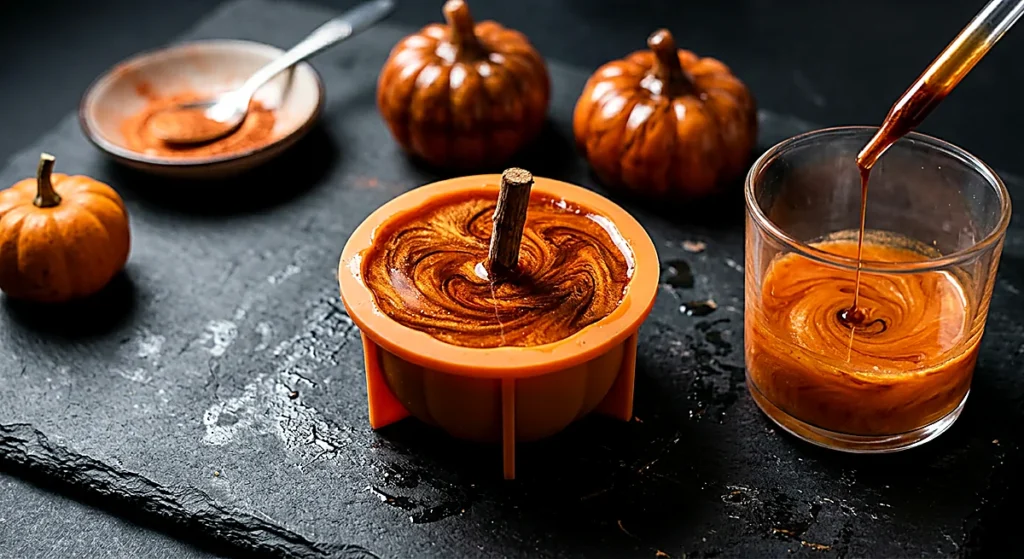
Orange mica or alcohol ink, a round or pumpkin-shaped silicone mold, and a toothpick “stem” pressed in before the resin gels gets you a simple pumpkin trinket in one pour. For a two-tone pumpkin, swirl in a little brown or dark orange rather than mixing it fully — see the swirling technique in How to Color Resin.
4. Black & Orange Marbled Coasters
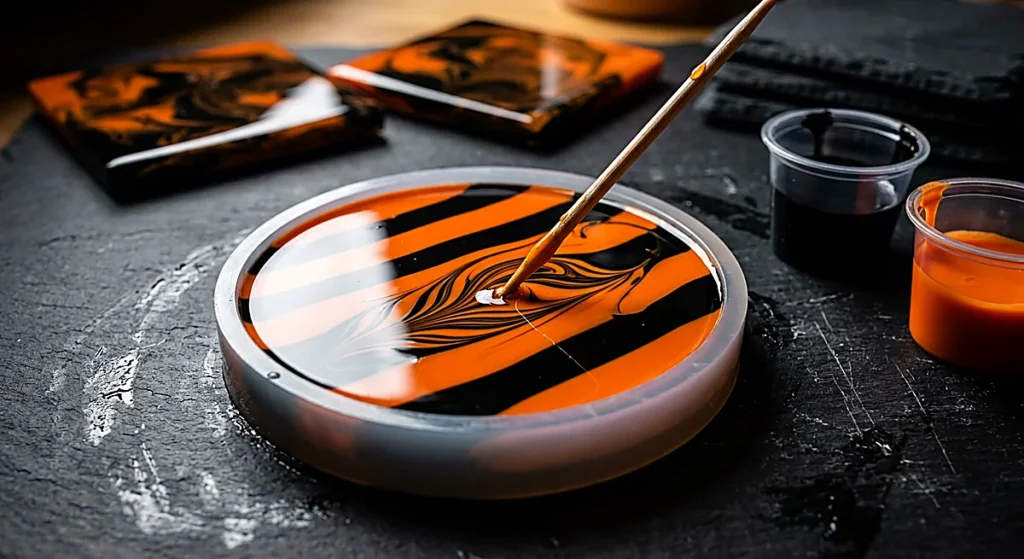
A Halloween spin on the site’s most popular beginner project. Follow the base process in How to Make Epoxy Resin Coasters, but split your batch into two cups — black and orange — and pour them into the mold in alternating stripes before dragging a toothpick through for a marbled effect. Don’t overwork it, or you’ll get muddy brown instead of a clean marble.
5. Bat Silhouette Keychains
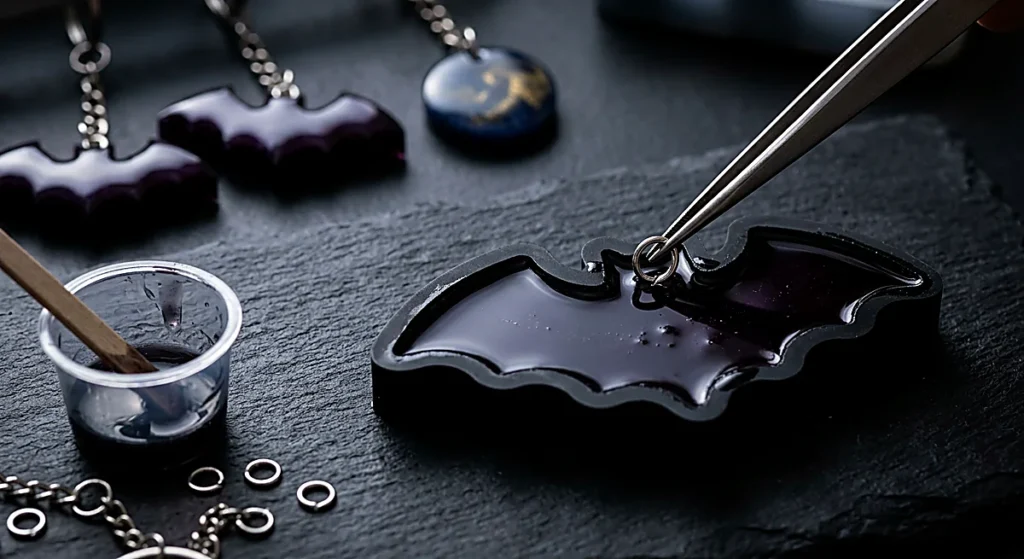
If you have (or want) a bat-shaped silicone mold, this is nearly identical to the process in How to Make Resin Keychains — tint black or deep purple, pour, embed a jump ring before the resin gels, and demold once fully cured. No bat mold yet? A round or geometric mold with black resin and a little gold mica for a “harvest moon” edge works just as well.
6. Witch’s Brew Trinket Dish
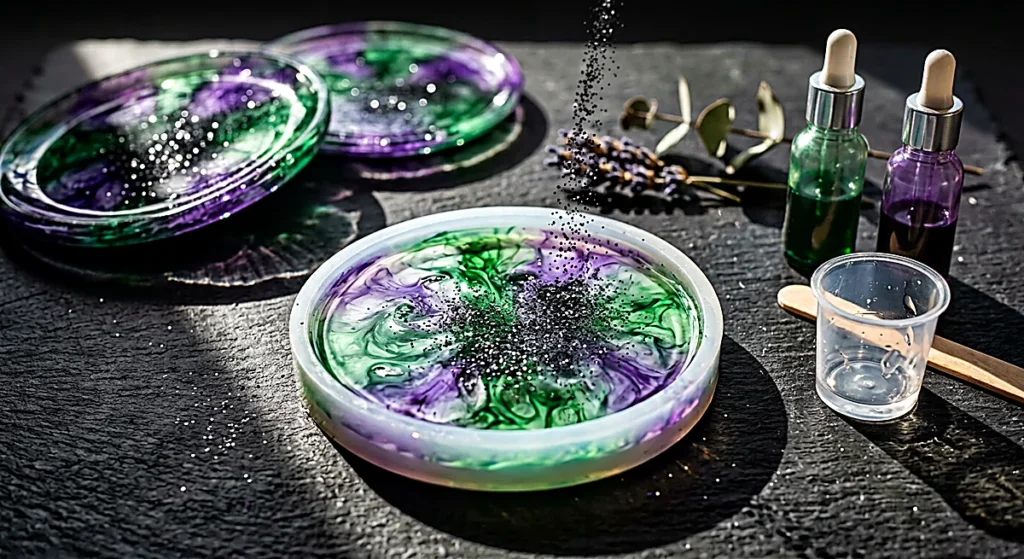
The showiest project on this list. Swirl green and purple alcohol ink into clear resin without fully mixing them — closer to marbling than blending — and pour into a small dish mold. A pinch of fine black glitter dropped in just before the resin gels reads as “bubbling potion” without looking messy. It uses the same dish-mold technique as Resin Trinket Dishes & Phone Stands.
Common Mistakes on Small Halloween Pours
Glow pigment settling before it cures. Glow powder is heavier than resin, so it sinks if you pour slowly or the resin stays liquid a long time. Stir it in right before pouring, and consider a resin with a shorter working time for more even glow.
Over-tinting a thin pour. Small Halloween pieces are often only 1/8″–1/4″ thick, and dark colors like black go opaque fast. Add pigment a little at a time and check against the light before committing — more on dosing in How to Color Resin.
Heat too close to a small mold. A torch or heat gun that’s fine on a coaster can warp a small, thin-walled silicone mold. Keep a heat gun 6–8 inches back, use short passes, and see How to Get Bubbles Out of Resin for gentler options.
Frequently Asked Questions
Does glow-in-the-dark resin actually glow well?
Yes, as long as you use enough pigment and charge it. Glow powder needs a much heavier dose than ordinary colorant, so follow the ratio on your pigment’s label, then charge finished pieces under bright light, sunlight or a UV flashlight for a few minutes. The glow is brightest right after charging and fades gradually, so charge pieces just before you want to show them off.
Do I need UV resin, or is regular epoxy fine for these?
Either works for the glow charms and embed pendants, but for anything tinted with alcohol ink or heavy black pigment, use epoxy: UV resin makers generally advise against alcohol ink, and dark pigment can stop a UV piece curing through. UV resin’s main advantage is speed — a small pendant cures in minutes under a UV lamp instead of overnight — which helps if you’re making party favors at the last minute. The trade-off is that heavily pigmented pieces (especially glow pieces) need to be cured in thin layers. Our Epoxy vs. UV Resin for Beginners guide compares the two in full.
How far ahead of Halloween should I start these?
Give yourself at least a week before you need the finished pieces. Epoxy needs several days to fully cure before it’s sturdy enough to wear, gift or package, and if a piece needs a redo you’ll want the buffer.
Can kids help with these projects?
Yes, with an adult in charge of the resin itself. Kids can choose colors and embeds, plan designs, charge glow charms and help demold fully cured pieces. Leave measuring, mixing, pouring and anything that involves liquid resin or hardener to an adult, since uncured resin can irritate and sensitize skin. Our Resin PPE for Beginners guide covers the basics.
Get New Guides & Seasonal Project Ideas in Your Inbox
More seasonal projects are coming — Christmas is already up, and Valentine’s Day guides are on the site too. For step-by-step tutorials, safety reminders and honest gear recommendations as we publish, join the Resin Affairs newsletter.
No spam, no affiliate bait — just the same practical, beginner-first guidance you just read.
Subscribe to the Resin Affairs Newsletter →
Related Guides
- How to Color Resin — pigment, alcohol ink and swirling technique used throughout this post
- Best Resin Molds for Beginners — sourcing small molds for pendants, dishes and keychains
- Resin Christmas Ornaments — the next seasonal project once Halloween is done
- How Long Does Resin Take to Cure — planning your timeline against a Halloween deadline
- Resin Gift Ideas for Beginners — if you want to turn these into gifts instead of decorations
- Epoxy vs. UV Resin for Beginners — which resin suits small seasonal pours
- Resin PPE for Beginners — gloves, ventilation and safety basics
Enjoyed this guide? Join the Resin Affairs newsletter for new tutorials, safety tips, and project ideas straight to your inbox.