How to Start Resin Crafting: A Beginner’s First-Pour Guide
Resin Affairs is reader-supported. If you buy through links on this page, we may earn a small commission at no extra cost to you. We only recommend supplies that are relevant to beginner resin crafting. Always check the current product listing, label and Safety Data Sheet before use.
As an Amazon Associate I earn from qualifying purchases.
So, you want to try resin crafting — but the moment you start researching, it feels like everyone expects you to already know the difference between epoxy resin, UV resin, cure time, mixing ratios, PPE and mold release.
If that sounds familiar, take a breath. Resin can look intimidating at first, but your first project does not need to be complicated. The key is to start small, choose the right resin for the job and prepare your workspace before you open the bottle.
This guide to resin crafting for beginners walks you through what to buy, what to skip, how to stay safer and which project to try first.
Safety note: Resin products vary. Always read the label and Safety Data Sheet for your exact resin before use. This guide is general educational information, not medical or professional safety advice.
New to resin? Start with the basics first.
Got a resin kit for Christmas? Start here
Unwrapped a resin kit? You can make your first piece this week. Before you open the bottles, check what’s actually in the box, because many craft kits leave out the safety gear.
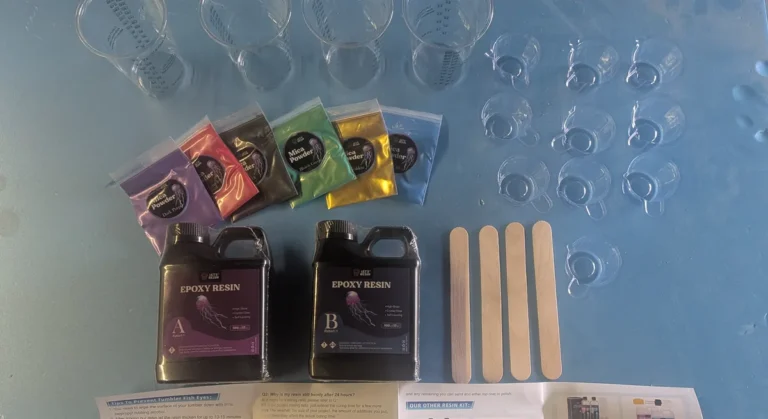
When I opened my Let’s Resin starter kit, it had 17 oz (500 ml) each of Part A and Part B, six mica powders, four graduated mixing cups, ten small pour cups and four wooden stir sticks. There were no gloves (even though the listing mentions them), no eye protection and no mold.
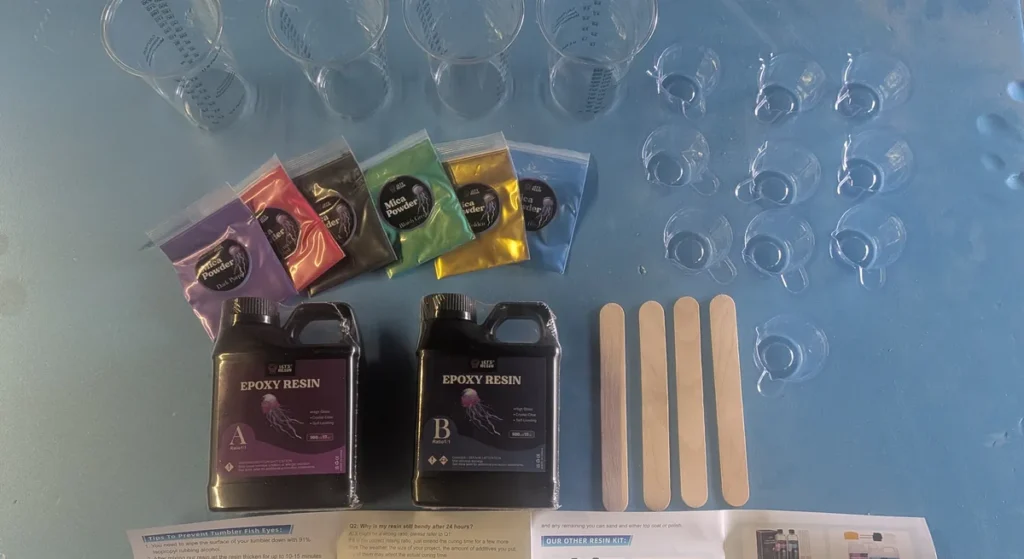
So before your first pour, get:
- Nitrile gloves
- Safety glasses or goggles
- A simple silicone mold, such as a coaster mold
Then:
- Read the label: the mixing ratio, working time, cure time, the temperature it needs and the safety section.
- Pick a small first project. A coaster is the easiest.
- Set up somewhere with real airflow, at 70–80°F (21–27°C) or your label’s range, with the table covered.
- Work through this page in order, from safety to your first pour.
If your kit is UV resin, you’ll also need a UV lamp if one isn’t in the box. Epoxy or UV? is below.
What Is Resin Crafting?
Resin crafting uses liquid resin that cures into a hard, glossy, plastic-like finish. Crafters use it to make coasters, jewelry, trays, bookmarks, keychains, art panels and home decor.
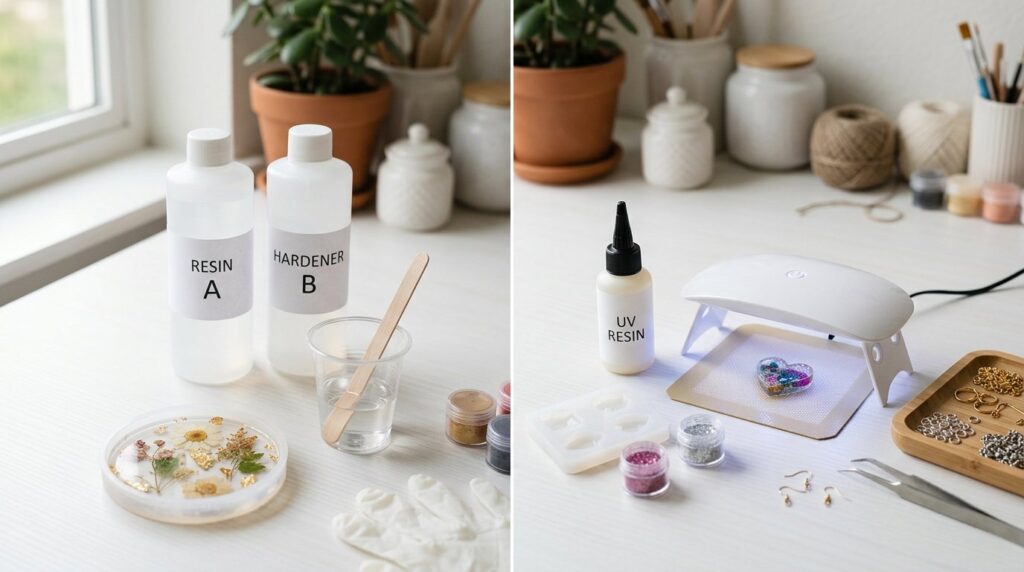
The two beginner-friendly types you will see most often are epoxy resin and UV resin.
| Resin type | Best for | Beginner notes |
|---|---|---|
| Epoxy resin | Coasters, trays, art, larger molds | Usually mixed from two parts: resin and hardener |
| UV resin | Small jewelry, charms and tiny details | Cures under a UV lamp, usually in thin layers |
Neither option is automatically “better”. The right choice depends on your first project, your workspace and how much time you want to spend practicing.
For a full comparison, read: Epoxy Resin vs UV Resin: Which Is Right for Your First Project?
Before You Buy Anything: Start with Safety
Resin is a craft material, but uncured resin is still a chemical product. Safety should come before color choices, molds or glitter.
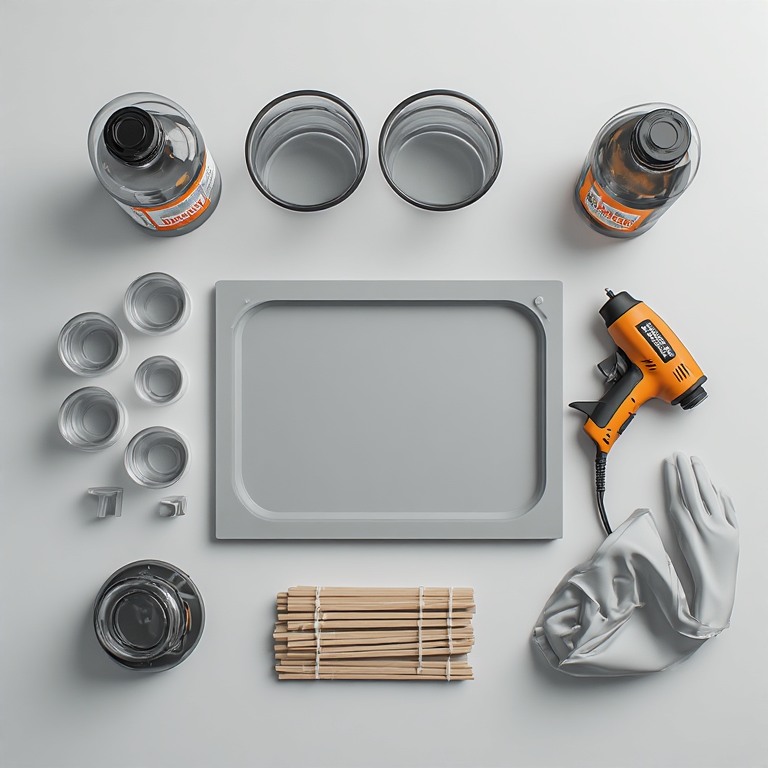
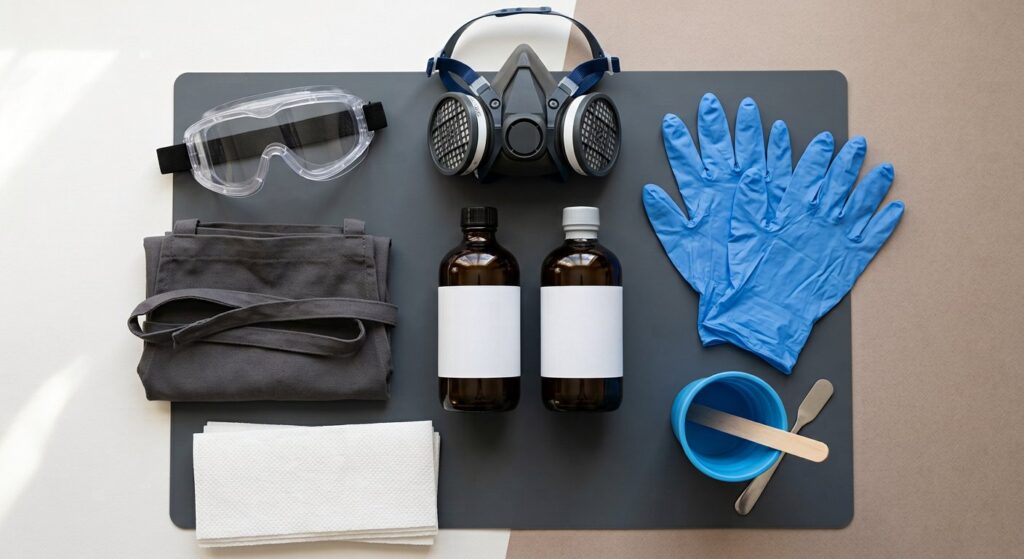
Before your first pour, prepare:
- Nitrile gloves to help protect your skin
- Safety glasses or goggles to protect against splashes
- A well-ventilated workspace
- A covered work surface, such as a silicone mat or disposable table covering
- Clothes you do not mind getting messy
- A curing area away from children, pets, food and drinks
Avoid touching uncured resin with bare skin. If you spill resin, follow the manufacturer’s clean-up instructions. Do not rinse liquid resin down the sink unless the product instructions specifically allow it.
Helpful next reads:
Epoxy Resin vs UV Resin: Which Should Beginners Choose?
If your first project is coasters, a tray or a larger mold, start with epoxy resin. It gives you more working time and is better suited to larger pours.
If your first project is small jewelry, charms or tiny repairs, UV resin may feel easier because there is no two-part measuring. However, you will need a suitable UV lamp, and UV resin usually works best in thin layers.
A simple rule:
- Choose epoxy resin for your first coaster or tray.
- Choose UV resin for tiny jewelry pieces or charms.
If you are unsure, start with a small epoxy coaster project. It teaches you the core resin skills: measuring, mixing, pouring, bubble control and patience.
Seen polyester or polyurethane resin at the hardware store too? Our guide to which type of resin to use compares all four types by project.
Beginner Resin Starter Kit: What You Actually Need
It is easy to overbuy when you are excited. You do not need every mold, pigment and tool on your first day. Start with the basics, make one small project, then add more supplies once you know what you enjoy.
Want to see a real kit before you buy? Read our Let’s Resin starter kit review: what was in the box, what was missing, and how it cured over two real pours.
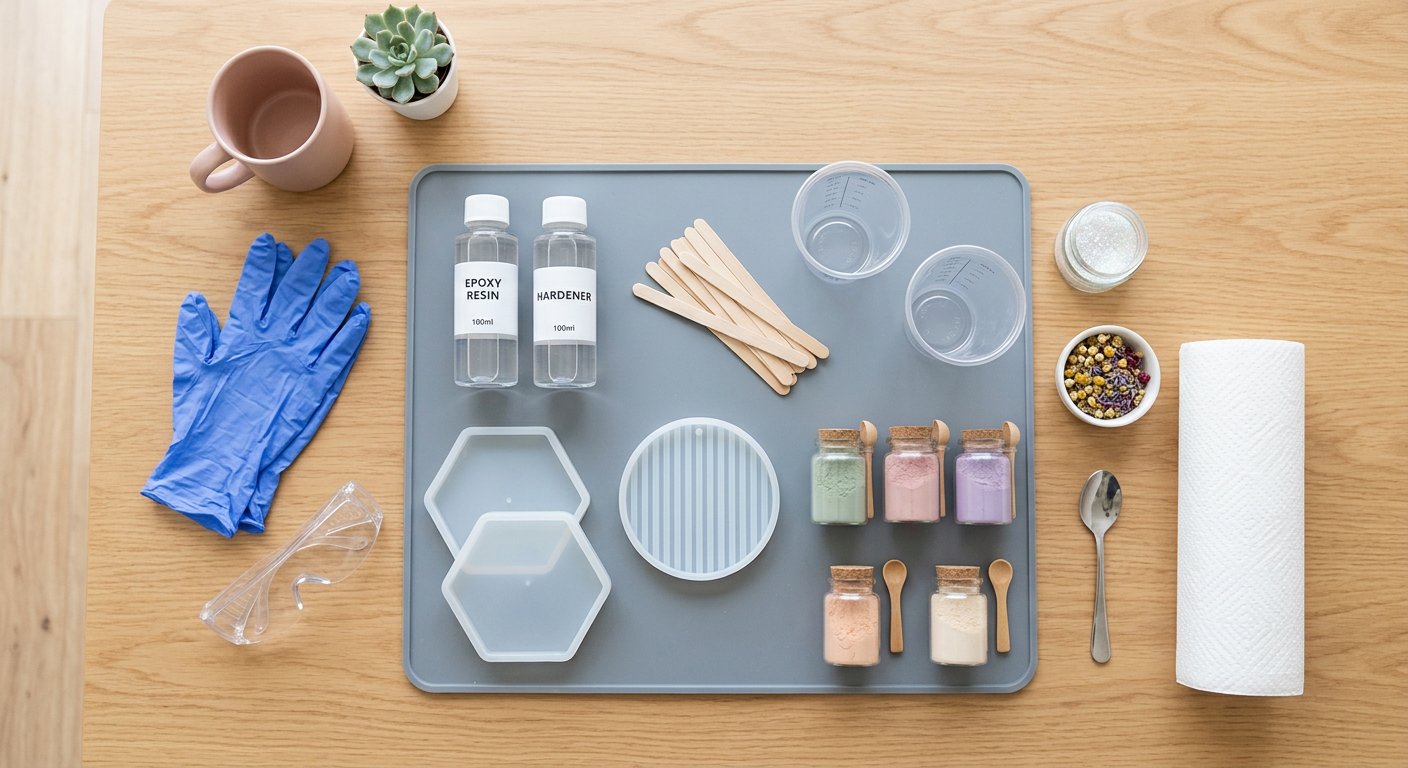
For a first coaster, you need:
- A small epoxy kit. The one I tested is the Let’s Resin 34 oz kit: 1:1 by volume, with cups and stir sticks in the box.
- Nitrile gloves and safety glasses or goggles.
- Mixing cups and stir sticks, if your kit doesn’t have them.
- A simple silicone mold. A basic 4-piece coaster set is plenty for your first few pours.
- A silicone mat or table cover, paper towels and a dust cover (a clean plastic box) for curing.
The full shopping list, with what to skip until later and a printable checklist: Resin supplies for beginners.
Start with one resin, one mold and one simple project. You can upgrade later when you know what you actually enjoy making.
The Best First Resin Project for Beginners
The best first resin project is usually a simple coaster.
Why?
- The mold is shallow
- The shape is simple
- You can practice mixing and pouring
- Mistakes are easier to diagnose
- You do not need advanced finishing skills
Avoid starting with a large tray, thick casting, complex flower preservation piece or expensive keepsake project. Those are beautiful, but they leave less room for beginner mistakes.
Ready for a project tutorial? Read: How to Make Epoxy Resin Coasters
Recommended first project: One small epoxy resin coaster using a simple silicone mold and one color only.
Step-by-Step: How to Prepare for Your First Pour
1. Read the instructions first
Before you open anything, read your resin label. Check the mixing ratio, working time, cure time, maximum pour depth, recommended temperature range and safety instructions.
2. Set up your workspace
Cover the table, set up ventilation (at minimum, an open window with a fan blowing out) and keep everything within reach. Aim for a room at 70–80°F (21–27°C), or your label’s range, with humidity at 60% or lower. A cold or damp room is one of the most common reasons a first pour stays sticky. Once resin is mixed, you do not want to search for missing supplies.
3. Put on PPE
Wear nitrile gloves and eye protection before handling resin or hardener.
4. Measure carefully
Follow the manufacturer’s ratio exactly. Some resins are measured by volume, others by weight. Guessing is one of the fastest ways to end up with sticky resin. To work out how much to mix before you open the bottles, use my resin calculator.
5. Mix slowly
Stir steadily and scrape the sides and bottom of the cup. Fast whipping can add bubbles.
For detailed instructions, read: How to Mix Epoxy Resin

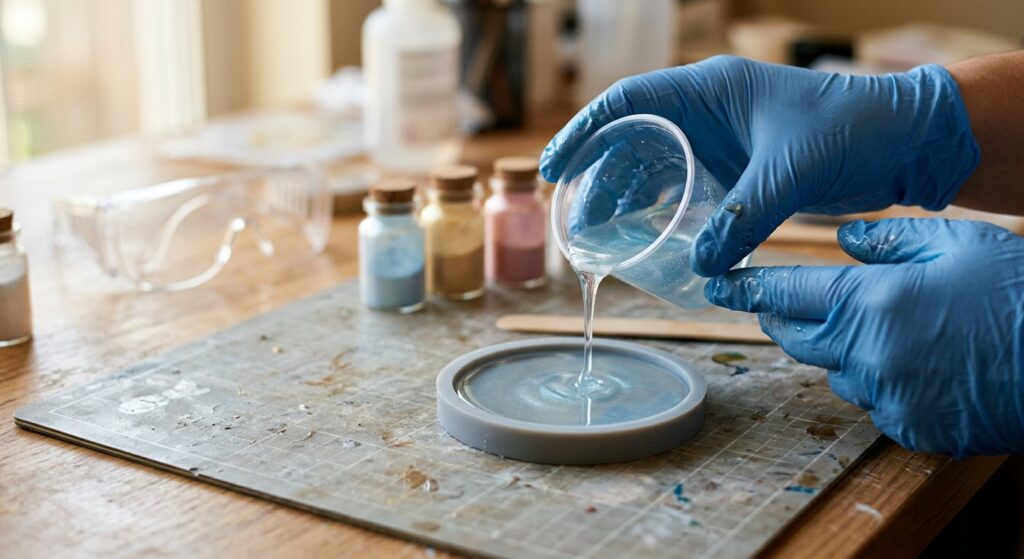
6. Pour into the mold
Pour slowly. If you are adding color, use a small amount at first. Too much pigment can affect curing.
7. Remove bubbles carefully
Some bubbles rise on their own. For the rest, make quick passes with a torch held 4–6 inches (10–15 cm) above the surface or a heat gun at 6–8 inches (15–20 cm), keeping it moving. Never use a lighter, and don’t linger in one spot, or you’ll scorch the resin or warp the mold.
8. Cover and leave it alone
Dust, hair and fingerprints can ruin an otherwise good pour. Cover the mold and let it cure for the full recommended time. Most epoxy is usable after about 72 hours and reaches full hardness in about 7 days; anything that will hold food or drink should wait the full week.
Common Beginner Mistakes to Avoid
Using the wrong gloves
Use nitrile gloves rather than fabric, latex or household cleaning gloves unless your resin’s Safety Data Sheet says otherwise.
Guessing the ratio
Resin is not forgiving when the ratio is wrong. Measure carefully every time.
Pouring too deep
Many resins have a maximum pour depth. Pouring too deep can cause overheating, cracks or curing problems.
Adding too much color
Pigments are fun, but too much can interfere with curing. Start small.
Demolding too early
If the surface feels soft or bendy, wait longer. Cure time can be affected by room temperature and resin type.
Ignoring sticky resin
Sticky or soft resin usually means something went wrong with measuring, mixing, temperature or product compatibility.
If your project does not cure properly, read: Common Resin Problems and How to Fix Them
Quick First-Pour Checklist
- Read the resin label and Safety Data Sheet
- Choose a small, simple project
- Prepare nitrile gloves and eye protection
- Cover your work surface
- Keep children, pets, food and drinks away
- Measure the resin and hardener accurately
- Mix slowly and scrape the cup
- Pour carefully into the mold
- Cover the project while curing
- Wait the full cure time before demolding
Want more beginner help?
Join the Resin Affairs newsletter for new beginner guides and safety tips.
What to Do Next
Once you have completed your first small project, make notes. This helps you learn faster and troubleshoot more easily next time.
Write down:
- Which resin you used
- The room temperature
- How long you mixed
- Whether bubbles appeared
- How long curing took
- What you would change next time
Resin crafting becomes much easier when you treat each project as practice rather than pressure.
If you are brand new, your next steps are:
- Read the Resin Safety Hub
- Practice mixing with a small batch
- Make a simple coaster
- Learn how to fix common resin problems
- Try a second project with one new technique
FAQs About Starting Resin Crafting
Is resin crafting safe for beginners?
Resin crafting can be approached more safely when you follow the product label, read the Safety Data Sheet, wear suitable PPE and work in an appropriate space. Uncured resin should be handled carefully.
What resin should I use first?
For coasters, trays and small home decor, many beginners start with epoxy resin. For tiny charms or jewelry, UV resin may be more convenient.
What is the easiest resin project?
A simple coaster is one of the easiest beginner projects because it is small, shallow and practical.
Why did my resin stay sticky?
Sticky resin is often caused by inaccurate measuring, incomplete mixing, low temperature, too much pigment or using incompatible materials.
Do I need lots of tools to start?
No. Start with safety gear, measuring and mixing supplies, one mold and one suitable resin. Add extra tools once you know what projects you enjoy.
Sources
- NIOSH (CDC), Epoxies and resins: skin and breathing hazards of uncured epoxy, and why gloves and ventilation come first.
- OSHA, Hazard Communication: why every resin comes with a Safety Data Sheet, and what it tells you about PPE and handling.
- WEST SYSTEM, Preventing Overexposure: a US epoxy maker’s guidance on gloves, eye protection, ventilation and respirators.
- MDedge, Acrylates Named Contact Allergen of the Year: acrylates, the chemistry in most UV resins, are a common skin allergen, so UV resin needs gloves too.
Final Thought
Your first resin project does not need to be perfect. It just needs to teach you the basics safely and clearly.
Start small, measure carefully, protect your skin and give the resin time to cure. Once you understand those foundations, resin crafting becomes much less mysterious — and a lot more enjoyable.
Next step: Read the Resin Safety Hub, then choose one simple coaster project for your first pour.
Keep Learning on ResinAffairs.com
Ready to plan your first pour? Here’s where to go next:
- 🛠️ Essential Resin Tools Every Beginner Needs → — the full beginner toolkit and a printable checklist.
- 🧩 Best Resin Molds for Beginners → — silicone vs. plastic vs. DIY molds, and which one to buy for each project.
- 🎁 Resin Gift Ideas for Beginners → — easy, giftable projects with full tutorials, plus packaging and per-gift costs.
- 🪣 Epoxy Pouring for Beginners: Step-by-Step → — the pour technique itself, bubble removal, and the mistakes that ruin a first pour.
Enjoyed this guide? Join the Resin Affairs newsletter for new tutorials, safety tips, and project ideas straight to your inbox.