How to Pour Epoxy Resin: Beginner’s Step-by-Step Guide
Disclosure: This article contains affiliate links. If you purchase through these links, we may earn a small commission at no extra cost to you. We only link to gear we would use ourselves.
As an Amazon Associate I earn from qualifying purchases.
You’ve measured carefully. You’ve mixed for the full time on your label. The cup of clear, glassy resin is sitting in your hand and now comes the part nobody quite explains: the pour itself. How fast? From how high? Do you pour it all at once or in stages? And what are you supposed to do in those first few minutes after the resin hits the mold?
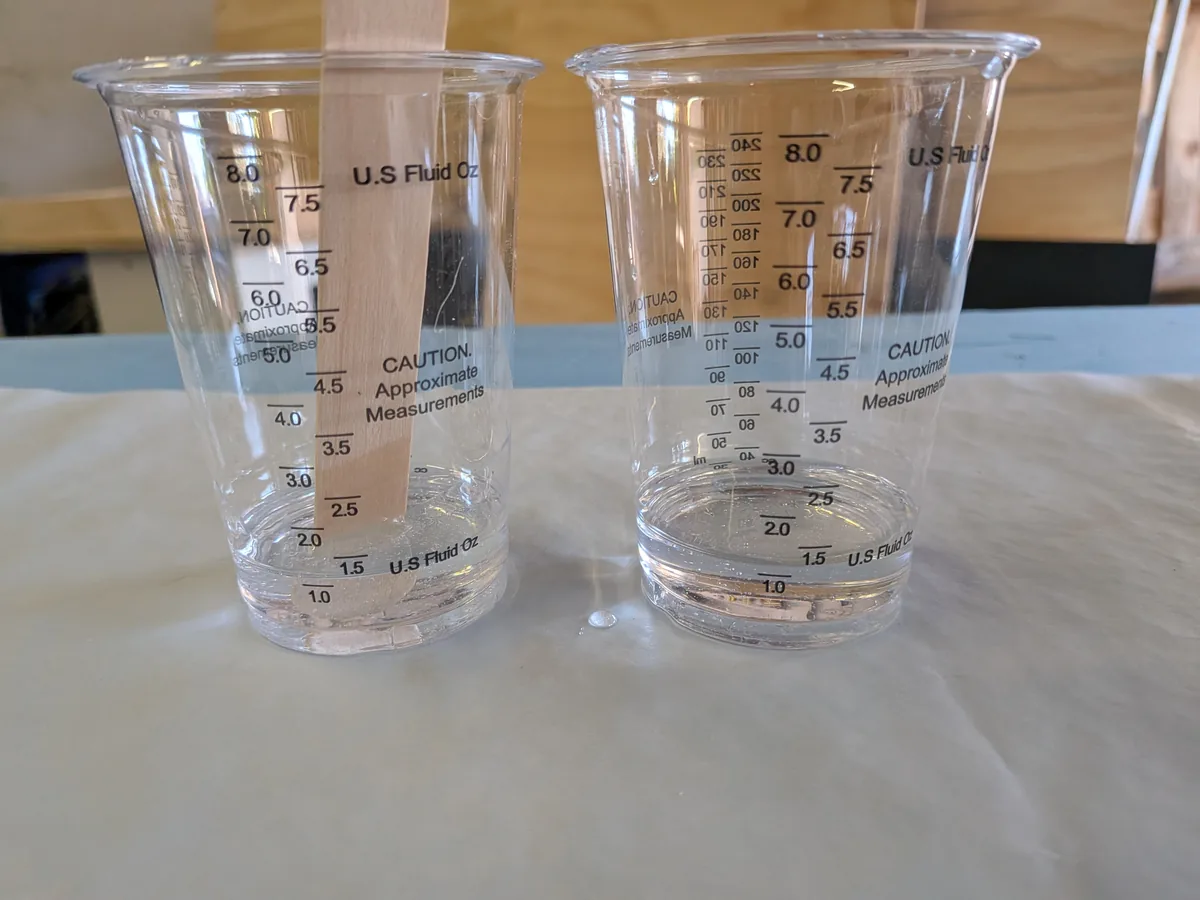
The pour is where most first-timers panic, but it’s also the easiest part of the whole process to get right once you know the handful of rules. A good pour prevents about half of the problems in our resin troubleshooting guide before they ever happen: trapped bubbles, uneven surfaces, resin creeping over the edge of the mold, and that tilted, lopsided finish you only notice the next morning.
This epoxy pouring for beginners guide works for any project, whether you’re filling a coaster mold, flooding a serving tray, or doming a pendant. It assumes your resin is already mixed (if it isn’t, start with our guide to how to mix epoxy resin and come back), and it picks up at the exact moment you lift the cup.
Quick answer: To pour epoxy resin, hold the cup 1–2 inches (3–5 cm) above the mold and pour in a slow, thin, steady stream into one spot, letting the resin spread on its own. Pour in stages for anything deeper than about ¼ inch or with detailed embeds. Wait 2 minutes, then pop surface bubbles with a heat gun or torch, and don’t touch or move the piece once it starts to gel.
What You Need Before You Pour
Everything that goes wrong in a pour is much easier to prevent than to fix, so spend two minutes on setup before you open the cup. Here’s the short checklist:
- A level surface. This is the one beginners skip most. Resin self-levels, which means if your table tilts even slightly, all of your resin will quietly migrate to the low side while it cures. Put a small bubble level on the mold itself (not just the table) and shim with folded paper or cardboard until the bubble sits dead center.
- A prepped mold or surface. Silicone molds should be clean, completely dry, and free of dust or lint. A quick wipe with a lint-free cloth and a blast from a hair dryer on cool clears most of it. If you’re coating a porous surface like raw wood, it needs a thin seal coat first. Our guide to resin molds covers prep for each mold type.
- Something under the mold. A silicone mat, a sheet of plastic, or a flattened cardboard box protects your table. Resin that drips or overflows will bond permanently to whatever it lands on.
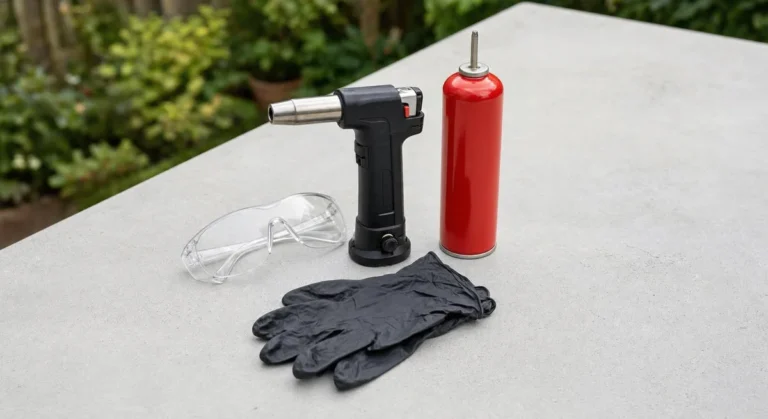
- Your bubble tool within reach. A heat gun or a small butane torch. (A spray bottle of 91%+ isopropyl alcohol also works if you have no heat tool, but never keep it next to a torch: alcohol is flammable.) You’ll want it within the first two minutes of pouring, not after a hunt through the drawer. If it’s a butane torch, refill it before you mix (how to refill a butane torch safely).
- A dust cover ready to go. An upturned plastic tub or cardboard box big enough to sit over the piece without touching it.
- PPE on before you start. Nitrile gloves, safety glasses, and ventilation. We won’t repeat the whole safety talk here; it’s in the Resin Safety Hub and our PPE guide for beginners. Just don’t skip it because “it’s only a small pour.”
🧰 Recommended Kit for This Project
- LET’S RESIN Crystal Clear Epoxy Resin Kit (80 oz) — a beginner-friendly 1:1 coating resin with good bubble release, the same kit our mixing guide uses
- LET’S RESIN Heat Gun for Resin Crafts — for popping surface bubbles in the first 10 minutes after the pour
- Butane Torch for Resin Bubble Removal — faster and more controlled than a heat gun on larger, flat pours like trays
- Nitrile Gloves — the non-negotiable skin protection for every pour, no matter how small
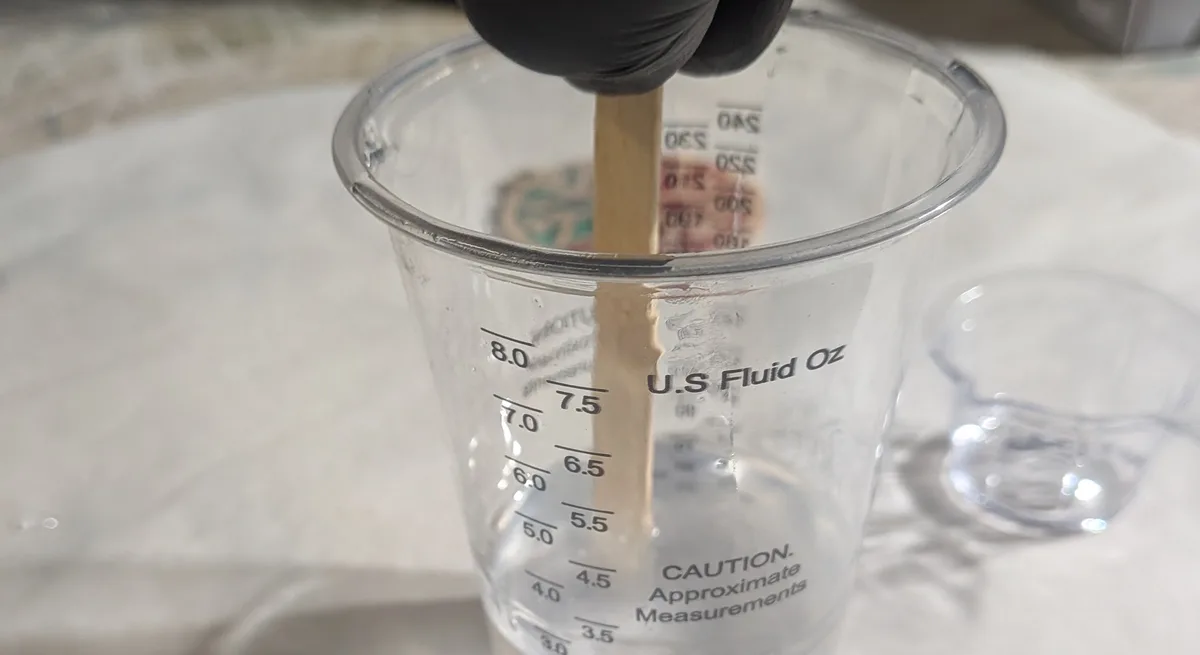
How to Pour Epoxy Resin: The Technique
Here’s the thing that surprises most beginners: the pour is slow. Not dramatic. Not a satisfying glug from the cup. A good epoxy pour looks almost boring from the outside, and that’s exactly what you want.
Pour in a thin stream from a low height
Hold the lip of the cup about 1–2 inches (3–5 cm) above the mold and tip it until the resin runs off in a thin, steady ribbon, roughly the thickness of a pencil. Keep that ribbon flowing into one spot rather than waving the cup around. The resin will spread out from that spot on its own.
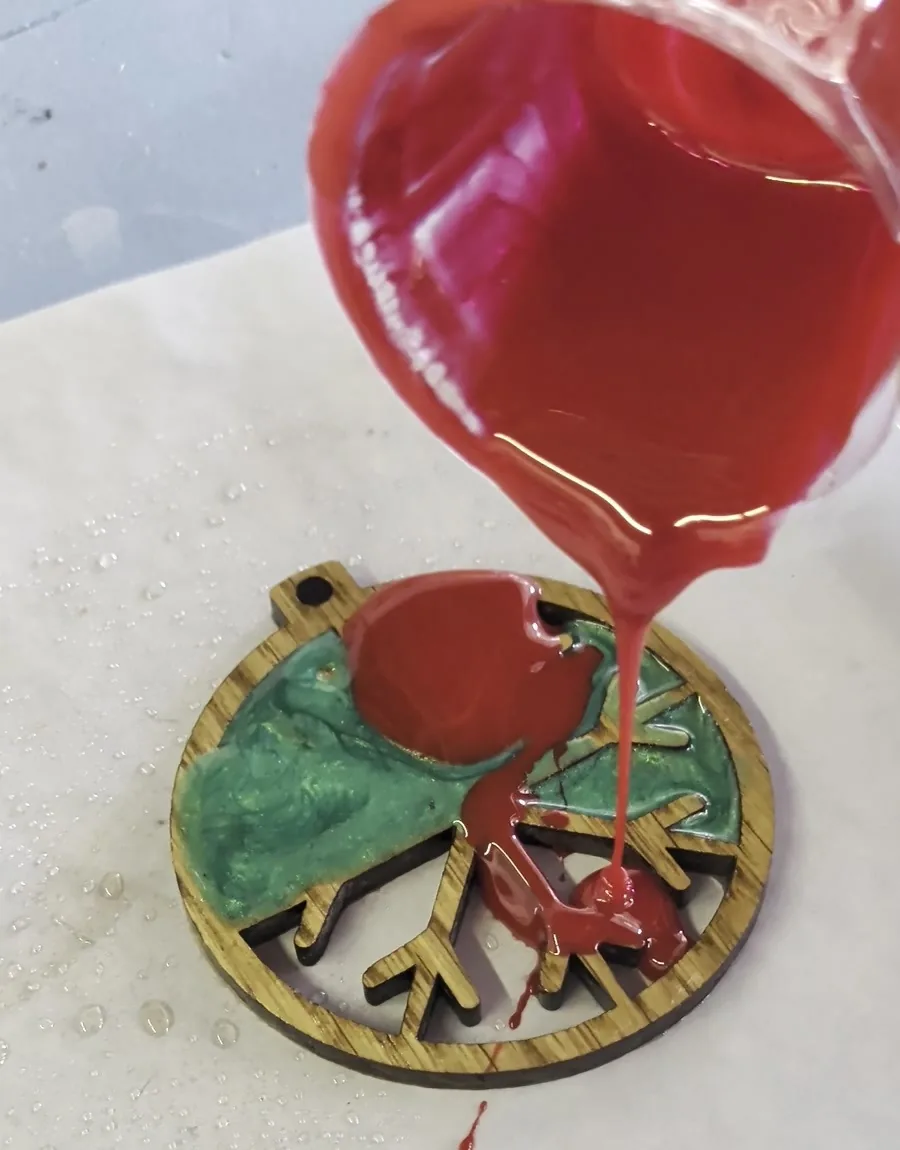
Two reasons this works. First, a thin stream carries far less air with it than a wide, splashing pour, so you’re not pushing new bubbles into resin that you just spent five minutes de-bubbling. Second, pouring into one spot lets the resin push air ahead of itself as it spreads, sweeping it toward the edges instead of trapping it underneath.
Pouring from higher up (say, a foot above the mold) is a technique some artists use deliberately to stretch and thin the stream for cells and lacing effects. For a clear, clean pour, keep it low.
Slow pour vs. fast pour
Slow, almost always. A fast pour dumps a column of resin that hits the mold floor, splashes, and folds air into itself, and that air ends up as a cloud of tiny bubbles down near the bottom of the piece where your heat gun can’t reach. Pour slowly enough that the stream never breaks into drops. If the cup has a spout, use it. If it doesn’t, pour from one edge of the rim, not the middle.
The one exception: resin that has been sitting in the cup a while and has started to thicken. If it’s noticeably syrupy, pouring slightly faster is better than dragging it out, because thick resin holds bubbles longer. But if it’s that thick, you’re near the end of your working time and should have poured earlier.
Center-out or edges-in?
This depends on the shape you’re pouring:
- Flat, open pours (coasters, trays, tabletops, art panels): pour into the center and let the resin flow outward. Then, if it hasn’t reached the corners, nudge it there with a silicone spreader or a gloved fingertip rather than pouring more resin at the edge. Coaxing a thin edge is better than flooding it.
- Deep or narrow molds (pendants, cubes, small casts): pour into one low corner or against the side wall, not straight down the middle. Letting the resin run down the wall of the mold sweeps air up and out rather than trapping it at the bottom.
- Molds with embeds (flowers, glitter, charms): pour a thin base layer first, place your embeds into that, then pour over them. Pouring directly onto dry flowers or paper traps air in every crevice of the embed.
Pour in stages for anything with depth or detail
A single deep pour is the fastest way to trap bubbles, overheat your resin, and end up with a soft, cloudy middle. For a coating resin, ¼ inch (about 6 mm) per layer is a safe ceiling; deep-pour resins are formulated for 1–2 inches per layer, sometimes more. If your project is deeper than one safe layer, pour it in two or three.
Let each layer reach the tacky stage (firm enough that a gloved fingertip leaves a print but doesn’t come away wet, usually 3–12 hours depending on the product) before pouring the next. Pouring onto a fully hardened, glossy layer without sanding it risks a weak bond and a visible seam (see how to pour a second layer below), and pouring onto a still-liquid one just makes one big deep pour. The maximum pour depth for each resin type is covered in our guide to choosing the right resin for your project, so we won’t repeat that table here.
Don’t scrape the cup
When the stream slows to a dribble, stop. The film clinging to the sides and bottom of the cup can contain unmixed resin, especially if you skipped the two-cup method, and those last drops are the most common cause of a single sticky patch on an otherwise perfect piece. A few wasted grams of resin is a bargain compared with a redo.
Pro tip: Pour slightly less than you think you need, then top up. Resin that’s already in the mold is easy to spread; resin that has gone over the edge is permanent.
The First 10 Minutes After Pouring
The pour isn’t finished when the cup is empty. The next ten minutes are when bubbles surface and the resin settles, and it’s the last window in which you can still fix anything without sanding.
- Wait two minutes before you reach for heat. Bubbles need a little time to rise. Torching immediately just pushes them deeper. Use this time to check the level one more time and spread the resin into any corners it hasn’t reached.
- Look for bubbles at a low angle. Crouch so you’re looking across the surface toward a light source rather than down at it. Bubbles you can’t see from above are obvious in the reflection.
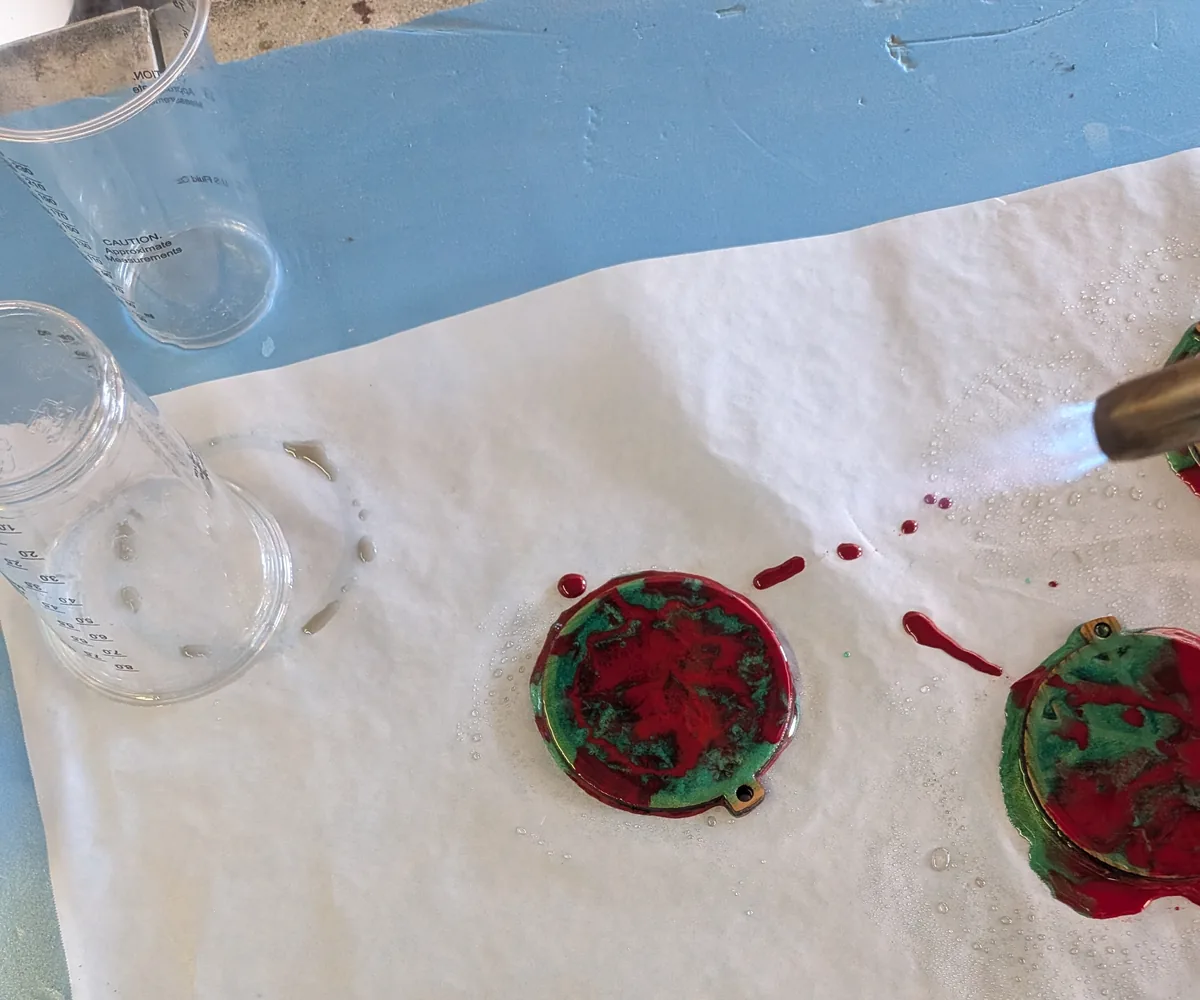
- Pass the heat gun or torch in slow sweeps. A heat gun sits about 6–8 inches above the surface; a torch stays about 4–6 inches above it and never stops moving. You’ll see bubbles pop in the wake of the heat. Don’t linger on a spot: scorched resin wrinkles and yellows, and a silicone mold can burn. If you don’t own either tool, a single very light mist of 91%+ isopropyl alcohol from 6–8 inches away can pop surface bubbles. Use it sparingly (too much can leave dimples or a soft cure) and never together with a torch, because alcohol is flammable. (Wondering if a hair dryer will do? Here’s our honest answer.)
- Pop stubborn individual bubbles with a toothpick. A bubble sitting against an embed or a mold wall won’t always respond to heat. A gentle poke works.
- Come back at 10 and 20 minutes. New bubbles keep rising for the first half hour, especially from porous embeds like dried flowers or wood. A second and third quick heat pass is normal.
- Cover it and walk away. Once you’re happy, put the dust cover over it and leave it alone. Every fleck of dust, pet hair, or curious fingertip that lands on the surface in the next few hours is there for good.
Why you shouldn’t touch or tilt the piece once it starts to gel
Somewhere between 20 minutes and an hour after pouring (depending on the product and room temperature), the resin moves from liquid to gel. It stops self-leveling. From that point, anything you do to the surface stays: a fingerprint won’t flow back out, a tilt to “fix” the level will just freeze a slope into the piece, and nudging a mold can leave a permanent ripple. If you notice a problem after the gel stage, the fix is to let it cure fully and then sand and recoat, not to intervene now.
How to Pour a Second Layer of Epoxy Resin
A second layer is how you build depth, fix a thin or uneven coat, or seal in embeds. When you pour it decides whether you need to sand first. There are two windows, and the exact timing is on your resin’s label (look for the recoat time), because it varies a lot between brands.
Option 1: Pour while the first layer is tacky (no sanding)
Once the first layer has gelled but hasn’t hardened, it’s tacky: a gloved fingertip leaves a print but comes away clean. Pour the next layer now and it blends into the tacky surface and forms a chemical bond, so there’s nothing to sand. For a thin coating resin this is often 3–5 hours after the pour (sooner in a warm room); slower resins can take up to about 12 hours. Check every hour or so, because the window closes once the surface turns hard.
Option 2: Pour after it has cured (sand first)
Missed the tacky window? Wait until the first layer is hard enough to sand (about 72 hours, when a fingernail no longer leaves a mark), then:
- Wash off any film. A waxy or greasy feel is amine blush from curing in damp air. Scrub it off with warm soapy water and a scouring pad, then dry the piece, or it will clog the sandpaper and weaken the bond.
- Scuff the whole surface. Sand evenly until no shine is left, using coarse paper (80–150 grit). Wear gloves and an N95 mask for dry sanding, and keep the dust down with the tips in our resin sanding dust collection guide.
- Remove every trace of dust. Wipe with a damp lint-free cloth and let the surface dry completely. Leftover dust shows up as specks under the new coat.
- Pour the second layer like the first. Check it’s level, pour a thin stream into one spot, and chase the bubbles as above.
The sanded layer will look scratched and cloudy. That’s normal: the new coat fills the scratches and they disappear.
Two things not to do. Don’t pour onto a cured, glossy layer without sanding it, because the new coat has nothing to grip and can peel away later. And don’t pour a new layer to rescue one that’s still soft or wet underneath, because fresh resin can’t make it cure. See why is my resin sticky first.
Common Pour Mistakes (and the One-Line Fix for Each)
| Mistake | What it causes | The fix |
|---|---|---|
| Pouring too fast, from too high | Clouds of tiny bubbles low in the piece that heat can’t reach | Pour a pencil-thin stream from 1–2 inches up, into one spot |
| Pouring cold resin | Thick, syrupy resin that holds bubbles and cures slowly or unevenly | Warm the bottles in a bowl of warm (not hot) water before mixing; work at 70–80°F / 21–27°C with humidity at 60% or lower |
| Not leveling the surface first | A piece that’s thick on one side and paper-thin on the other | Level the mold itself with a small bubble level and shim before you pour |
| Pouring right up to the mold edge | Overflow, resin bonded to the mat, and a hard-to-sand lip | Stop about 1/16 inch (1–2 mm) below the rim; surface tension will hold a slight dome |
| One deep pour with coating resin | Overheating, cracks, cloudy or soft core | Pour in layers of ¼ inch or less, or use a deep-pour resin |
| Scraping the cup to get every drop | A single sticky patch on an otherwise perfect piece | Leave the last film in the cup |
| Torching immediately, or holding heat in one spot | Bubbles pushed deeper; scorch marks and wrinkling | Wait 2 minutes; keep the heat moving in sweeps |
| Moving or tilting the piece after it gels | A frozen slope, ripples, or fingerprints | Get the level right before pouring, then leave it alone until fully cured |
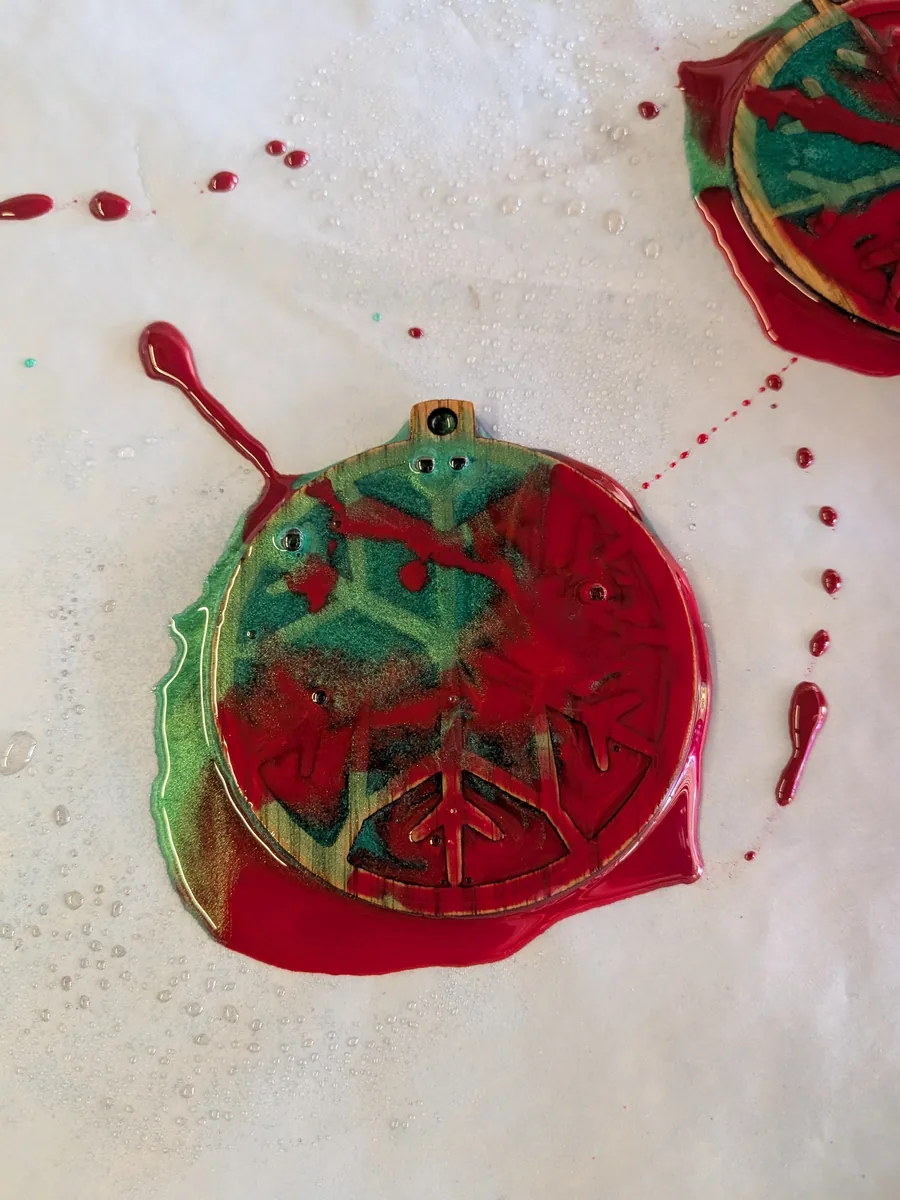
If something has already gone wrong after the cure, whether that’s stickiness, bubbles locked inside, soft spots, or cracks, head to our full guide to common resin problems and how to fix them. Nearly all of them are fixable.
Frequently Asked Questions
How do you pour epoxy resin without bubbles?
Mix slowly, then pour in a thin, pencil-width stream from 1–2 inches above the mold into a single spot and let the resin spread on its own. Wait about two minutes for bubbles to rise, then sweep a heat gun or torch across the surface, keeping it moving. For molds with embeds, pour a thin base layer first, set the embeds into it, and pour over them. Repeat a quick heat pass at 10 and 20 minutes as new bubbles surface.
How thick can you pour epoxy in one layer?
It depends on the resin type, so check the label. Most coating and art resins are safe up to about ¼ inch (6 mm) per layer; casting and deep-pour resins are formulated for 1–2 inches or more per layer. Pouring deeper than your resin’s limit traps heat, which can cause cracking, cloudiness, and a soft, under-cured center.
Do you pour resin fast or slow?
Slow. A slow, steady stream carries very little air with it and lets the resin push air ahead of itself as it spreads. A fast pour splashes and folds air deep into the piece where you can’t pop it. The only time to pour a little faster is when the resin has started to thicken near the end of its working time.
What happens if you pour epoxy too fast?
Fast pouring traps a cloud of tiny bubbles low in the piece, splashes resin onto the mold walls and your work surface, and makes it easy to overshoot and flood past the edge of the mold. The bubbles are the hard part: surface bubbles pop with heat, but bubbles trapped at the bottom of a deep pour usually stay there.
How long after pouring resin can you torch it?
Wait about two minutes before the first pass so bubbles have time to rise to the surface. Then keep the heat gun or torch moving in slow sweeps, and come back for a second and third pass at around 10 and 20 minutes, since new bubbles keep rising during the first half hour, especially from porous embeds.
How long should you wait before pouring a second layer of epoxy?
Either pour it while the first layer is still tacky (a gloved fingertip leaves a print but no resin), which is often 3–5 hours for a thin coating resin and up to about 12 hours for slower ones, or wait until it has cured (about 72 hours), sand the whole surface with 80–150 grit, wipe off the dust and then pour. Check your resin label for its recoat window.
Do you have to sand epoxy between coats?
Only if the first layer has fully cured. A tacky layer bonds chemically to the next one, so it needs no sanding. A cured, glossy layer needs sanding so the new coat can grip, or it can peel away later. The sanding scratches disappear under the new coat.
Sources
- OSHA, Hazard Communication: your resin’s label, technical data sheet and safety data sheet give its maximum pour depth, working time and recoat window.
- Epoxyworks (WEST SYSTEM), Controlling Exotherm: a thick mass of mixed epoxy heats up much faster than a thin film, which is why deep projects go in layers.
- Epoxyworks (WEST SYSTEM), What Is Amine Blush?: recoating while the last layer is still tacky creates a chemical bond; on cured epoxy, wash the blush off with water and a scrub pad before sanding.
- System Three Resins, Sanding and Re-Coating Guidelines: recoat windows differ by product (24 to 72 hours without sanding for their epoxies), and past that window the surface needs sanding.
- ArtResin, How Long Do I Need to Wait Between Resin Layers?: a tacky-stage recoat at 3–5 hours needs no sanding; a fully cured layer is sanded (they use 80 grit) before the next coat.
- NIOSH Pocket Guide to Chemical Hazards: Isopropyl alcohol: it is flammable (flash point 53°F), which is why an alcohol mist never goes near a torch.
- NIOSH (CDC), Epoxies and resins: the skin and breathing hazards behind the gloves and ventilation rules.
Your First Pour, Summed Up
Level the mold. Pour low, slow, and into one spot. Stage anything deep. Wait two minutes, chase the bubbles, cover it, and then leave it alone. That’s the whole technique, and once you’ve done it twice it becomes automatic.
Your first pour probably won’t be flawless, and that’s fine. Every resin crafter has a drawer of early pieces with a bubble or a lopsided edge. The important part is knowing which of the rules above you bent, so the next pour is better. If you’re still deciding what to make first, our beginner roadmap to resin crafting lays out the easiest first projects.
Keep Learning on ResinAffairs.com
Pouring sits between mixing and troubleshooting. Here’s where to go next:
- 🥄 How to Mix Epoxy Resin → — ratios, the two-cup method and cure times, everything that happens before the pour.
- 🛠️ Common Resin Problems and How to Fix Them → — stickiness, bubbles, soft spots and cracks, and what to do about each.
- 🧪 Choosing the Right Resin for Your Project → — pour depths, cure times and which resin suits which project.
- 🚀 How to Start Resin Crafting → — the beginner roadmap: what to buy first and the easiest first project.
- How to get bubbles out of resin →
- How long does resin take to cure →
Enjoyed this guide? Join the Resin Affairs newsletter for new tutorials, safety tips, and project ideas straight to your inbox.