How Long Does Resin Take to Cure? Epoxy, UV & Deep Pour
Resin Affairs is reader-supported. If you buy through links on this page, we may earn a small commission at no extra cost to you. We only link to gear we would use ourselves — prices and availability change, so check the current listing. Always follow your resin product’s label and Safety Data Sheet.
As an Amazon Associate I earn from qualifying purchases.
Quick answer: Most epoxy resin is touch-dry in 12–24 hours and firm enough to demold at 24–48 hours. It’s usable at about 72 hours and reaches full hardness at about 7 days. Deep pours can take longer. UV resin cures in about 2–4 minutes per thin layer under a 36W+ lamp. Room temperature is the biggest thing you control, so aim for 70–80°F (21–27°C).
You’ve mixed, poured, chased the bubbles, and now your piece is sitting on the bench looking glossy and perfect. Now comes the question every beginner asks: how long does resin take to cure, and when can I touch it?
The short answer is a day to demold, about three days before you use it, and a week to full hardness. The longer answer is that cure time depends on three things you control: what kind of resin you used, how warm your room is, and how thick you poured. Get those right and the label’s numbers will hold. Get one wrong and a 24-hour cure can stretch into a week, or never finish at all.
⚠️ Safety first: work in a well-ventilated space, wear nitrile gloves and eye protection, and keep uncured resin off your skin. New to resin safety? Start with Is Epoxy Resin Safe? and Resin PPE for Beginners.
Resin Cure Times at a Glance
Every resin moves through the same stages, but the clock runs at very different speeds depending on the formula. Here are the typical windows for the four types a home crafter is likely to use, at a normal room temperature of around 70–80°F (21–27°C).
| Resin type | Working time (pot life) | Touch-dry / tack-free | Firm enough to demold or handle | Usable / full hardness |
|---|---|---|---|---|
| Craft/coating epoxy | 30–40 min | 12–24 h | 24–48 h | Usable ~72 h; full hardness ~7 days |
| Tabletop epoxy | 30–45 min | 12–24 h | 24–72 h for light use | Usable ~72 h; full hardness ~7 days |
| Deep-pour/casting epoxy | 60–100 min | 24–36 h | 48–72 h | Usable 72 h or later; full hardness 7 days or more, depending on depth |
| UV resin | No pot life; cures on demand | 1–2 min per thin layer under a lamp | Right after the final cure | 2–4 min per thin layer under a 36W+ lamp, plus another minute or two (then an isopropyl wipe) if the surface is still tacky |
A quick word on polyester resin, since you will see it in hardware stores: it cures fast, but it gives off strong fumes and is not something to use in a home. Our guide to choosing the right resin for your project explains why epoxy and UV resin are the sensible picks for a kitchen table.
One caveat before you plan your week around this table: the label always wins. Brands differ, and a fast-cure craft epoxy from one company can demold hours earlier than a standard formula from another. Read the technical sheet that came with your kit and treat the numbers above as a sanity check, not a promise.
🧰 Recommended Kit
- LET’S RESIN Crystal Clear Epoxy Resin Kit — a beginner-friendly 1:1 formula with published cure times, so you know what to expect before you pour.
- Digital Gram Scale — only needed if your resin’s label gives a by-weight ratio. Most 1:1 craft resins (including our top pick) are measured by volume, and weighing a volume-ratio resin gives the wrong mix.
- LET’S RESIN UV Resin with Light, 200g Starter Kit — for anyone who wants the minutes-not-days option for small pieces.
- Silicone Craft Mat — a dedicated, easy-clean spot where a curing piece can sit untouched for three days.
The 4 Stages of Curing (and What You Can Do at Each One)
“Dry” and “cured” are not the same thing. A surface can feel dry to a fingertip while the chemistry underneath is still working, and it keeps working for days after the resin stops looking wet. Knowing which stage your piece is in tells you what is safe to do and what will leave a permanent mark.
Stage 1: Working time (pot life)
This is the window after mixing when the resin is still fluid enough to pour and shape, usually 30–45 minutes for craft epoxy and up to 100 minutes for deep-pour. Everything creative happens here: pouring, adding color, placing embeds, tilting the mold to fill fine detail, and popping bubbles with a torch or heat gun. Gloves on and a window open, as always.
The clock starts the moment resin and hardener meet, not when you finish stirring. Mixing a big batch or working in a warm room shortens it, so have your molds, colors and embeds laid out before you open the bottles. When the resin starts to thicken and pull like honey, working time is over.
Stage 2: Gel stage
Somewhere around the end of pot life the resin turns from a liquid into a soft, rubbery gel. This is the stage that fools beginners. It looks set, and it might even feel firm at the edge, but it is nowhere near cured.
Do not touch it, tilt it, or torch it. A fingertip leaves a permanent print, a nudge to the mold makes the surface slump to one side, and a torch pass now creates craters instead of popping bubbles, because the surface can no longer flow back and self-level. If you spot a bubble at this stage, let it go. It is far easier to sand and recoat later than to fix a dented gel.
Stage 3: Tack-free (touch-dry)
For most epoxy this arrives at 12–24 hours. The surface no longer feels sticky, and you can carefully move the piece, cover it, or pour a second coat. Many coating resins have a recoat window in the first day or two when a fresh layer bonds chemically without sanding, so this is the time for a flood coat or the next layer in a mold.
What you should not do yet: stack pieces on top of each other, demold anything thick, or sand. The piece is still soft below the skin, and the edges of a thick cast will bend or tear if you pull it out of a silicone mold now.
Stage 4: Full cure
At about 72 hours standard epoxy is usable. Now you can demold with confidence, sand, polish, drill holes for hardware, glue on findings, wrap it as a gift, and put it to light use. Full hardness takes about 7 days (longer for deep pours), so anything that holds food or drink, or will sit under a hot mug, waits the full week.
The resin keeps gaining hardness through that first week, which is why a coaster that feels rock-solid on day three can still take a ring mark from a hot mug.
What Makes Resin Cure Faster or Slower
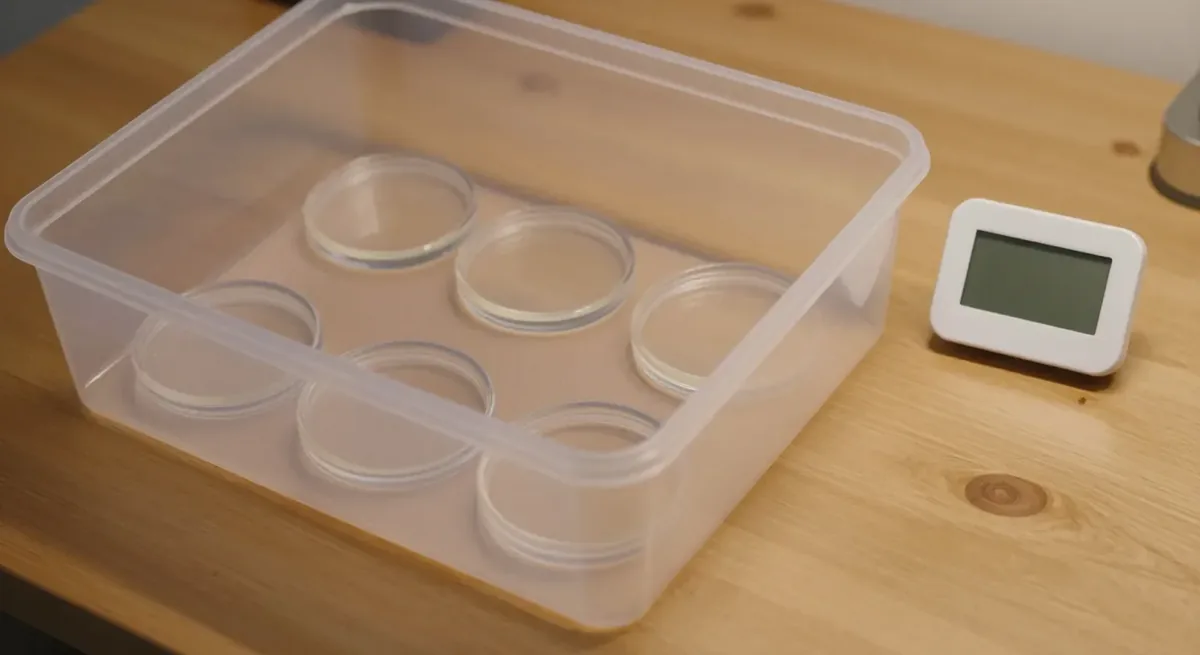
If your piece is not matching the label, one of these five things is usually the reason.
Temperature
Temperature is the biggest lever you have. Epoxy cures best at 70–80°F (21–27°C). Below about 65°F (18°C) the reaction slows dramatically, and in a cold garage it can stall altogether, leaving a piece that is still soft after a week.
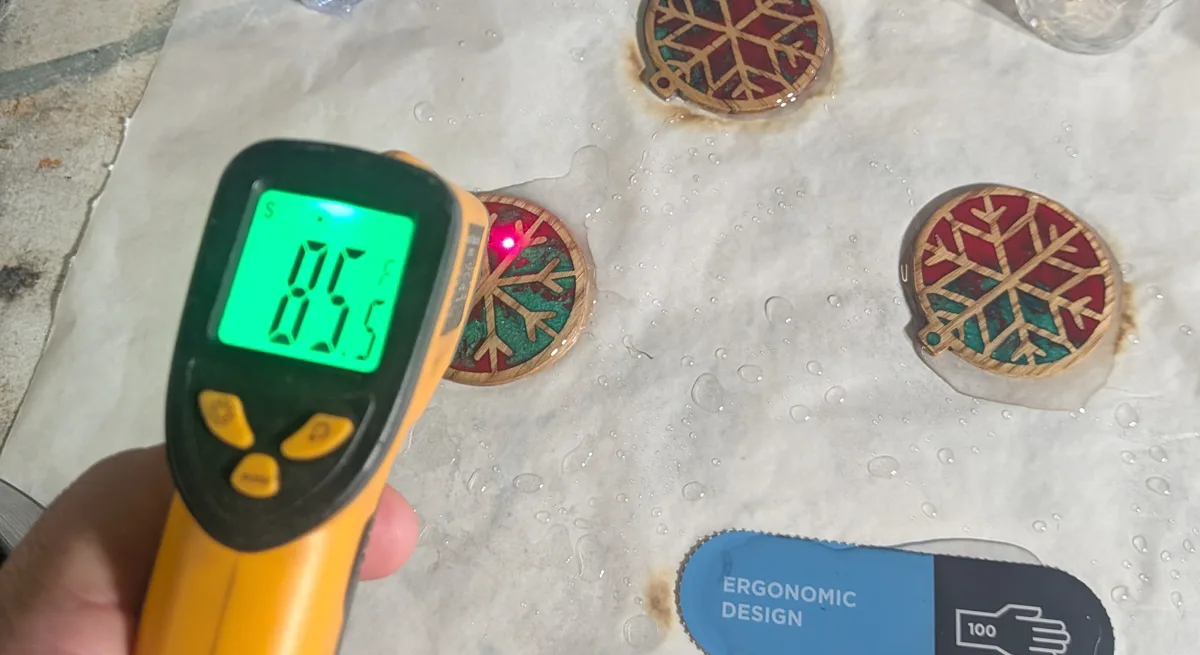
The relationship is not linear. Every 18°F (10°C) rise roughly halves the working time and speeds up the whole cure, which is why a warm room makes such a difference. The catch is that heat cuts both ways. Push the room past 85°F (29°C) and thicker pours build heat faster than they can shed it, which leads to cracking, yellowing and a wavy surface.
Humidity
Epoxy does not like moisture in the air. Once humidity climbs above about 70%, water vapor gets trapped in the surface as it sets, leaving a cloudy or milky finish and sometimes a tacky layer that never quite hardens. Aim for 60% or lower. A dehumidifier, or simply choosing a dry day, makes a real difference.
Thickness
Curing epoxy makes its own heat, and thicker pours trap more of it. A deep pour gels faster than a thin coat because it runs warmer, but the inside of a thick cast takes longer to reach full cure than a thin layer does. Pour too thick in one go and the heat spikes, which cracks the piece or yellows the middle.
Layer limits are the answer. Coating resin is designed for layers of about 1/8 inch, craft epoxy for about 1/4 inch, and deep-pour formulas for up to 2 inches in a single pour. Anything deeper than your resin is rated for should be done in stages, letting each layer gel before the next goes on.
Ratio and mixing
This one is not about speed but about whether the resin cures at all. Epoxy is a two-part chemical reaction, and it only completes when the two parts are measured accurately and mixed until every streak is gone. Off-ratio or under-mixed resin stays soft or sticky forever, no matter how warm the room. If that sounds like your piece, our guide to why resin turns out sticky walks through the causes and the fixes.
The formula itself
Finally, resins are built for different jobs. Fast-cure craft resins can demold in under 24 hours, while deep-pour formulas are deliberately slow so they stay cool in a thick cast. A 1:1 resin and a 2:1 resin can also behave quite differently at the same temperature. None of this is a problem, as long as you read the label for your kit.
A note on UV resin
UV resin has its own variables. Lamp strength is the big one: a 36W or stronger lamp cures a thin layer in a minute or two, while a weak lamp can take ten. Layer thickness matters because the light has to reach all the way through, and opaque colorants block it, so anything heavily pigmented needs to be cured in thinner layers. Sunlight does work, but slowly and unevenly, and a cloudy afternoon can leave a piece with a tacky underside.
Can You Speed Up Resin Curing?
Yes, within limits. You cannot turn a three-day cure into a three-hour one, but you can shave off hours and make sure it cures properly. Here is what helps.
- Warm the bottles before mixing. Stand the sealed bottles in a bowl of warm (not hot) tap water for 5–10 minutes. Warm resin is thinner, mixes more easily, releases bubbles better and starts curing sooner. Dry the bottles before opening them so no water gets into the cup.
- Keep the room at 75–80°F (24–27°C). This alone can cut hours off the tack-free time compared with a 65°F (18°C) room.
- Use a space heater across the room, or a lamp above the piece. Gentle, even warmth is the goal. Point a heater at the far wall rather than at the resin, and keep any lamp above the piece, never resting on it.
- Build a cardboard hot box. A large cardboard box turned over the piece with a low-wattage lamp inside traps warmth and keeps dust off. Check it with a cheap thermometer and keep it under 85°F (29°C). Fire safety matters here: use a low-heat bulb, keep it well clear of the cardboard (it must never touch the box), and don’t leave the lamp running unattended or overnight.
- Pour thinner layers. Thin layers cure through more evenly, and you can often recoat within 24 hours rather than waiting for a thick pour to finish.
Now the things that look like shortcuts and are not.
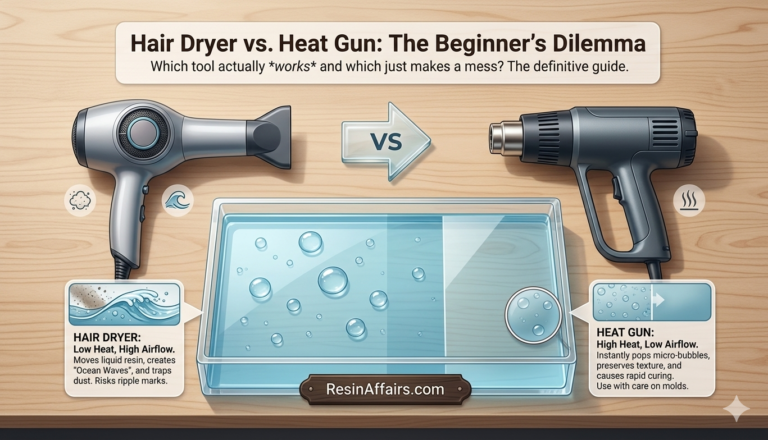
- Do not use an oven or a hair dryer. Direct heat cooks the surface before the inside can cure, creates ripples, and can blow dust straight into wet resin. Our post on using a hair dryer instead of a heat gun explains why the two tools are not interchangeable.
- Do not add extra hardener. It feels logical, but it does the opposite of what you want. The ratio is a chemical formula, not a dial, and extra hardener leaves unreacted material that stays sticky. Our guide to how to mix epoxy resin shows the right way to measure.
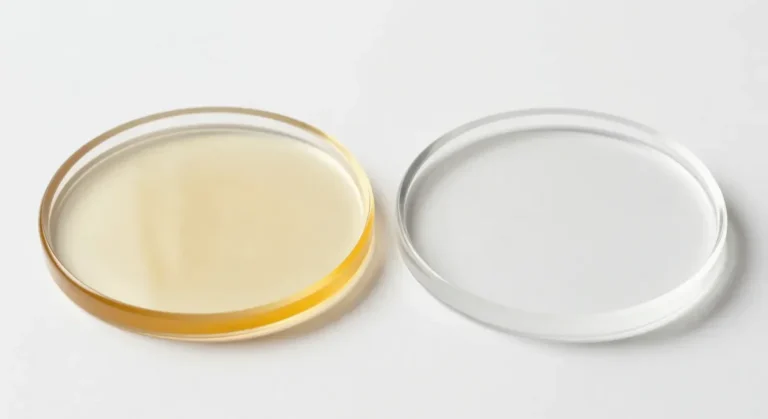
- Do not move it into direct sun. One side warms faster than the other, so the cure is uneven, and UV light yellows epoxy before it has even finished hardening.
How to Tell When Resin Is Fully Cured
Cure times are a guide, but the piece itself gives the final answer. Run these checks before you demold or sand anything.
- The fingernail test. Press a fingernail firmly into an inconspicuous edge. Fully cured resin takes no mark at all. If it dents, wait another day.
- The tap test. Tap the surface with the back of a fingernail. Cured resin gives a clear, hard click, like tapping glass. A dull thud means it is still soft underneath.
- No tack. Rest a gloved fingertip on the surface. It should feel slick and slightly cool, with no drag or stickiness.
- No cloudiness. A cured surface is glassy. A hazy or milky patch points to moisture or an uncured layer.
- No chemical smell. Fresh epoxy has a noticeable smell. Once it fades completely, the reaction is close to done.
Once your piece passes, here is a practical timeline for what you can do and when:
- Demold shallow pieces like coasters, pendants and keychains at 24 hours.
- Demold thick casts like blocks, spheres and deep-pour pieces at 48–72 hours.
- Sand or polish only once it passes the fingernail test, usually at about 72 hours. Sanding soft resin clogs the paper and smears the surface.
- Give it as a gift at 72 hours, once the smell has gone and the surface is fully hard.
- Use coasters and trays for cold drinks at 72 hours, but wait a full week before setting a hot mug on them. Anything you drink from, like a resin-coated tumbler, gets the full week too.
What to Do While Your Resin Cures
The first 24 hours are where good pours get ruined, and it is almost always the crafter, not the resin. Here is what to do instead of poking it.
- Don’t touch it. This is the number one way beginners spoil a piece. No test pokes, no checking the corner, no picking up the mold to look underneath.
- Cover it. Turn a cardboard box or a plastic tote over the piece. It keeps dust, lint and pet hair off a surface that will grab anything that lands on it.
- Clean your tools now. Wipe cups, stir sticks and the mixing surface with isopropyl alcohol while the leftover resin is still liquid. Once it cures, the only option is peeling. Keep your gloves on for this.
- Do one last bubble check at the 15-minute mark. Look across the surface at eye level, give any stragglers a quick pass with the torch or heat gun, then leave it alone for good.
- Keep the temperature steady overnight. A room that drops 15°F (8°C) after midnight slows the cure and can leave a piece tacky in the morning. Close the window and leave the heat on.
- Plan the next pour. Sketch the next design, sort your molds, or measure out embeds. It is also a good time to note what you would do differently.
📋 Get the Free Resin Safety & Prep Checklist
A one-page printable checklist covering PPE, ventilation, and workspace setup — so you’re not hunting through this guide mid-pour. Enter your email and we’ll send it straight over.
Free. We only email when there’s something useful, never more than twice a month, and you can unsubscribe anytime. Privacy Policy
Still Sticky or Liquid After 48 Hours?
If two full days have passed and something is clearly off, the fix depends on what you are seeing.
- Tacky surface but hard underneath. This is usually humidity, cold, or a slightly under-mixed top layer. Start with why is my resin sticky, which covers the five common causes and how to rescue the piece.
- Still liquid or soft gel all the way through. That points to a ratio or mixing problem, and no amount of waiting will fix it. Read how to fix resin that didn’t cure before you decide whether to scrape it out or recoat.
- Anything else, from cloudiness to cracks to soft spots, is covered in our full guide to common resin problems.
Frequently Asked Questions
How long does epoxy resin take to cure?
Most craft and coating epoxy is touch-dry in 12–24 hours, firm enough to demold at 24–48 hours, usable at about 72 hours, and fully hard at about 7 days at 70–80°F (21–27°C). Deep-pour casting epoxy takes longer, a week or more depending on the depth of the pour. Always check the label, because cure times vary between brands and formulas.
How long does UV resin take to cure?
UV resin cures in about 2–4 minutes per thin layer under a 36W or stronger UV lamp. Thick or heavily pigmented layers need longer because the light has to reach all the way through. If the surface is still slightly tacky, cure it for another minute or two, then wipe it with isopropyl alcohol; waiting won’t fix it. Sunlight also works, but it is slower and less even than a lamp.
Can I speed up resin curing?
Yes, within limits. Warm the sealed bottles in a warm-water bath before mixing, keep the room at 75–80°F (24–27°C), and pour in thinner layers. A cardboard box with a low lamp inside makes a simple hot box. Avoid ovens, hair dryers and direct sunlight, and never add extra hardener, which leaves the resin sticky instead of speeding it up.
How long should resin cure before I demold it?
Shallow pieces like coasters, pendants and keychains can usually be demolded at 24 hours. Thick casts such as blocks, spheres and deep-pour pieces need 48–72 hours so the edges do not bend or tear on the way out of the mold. If a fingernail still leaves a mark on the edge, give it another day before you try.
Why is my resin still soft after 24 hours?
At 24 hours most epoxy is only tack-free, not fully cured, so some softness is normal: it is usually usable by about 72 hours and fully hard at about 7 days. If it is still soft after 48 hours, the usual causes are a cold room below 65°F (18°C), a pour thicker than the resin is rated for, or an inaccurate ratio or incomplete mix, which no amount of waiting will fix.
Does resin cure faster in the sun?
Epoxy resin should not be cured in direct sun. Sunlight warms one side faster than the other, so the cure is uneven, and the UV light yellows the resin before it has finished hardening. UV resin does cure in sunlight, but slowly and unevenly compared with a lamp, so a proper UV lamp is the better option for both.
Sources
- OSHA, Hazard Communication: your kit’s label, Safety Data Sheet and technical data sheet carry the real cure times for that product, which is why the label beats any general table.
- Epoxyworks (WEST SYSTEM), Controlling Exotherm: every 18°F rise roughly halves epoxy’s working time, and thick pours trap their own heat and cure faster (and hotter) than thin coats.
- Epoxyworks (WEST SYSTEM), What Is Amine Blush?: why cool, humid air leaves a dull, waxy film on curing epoxy.
- Craft Resin, Deep Pour casting epoxy: an example of a deep-pour formula rated for pours up to 2 inches, with a much longer cure than a craft coating resin.
- WEST SYSTEM, Health Effects From Overexposure to Epoxy: uncured epoxy is a skin sensitizer, and you can become sensitized after many exposures or just one, so gloves stay on until the piece has cured.
- NIOSH (CDC), Epoxies and resins: wear the right gloves, increase ventilation, and wash skin as soon as possible after contact.
Keep Learning on ResinAffairs.com
Now that you know how long the wait is, these guides cover what happens before and after it.
- How to mix epoxy resin the right way →
- Epoxy pouring for beginners →
- Why is my resin sticky? 5 fixes →
- How to fix resin that didn’t cure →
- Common resin problems and how to fix them →
- How to get bubbles out of resin →
- Last-Minute Resin Gifts You Can Still Finish Before Christmas
- Resin Gift Wrapping & Pairing Ideas
- Why does resin turn yellow? Causes and how to prevent it →
Enjoyed this guide? Join the Resin Affairs newsletter for new tutorials, safety tips, and project ideas straight to your inbox.