Can I Use a Hair Dryer for Resin Instead of a Heat Gun?
Resin Affairs is reader-supported. If you buy through links on this page, we may earn a small commission at no extra cost to you. We only link to gear we would use ourselves — prices and availability change, so check the current listing. Always follow your resin product’s label and Safety Data Sheet.
As an Amazon Associate I earn from qualifying purchases.
Quick answer: You don’t need to buy every tool before your first pour. A hair dryer works like a much cooler heat gun: on a flat, open pour you can try it from a distance on its hottest, lowest-fan setting, but expect it to pop far fewer bubbles and to ripple the surface if you get close. Most bubbles can be prevented for free, with warm bottles, slow mixing and a toothpick. If you buy one tool later, make it a basic heat gun.
🧰 Recommended Kit for This Project
- Wagner HT1000 Heat Gun: the bubble tool for silicone molds and anything with alcohol ink in it
- Small refillable butane torch: for open surfaces such as trays and coatings, never silicone molds
- Nitrile gloves: for every pour
📋 Get the Free Resin Safety & Prep Checklist
A one-page printable checklist covering PPE, ventilation, and workspace setup — so you’re not hunting through this guide mid-pour. Enter your email and we’ll send it straight over.
Free. We only email when there’s something useful, never more than twice a month, and you can unsubscribe anytime. Privacy Policy
Hair dryer vs heat gun: the difference
Both tools blow hot air, and both can draw similar power. The difference is how hot that air is when it reaches the resin.
| Hair dryer | Heat gun | |
|---|---|---|
| Air temperature at the nozzle | About 135–225°F (57–108°C) in independent tests of 13 dryers | 750°F or 1,000°F on the Wagner HT1000 |
| What it does to wet resin | Pushes it around; ripples the surface | Warms the top so bubbles rise and pop |
| Dust | Pulls in room air and blows it at the pour | Still moves air, so keep it 6–8 in away and moving |
| Best resin job | Moving white resin for ocean-art lacing | Popping bubbles, especially in silicone molds |
Heat thins the top of the resin for a moment, so trapped air can rise and escape. A hair dryer’s air is hundreds of degrees cooler, so it moves the resin more than it warms it. Even a heat gun can blow wet resin around if you’re careless, as ArtResin points out; a hair dryer does that with far less heat to show for it.
What to use instead
- Heat gun on low, 6–8 inches away, keep it moving. This is the right tool for silicone molds and for anything with alcohol ink in it. ArtResin advises against a flame in both cases: a torch can damage the mold, and alcohol ink is flammable.
- Small butane torch, 4–6 inches away, quick passes. Use it only on open surfaces such as trays, tabletops and coatings.
- Never a lighter.
- Wear an organic-vapor respirator when you use a heat gun or torch, as well as indoors without cross-ventilation, for larger pours, or if you can smell resin. Surgical and charcoal masks won’t protect you (PPE guide).
For every bubble method, including a light alcohol mist and the toothpick trick, see how to get bubbles out of resin.
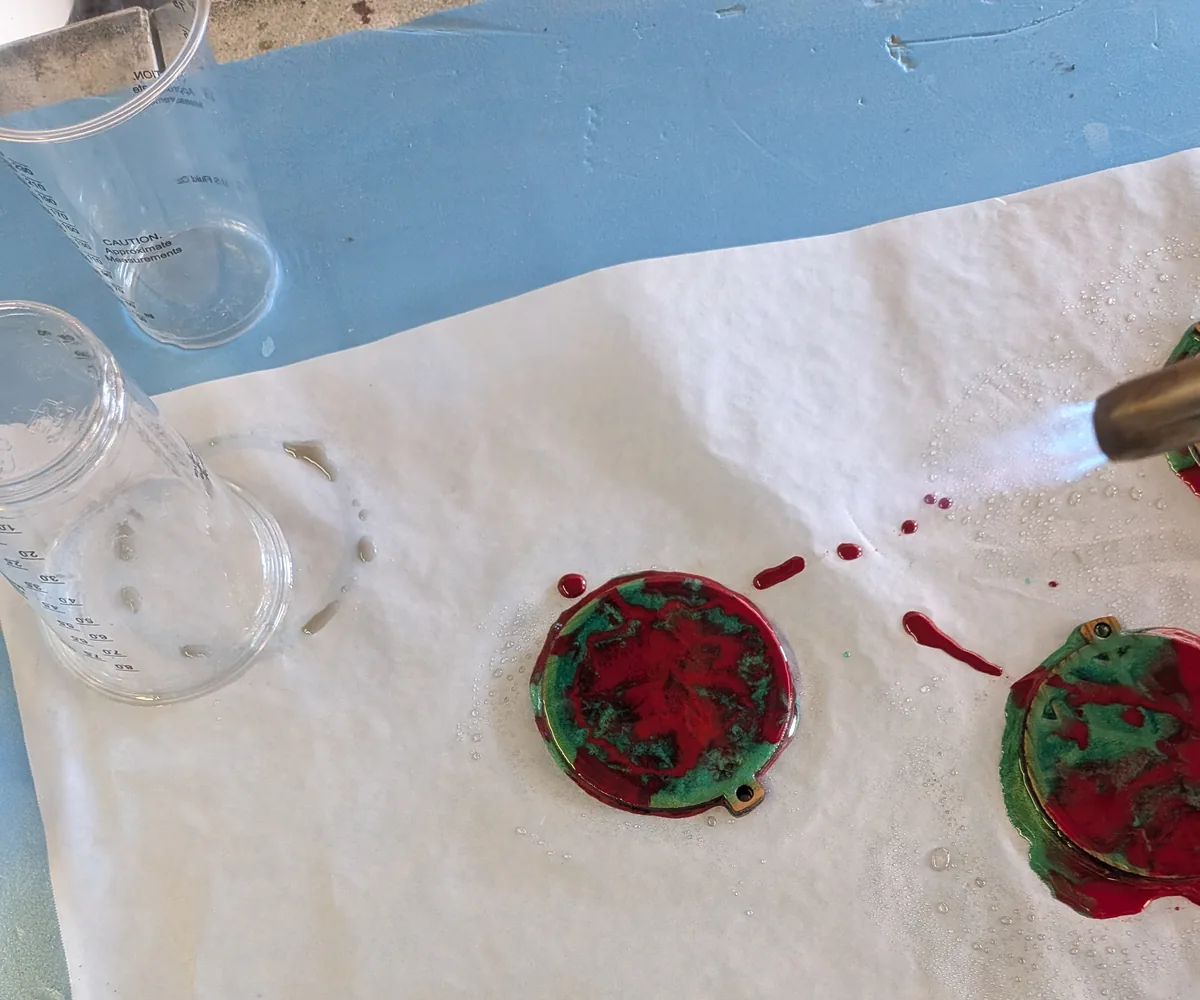
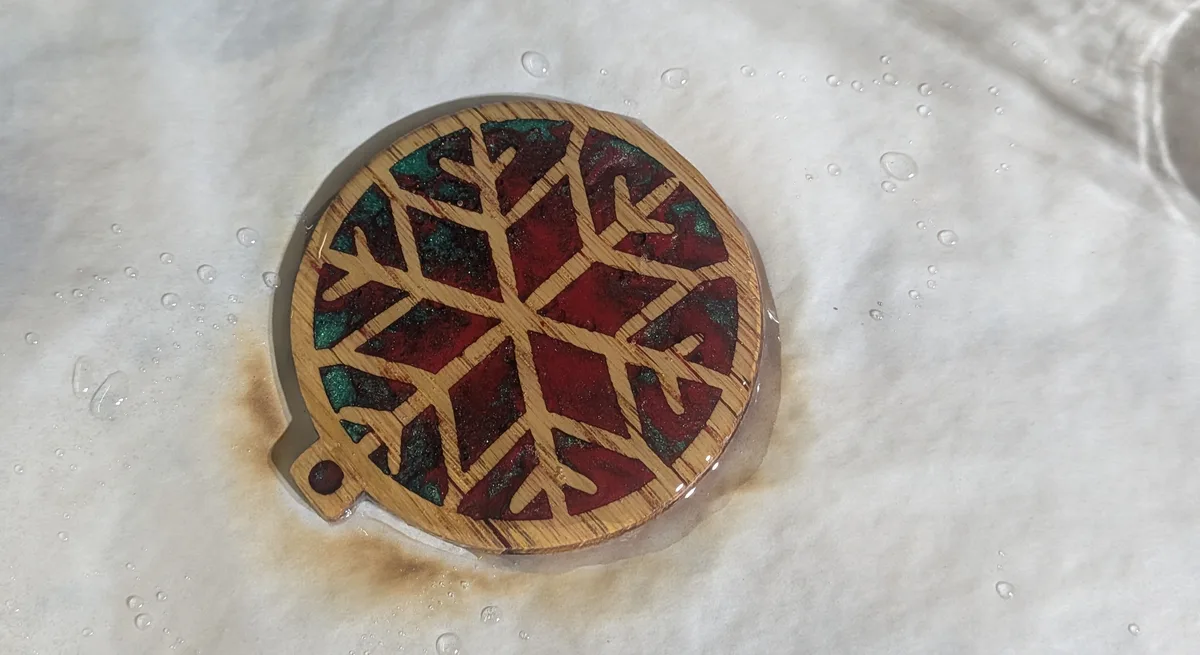
From my bench: On small projects I reach for a heat gun or my mini torch, and I keep the large torch for bigger open pours. Too much flame in one spot does damage: this torch pass scorched the baking paper under one of my ornaments.
The one job a hair dryer does well
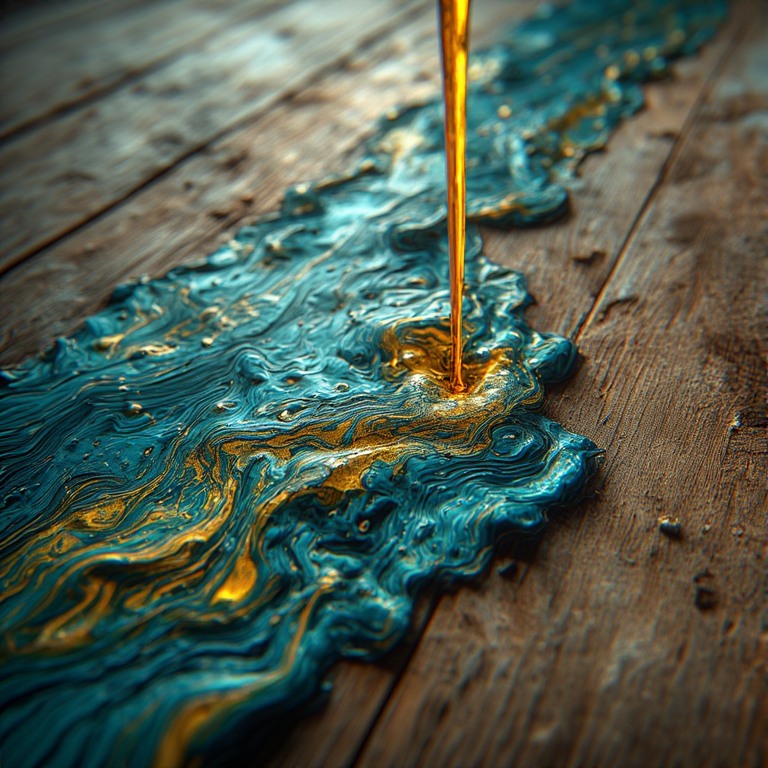
Ocean or beach art. ArtResin’s ocean tutorial uses a hair dryer on purpose: after the blue layers go down, a line of white resin is pushed with the dryer so it spreads into lacing that looks like sea foam. Here, moving the resin is the whole point. Bubbles are still popped afterwards with a torch, because the piece is a flat, open panel. Our resin ocean wave art guide walks through it.
No heat gun yet? What you can use from home
You can make a good first piece without buying a heat tool. Most bubbles can be prevented before they start:
- Warm the bottles. If they feel cold, stand them, capped, in warm (not hot) water for about 15 minutes, then dry them before you open them.
- Mix slowly. Stir for at least 3 minutes, or your label’s time, scraping the sides and bottom. Then pour into a second clean cup and mix for 1 to 2 more minutes.
- Let it sit. Let’s Resin suggests leaving mixed resin for 5 minutes so bubbles can rise before you pour.
- Pop the rest by hand. A toothpick works on surface bubbles until the resin starts to thicken.
- Cover it with a box so dust can’t land while it cures.
- Trying a hair dryer anyway? Only on a flat, open pour, never a silicone mold or a piece with flowers or glitter set in it. Use the hottest heat and the lowest fan, start well back, keep it moving, and stop if the surface ripples. Clean the dryer’s air intake first so it doesn’t blow dust onto the resin.
Want it to cure faster? Don’t aim a hair dryer at it. A room at 70–80°F (21–27°C) does the job, or a heat lamp or curing box at 85°F (29°C) or below. Never an oven. Check your label: Let’s Resin asks for 75–85°F.
Frequently Asked Questions
Can I use a hair dryer to get bubbles out of resin?
It can help a little on a flat, open pour, but not much. Its air is hundreds of degrees cooler than a heat gun’s, so it pops far fewer bubbles and can ripple the surface or blow dust in. Prevent bubbles first (warm bottles, slow mixing, a toothpick), and if you buy one tool, make it a heat gun.
Is a heat gun or a hair dryer better for resin?
A heat gun. Its air runs hundreds of degrees hotter, so a quick pass pops bubbles without pushing the resin around. A hair dryer is only the better tool when you want the resin to move, as in ocean-art lacing.
Can I use a hair dryer on resin in a silicone mold?
No. The airflow can push resin over the edge and shift anything set inside it. Use a heat gun on low, not a torch: ArtResin advises against a flame on silicone molds.
Can a hair dryer make resin cure faster?
Don’t use one for that. Keep the room at 70–80°F (21–27°C), or use a heat lamp or curing box at 85°F (29°C) or below, and never an oven. Check your label for the maker’s range.
Sources
- Hong Kong Consumer Council, Hair dryer tests (2023): outlet temperatures of 13 dryers, about 57–108°C.
- Wagner SprayTech, HT1000 Heat Gun: 750°F and 1,000°F settings.
- ArtResin FAQ: a heat gun can blow wet resin around; a heat gun, not a torch, with alcohol ink.
- ArtResin, How to Avoid Bubbles in Resin: a heat gun, not a torch, on silicone molds and alcohol ink.
- ArtResin, How to Make Ocean Resin Art: a hair dryer pushes white resin into lacing.
- ArtResin, Why Give Resin a Warm Water Bath?: about 15 minutes, bottles capped, dried before opening.
- Let’s Resin Help Center, Know More About Epoxy Resin: stir at least 3 minutes; let it sit 5 minutes before pouring; 75–85°F.
- CDC NIOSH, Epoxies and Resins: surgical and charcoal masks don’t protect.
Keep Learning on ResinAffairs.com
Ready for your next pour? Here’s where to go next:
- 🫧 How to Get Bubbles Out of Resin → — every bubble method, from warm bottles to the toothpick trick.
- 🟤 How to Make Epoxy Resin Coasters → — a first project for silicone molds, with the heat gun step.
- 🌊 Resin Ocean Wave Art for Beginners → — the one job a hair dryer does well.
- 😷 Resin PPE for Beginners → — which respirator, gloves and goggles to wear with a heat gun or torch.
- 🧤 Resin Safety Hub → — heat tools and resin fumes both call for proper ventilation and PPE; see the full safety guide.
Enjoyed this guide? Join the Resin Affairs newsletter for new tutorials, safety tips, and project ideas straight to your inbox.