Common Resin Problems and How to Fix Them (Stickiness, Bubbles, Soft Spots, Cracks & Fissures)
Resin Affairs is reader-supported. If you buy through links on this page, I may earn a small commission at no extra cost to you. Prices and availability change, so check the current listing.
As an Amazon Associate I earn from qualifying purchases.
Quick answer: Most resin problems come down to five things: an off ratio, not enough mixing, a cold or humid room, a pour that’s too thick, or moisture and contamination. Sticky or soft spots: see why resin stays sticky. Still liquid after 48 hours in a warm room: see resin that didn’t cure. Bubbles: a quick torch pass at 4–6 inches or a heat gun at 6–8 inches (full guide). Cloudiness usually means humidity above about 70%. Cracks and yellowing usually mean too much heat from a pour that was too thick.
What went wrong? Find what you see, then jump to the fix.
| What you see | Most likely cause | First thing to do | Full fix |
|---|---|---|---|
| Sticky or tacky, like tape | Cold room, off ratio or not enough mixing | Move it somewhere warm for another day | Sticky resin ↓ |
| Still liquid or gooey after 48 hours somewhere warm | Off ratio or unmixed resin | With gloves on, scrape off the wet resin. It won’t harden | Resin that didn’t cure |
| Bubbles in wet resin | Air from mixing, cold resin or a porous base | Heat gun at 6–8 in, or torch at 4–6 in, keep it moving | Bubbles ↓ |
| One soft spot in a hard piece | Unmixed resin from the side of the cup | Dig it out and refill | Soft spots ↓ |
| Cracks | Too much heat from a thick pour | Fill thin cracks; pour in thinner layers next time | Cracks ↓ |
| Dull or matte patches | The surface it cured on, a film from damp air, or sanding | Wash, sand lightly and flood coat | Matte spots ↓ |
| A cloudy, waxy film | Curing in cool, damp air | Scrub it off with water before you sand or recoat | Matte spots ↓ |
| The cup got hot or smoked | Too much mixed resin in one mass | Set it down where it can’t burn anything, keep away from the fumes, leave it to cool | Hot resin ↓ |
| Pinholes after sanding | Bubbles just under the surface | Clean them out and flood coat | Pinholes ↓ |
| Dust, hair or a bug in the surface | Something landed while it was wet | Sand and recoat, or leave it | Pinholes ↓ |
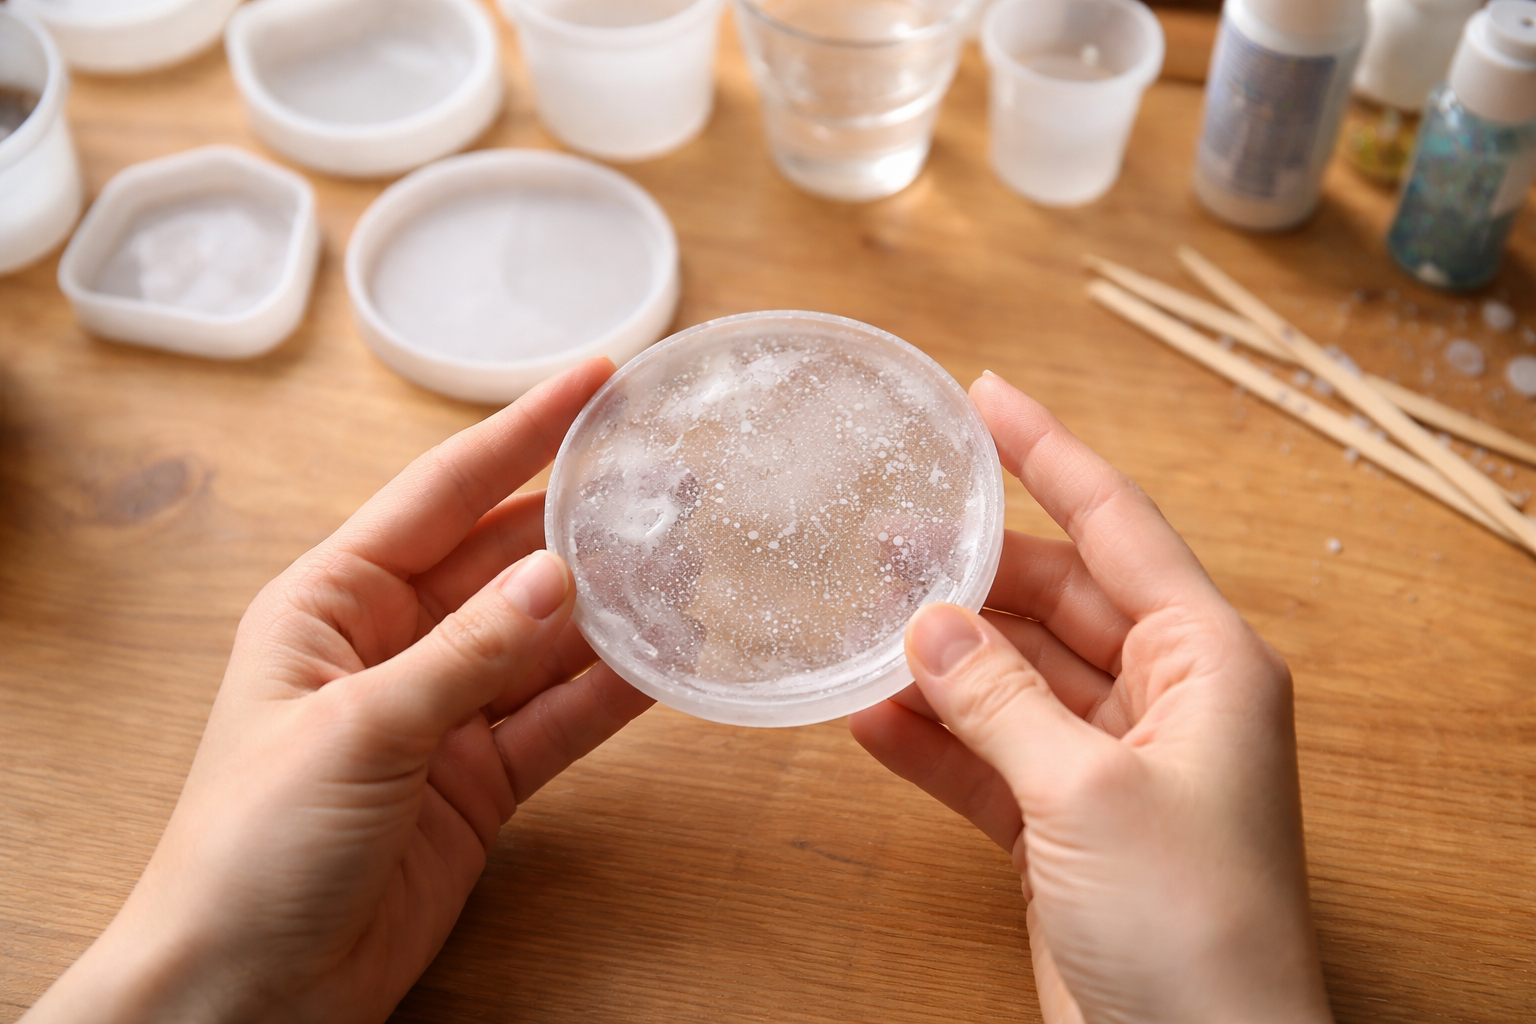
You’ve just unmolded your resin project after a long 24-hour cure. Instead of a glossy, glass-like finish, you find a tacky surface, tiny bubbles trapped inside, soft squishy spots, or worse – hairline cracks and deep fissures.
Don’t throw it away. Most resin problems are fixable.
This guide covers the problems I see most: sticky resin, bubbles, soft spots, cracks, dull patches and resin that gets too hot. For each one: the likely cause, the fix, and how to stop it happening next time.
🧰 Recommended Kit for This Project
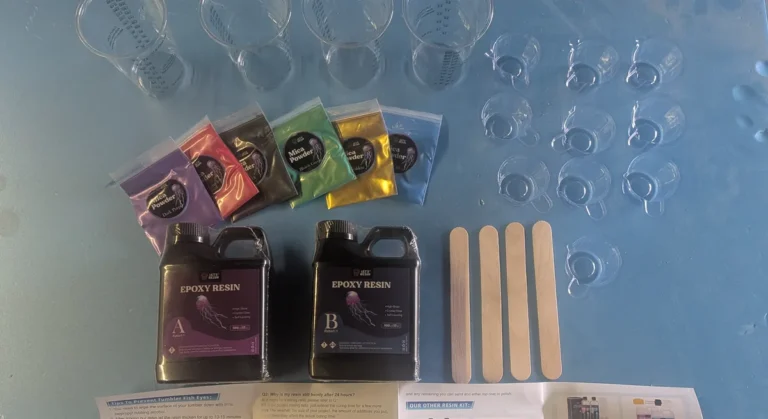
- LET’S RESIN Epoxy Resin Kit with Sphere & Pyramid Molds — a reliable, beginner-friendly resin to rule out bad chemistry as the cause
- Digital Scale for Resin (Precise to 0.1g) — only needed if your resin’s label gives a by-weight ratio. Most 1:1 craft resins are measured by volume, and the #1 fix for sticky resin is measuring exactly the way your label says
- Sondiko refillable butane torch — pops surface bubbles quickly on flat pours. Keep it moving, 4–6 inches up, and use a heat gun instead on silicone molds.
Why Is My Resin Sticky? Common Causes and Fixes
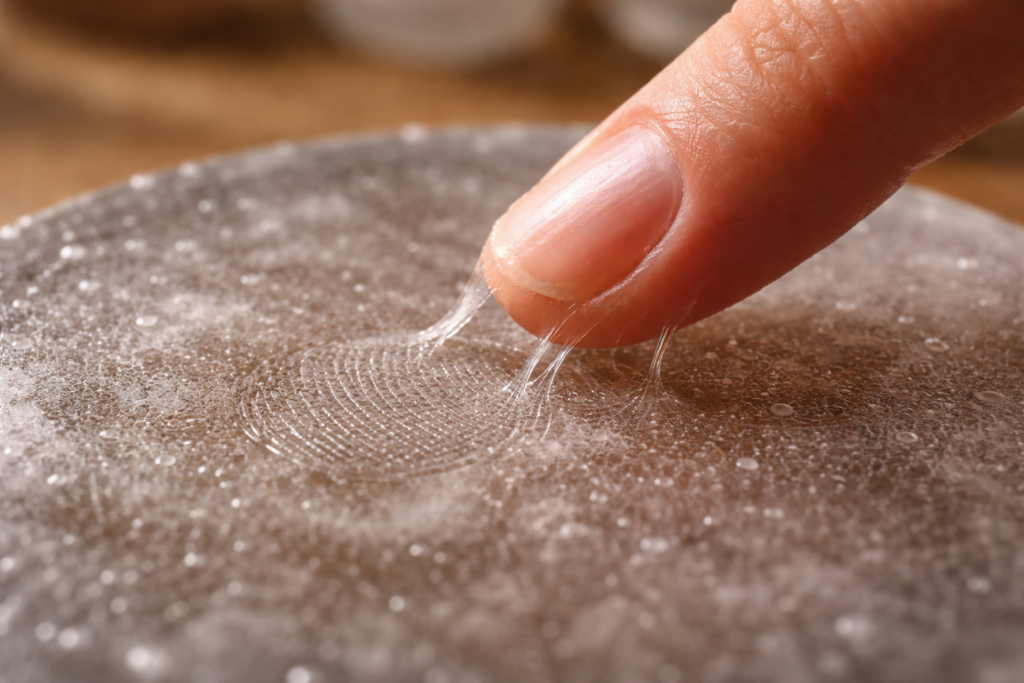
Stickiness usually means the resin hasn’t fully hardened. Here’s why.
Cause #1: Incorrect Mixing Ratio
Most epoxy resins require a specific 1:1 or 2:1 ratio (resin to hardener) by volume or weight. Too much of either part upsets the reaction, and the resin won’t cure properly: it stays tacky or soft. Adding extra hardener doesn’t make it cure faster or harder.
Fix: Always read the manufacturer’s instructions. Use separate graduated cups for each part. If measuring by weight, use a digital scale.
Digital Scale for Resin (Precise to 0.1g)
Cause #2: Inadequate Mixing
You need to mix resin and hardener thoroughly – typically for 3–5 minutes. Scrape the sides and bottom of your cup constantly. If you see “strings” or swirls, keep mixing.
Fix: Stir slowly to avoid bubbles, but be methodical. After mixing, pour the mixture into a second clean cup and mix again. This ensures no unmixed resin hides at the bottom.
Cause #3: Low Temperature or High Humidity
Resin cures best at 70–80°F (21–27°C). Cold resin stays sticky for days. Humidity above about 70% can cause a cloudy, tacky film.
Fix: Warm the closed bottles in warm (not hot) water for about 15 minutes before you measure. Keep the water no higher than halfway up the bottles and dry them before opening: water in resin turns it cloudy. Warm resin cures faster, so pour it as soon as it’s mixed. Then cure the piece in a warm room, or under a heat lamp or in a curing box set to 85°F or below. A real example: in my Let’s Resin kit test, a pour in a cool garage (about 71–75°F, colder overnight) was still rubbery at 26 hours. The same resin poured at about 85°F set within a day.
Grainy or cloudy in the bottle? If the resin or hardener has turned cloudy, grainy or chunky after being stored somewhere cold, it has crystallized. It can still be used once it’s a clear liquid again: warm the closed container in a warm water bath as your resin’s maker directs, stirring or gently swirling it now and then, and remember that warm resin cures faster. Store resin where it stays between about 60 and 90°F. More in how to fix resin that didn’t cure.
How to Fix Sticky Resin: Step-by-Step
- Check how sticky it is. If it’s only slightly tacky, like the sticky side of tape, go to step 2. If it’s liquid or gooey, skip the heat: it won’t harden. With gloves on, scrape off as much as you can and start again (see how to fix resin that didn’t cure).
- Warm it. Move the piece somewhere warm (70–80°F) for another 24 hours, or put it under a heat lamp or in a curing box set to 85°F or below. Never use a kitchen oven. This can finish the cure if the ratio was close.
- Sand and recoat. If it’s still tacky after a day somewhere warm, scrape off any wet patches, sand the cured areas with coarse sandpaper (80 to 120 grit), wipe off every trace of dust, and pour a thin fresh layer of carefully measured, well-mixed resin.
- Severe case: If the resin is runny, scrape it off as much as possible, clean with alcohol, and start over.
Before you sand or carve: wear nitrile gloves, eye protection and a dust mask or respirator, and wet-sand if you can. Dust from resin that hasn’t fully cured can cause breathing problems and skin rashes. Scrape anything still tacky rather than sanding it, and keep your mask on while you clean up: fine dust stays in the air after you stop.
Pro tip: Resin that’s still sticky after more than 48 hours in a warm room (70°F or above) is unlikely to harden on its own, so recoat it. If the room was cold, warm it up and give it another day or two first: my cool-garage pour was rubbery at 26 hours and hard enough to sand at about 2 days.
How to Prevent and Remove Bubbles in Resin
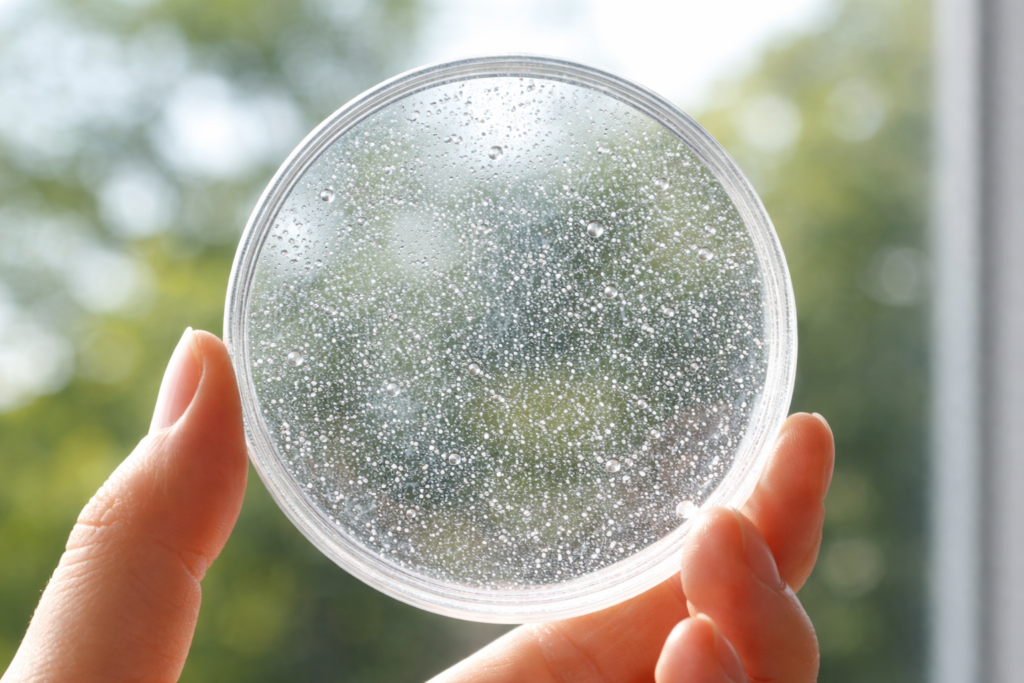
Bubbles are the other problem almost every beginner meets. You can get rid of most of them.
Why Do Bubbles Form?
- Mixing too vigorously – whipping air into the resin.
- Pouring too quickly – trapping air from the bottom of the mold.
- Porous substrates – wood, dried flowers, or fabric releasing air.
- Cold resin – thicker resin holds bubbles longer.
How to Get Bubbles Out of Resin (Before It Hardens)
| Method | Best For | How-To |
|---|---|---|
| Heat Gun | Most projects | Hold 6–8 inches above surface, wave constantly. Bubbles pop within seconds. |
| Torch | Large, flat surfaces (tabletops) | Hold it 4–6 inches above the surface and keep it moving. Don’t use a flame on silicone molds or near alcohol ink: use a heat gun there. |
| Vacuum Chamber | Professional deep pours | Pulls bubbles out of mixed resin before you pour. Expensive, and rarely needed for small projects. |
| Toothpick/Pin | Individual stubborn bubbles | Gently poke and pop. |
Sondiko refillable butane torch
Important: Don’t overheat. If resin smokes or wrinkles, you’ve applied too much heat.
More methods, and which tool suits which mold, in my guide to getting bubbles out of resin.
How to Fix Bubbles After Resin Has Cured
If bubbles are already hard inside your piece:
- Wet-sand the surface with coarse paper (80 to 220 grit) to take the bubbles down and give the new coat something to grip. (Before you sand, see the safety note in the sticky section above.)
- Clean thoroughly with alcohol.
- Pour a thin “flood coat” of fresh resin over the top. The new resin fills the micro-scratches and any remaining bubble dimples.
- Or polish instead. If you’d rather not recoat, wet-sand up through finer grits and polish.
Pinholes After Sanding, and Things Stuck in the Surface
Sanding can open bubbles that were hiding just under the surface. On my snowflake ornaments, small white dots appeared after sanding: tiny holes packed with sanding dust. I cleared each one with a small drill bit turned by hand, wiped the piece clean, and poured a thin clear coat. Once the holes were opened up, the new coat settled into them; I didn’t have to fill them one by one.
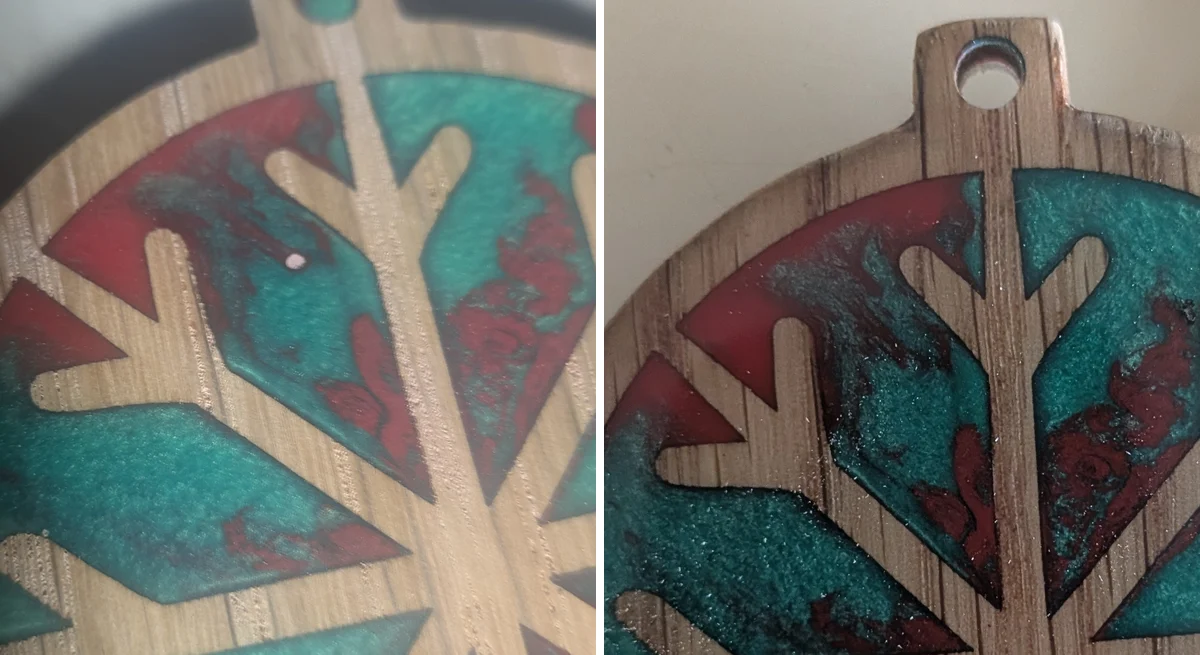
Dust, hair or a bug? If it’s still wet, you can pick it out. If it has cured, sand the area and pour a fresh coat. Or leave it. A bug landed in one of my top coats; I picked it out and left the mark. Sometimes you have to know when to stop, or you’ll be doing fixing pours over and over and never finish the project.
What Causes Soft Spots in Resin and How to Fix Them

A soft spot feels like a gummy bear – it gives way under pressure, while the rest of the piece is hard. This is different from overall stickiness.
What Causes Soft Spots?
- Under-mixing – one small pocket of unmixed hardener.
- Scraping the cup as you pour – unmixed resin stuck to the sides lands in the piece.
From my boat-building days: what most often went wrong was resin and hardener that hadn’t mixed properly. It showed up as a soft spot in the finished part and had to be cut away and replaced, which is much harder to do later than while the piece is still in the mold.
How to Fix Resin Soft Spots
- Dig out the soft area. A carving tool or sharp knife works better than sanding here: it makes less dust. Wear gloves and eye protection (see the safety note in the sticky section), and dig until you hit firm resin.
- Clean the cavity. Wipe with isopropyl alcohol and let dry.
- Mix a fresh batch of resin – be extra careful with ratios and mixing time.
- Fill the hole, slightly overfilled so you can sand it flush.
- Let it cure until it’s hard enough to sand (about 72 hours for most craft epoxies; check your label), then sand flush.
If the whole piece is soft: Your ratio was off everywhere. Scrap it and restart.
How to Fix Cracks and Fissures in Resin
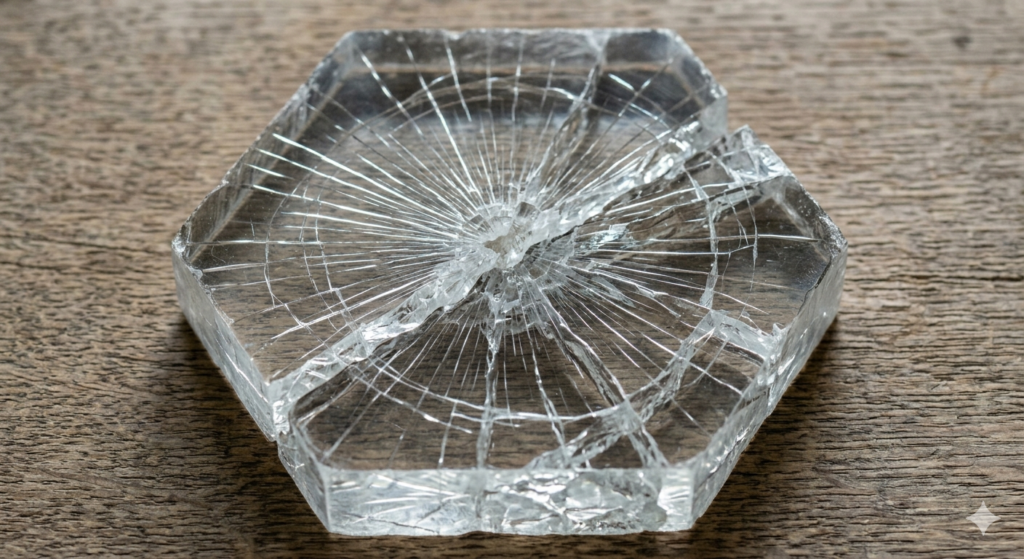
Cracks and fissures are heartbreaking, especially after a long cure. They usually appear during curing, not after.
Why Do Cracks and Fissures Form?
| Cause | Explanation |
|---|---|
| Exothermic overheating | A pour deeper than the label allows traps heat, cures fast and hot, and can crack. See why resin gets hot. |
| Layers poured too close together | If the next layer goes on before the last one has cooled, heat builds up and cracks can spread. |
| Temperature fluctuations | A sudden cold snap can make the wood or other base underneath shrink and crack, or pull away from resin that wasn’t on a well-prepared surface. Keep the room steady. |
| Pouring outside the recoat window | Recoating a fully cured layer without sanding: the new layer may not stick and can peel. Sand it first. |
| Too much heat from a torch | Holding the flame too close or too long can scorch, wrinkle or yellow the surface and make it cure too fast. Keep it moving. |
How to Prevent Cracks and Fissures
- Follow your resin’s maximum pour depth: about ⅛ to ¼ inch per layer for coating resin; for deep-pour resin, the depth on its label.
- Pour in thin layers. Either add the next one while the last is still tacky, or wait until it’s hard and sand it first.
- Keep curing temperature stable – no fans, open windows, or AC vents.
- For anything thicker than your resin’s single-pour limit, pour in layers or use a deep-pour resin.
How to Fix Resin Cracks and Fissures
For hairline cracks (thin, superficial):
- Clean the crack with compressed air and isopropyl alcohol.
- Use a fine-tipped tool (toothpick, syringe, or pipette) to flow thin resin or UV resin into the crack.
- Cure – UV resin under a UV lamp, about 2–4 minutes per thin layer; epoxy until it’s hard enough to sand (about 72 hours). Gloves on for both.
- Sand smooth starting at 220-grit up to 1000-grit, then polish.
For deep fissures (wide or structural):
- Widen the crack slightly with a Dremel or fine saw – this helps the new resin bond.
- Clean thoroughly – any dust or oil will prevent adhesion.
- Mix a small batch of resin (use the same brand if possible).
- Fill the crack, overfilling slightly.
- Let cure fully, then sand flush.
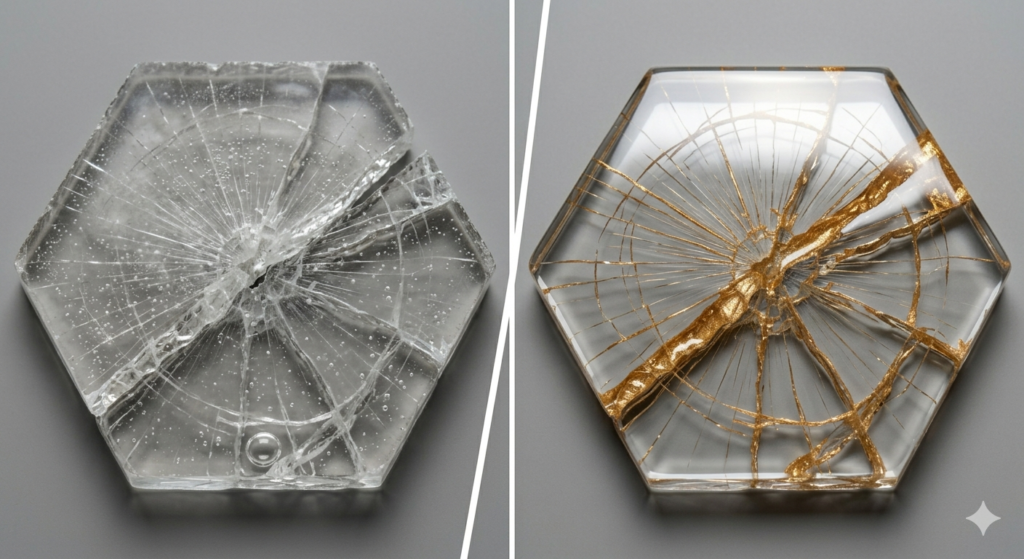
For a decorative repair (kintsugi style):
Mix your resin with gold mica powder or glow pigment before filling. The crack becomes a beautiful gold vein.
Let’s Resin 36-color mica powder set
When to Scrap and Start Over
- Cracks run all the way through the piece (structural failure).
- The resin is crumbly or powdery.
- Your repair attempt failed twice. Sometimes it’s cheaper and faster to repour.
Why Does My Resin Have Matte or Dull Spots?
Resin left to cure on its own in a warm, dry room comes out glossy. Dull patches usually come from one of three things.
1. The surface it cured against. Resin takes on the texture of whatever it touches. On my clarity test piece, the runoff that sat on wax paper came out frosted underneath, while the top was glassy.
2. A film from damp air. While epoxy cures, the hardener can react with moisture and carbon dioxide in the air and leave a waxy film called amine blush. It can make the surface look slightly cloudy, and it forms more on a cool, damp day and on thin coats (WEST SYSTEM). It washes off with water: scrub it with water and a scouring pad, then dry it, before you sand or recoat.
3. Sanding or handling. Sanding leaves a scuffed, dull surface. A fresh coat of resin hides the scratches completely (ArtResin), or you can wet-sand up through finer grits and polish.
The fix: wash off any film, sand the dull area, wipe away every bit of dust, and pour a thin flood coat. Before you sand, see the safety note in the sticky section.
Why Did My Resin Get Hot, Smoke or Bubble?
Epoxy makes its own heat as it cures. Spread thin, that heat escapes. Left in a mass, like a full mixing cup or a pour deeper than the label allows, it can’t, so the resin cures faster, which makes more heat. WEST SYSTEM says a 100-gram mass of mixed epoxy (about 3.5 ounces) can reach 400°F, hot enough to melt plastic, burn skin, or set nearby things alight.
What’s normal: in my experience, mixed resin feels warm, and that’s normal: the reaction keeps warming it. It’s a problem when the cup gets too hot to hold or starts to smoke.
If it happens: don’t keep holding it. Set the cup down on something that won’t burn, away from anything that will, and leave it where you can watch it until it has cooled right down. Keep your face away and use a fan to blow the fumes away from you: overheating resin gives off toxic fumes, and WEST SYSTEM says an ordinary respirator may not stop them.
What I’ve seen: the only cup I’ve had get hot on me wasn’t epoxy. It was polyester resin at work, mixed hot on purpose with extra catalyst so it would set quickly. It got warm, gelled fast, started smoking, and then the plastic cup melted away and left the resin behind. Epoxy doesn’t work like that: adding extra hardener to epoxy doesn’t make it cure faster, it just spoils the ratio. With epoxy, the risk is too much mixed resin in one place.
How to avoid it:
- Mix only what you can pour in the working time. The resin calculator works it out.
- Pour it out of the cup as soon as it’s mixed. Don’t leave mixed resin standing in the cup, especially if you warmed it.
- Keep coating resin to about ⅛–¼ inch per layer (or your label’s limit), and build thicker pieces in layers.
- For thick pours, use a slower deep-pour resin made for the depth, and check its label.
Resin Troubleshooting FAQs
Why is my resin still sticky after 24 hours?
Usually a cold room, an off ratio, or not enough mixing. Move it somewhere warm (70–80°F), or under a heat lamp or in a curing box at 85°F or below, for another day. If it’s still sticky, scrape off anything wet, sand and recoat.
Can I put another layer of resin over sticky resin?
No, not over wet or gooey resin. Scrape that off first, sand any cured areas, wipe off all the dust, then pour fresh resin.
How do you fix resin that didn’t cure?
Scrape off any uncured liquid. Sand the partially cured surface. Pour a new, correctly measured layer.
Why does resin crack while curing?
Usually from overheating (pour too deep) or temperature swings. Prevent by pouring thin layers and keeping a stable room temperature.
Can you fix fissures in epoxy without starting over?
Yes – clean, fill with thin resin or UV resin, sand, and polish. For deep cracks, use a Dremel to widen and then fill.
Why is my resin bendy after curing?
Bendy resin means it’s under-cured. Either the ratio was off, the temperature was too low, or it hasn’t finished curing. Full hardness can take several days (about a week for most craft epoxies; ArtResin says 3–5 days for theirs), and thin pieces can stay a little flexible.
How long should resin cure before demolding?
Check your label. Many craft epoxies can come out of the mold after about 24 hours, but handle the piece gently until about 72 hours, and full hardness takes about a week. Demolding too early can bend or mark it.
Will sanding remove hairline cracks?
No – sanding only smooths the surface. Cracks go below the surface. You must fill them first, then sand.
Why does my resin have dull or matte spots?
Usually the surface it cured against (resin copies its texture), a waxy film from curing in cool, damp air (amine blush), or sanding. Wash off any film with water, sand, and pour a thin fresh coat.
Why did my resin get hot?
Epoxy makes heat as it cures, and a full cup or a thick pour can’t get rid of it, so it cures faster and gets hotter. Mix only what you need, pour it out of the cup straight away and keep layers thin. If a cup gets too hot to hold or starts to smoke, set it down where it can’t burn anything, keep away from the fumes and leave it to cool.
Sources
Checked 9 October 2026.
- WEST SYSTEM: The basics of uncontrolled cure (heat build-up, fumes, what to do)
- WEST SYSTEM: Shop hazards (dust from partly cured epoxy)
- Epoxyworks (WEST SYSTEM): Let’s talk about amine blush (waxy film, how to remove it)
- ArtResin: How to harden sticky resin (ratio, mixing, runny, tacky and soft spots)
- ArtResin: Sanding epoxy between coats (grit, recoating, adhesion)
- ArtResin: Why is my resin bendy? (cure time)
- ArtResin: Why give resin a warm water bath? (warming bottles, water and cloudiness)
- ArtResin: Can you over torch resin? (torch damage, heat gun on silicone)
- TotalBoat: Will epoxy get ruined if it’s stored in cold temperatures? (crystallization, storage)
- TotalBoat: Will cured TableTop epoxy crack in extreme cold? (cold and cracking)
- My own pours: the ornament and clarity-test pours of 28 September, 2 October and 4 October 2026, logged with temperatures and photos
📋 Get the Free Resin Safety & Prep Checklist
A one-page printable checklist covering PPE, ventilation, and workspace setup — so you’re not hunting through this guide mid-pour. Enter your email and we’ll send it straight over.
Free. We only email when there’s something useful, never more than twice a month, and you can unsubscribe anytime. Privacy Policy
Quick recap
Common resin problems like stickiness, bubbles, soft spots, and cracks can ruin your day – but almost all of them have a fix.
- Sticky resin → check your ratio, mix longer, warm your workspace. Then sand and recoat.
- Bubbles → pop with heat before curing, or sand and flood coat after.
- Soft spots → excavate and refill with fresh resin.
- Cracks & fissures → control pour depth and temperature, then fill with thin resin.
- Dull patches → wash off any film, sand and flood coat.
- Hot cup → set it down safely, then mix smaller batches.
Have a resin problem I didn’t cover? Send me a message and I’ll try to help.
Keep Learning on ResinAffairs.com
The best fix is prevention. These guides help you avoid most of these problems in the first place:
- 🥄 How to Mix Epoxy Resin → — ratios, the two-cup method and cure times, step by step.
- 💨 Can I Use a Hair Dryer Instead of a Heat Gun? → — when a hair dryer works for bubbles, and when you need a real heat gun.
- 🧩 Best Resin Molds for Beginners → — silicone vs. plastic vs. DIY molds, and which one to buy for each project.
- 🚀 How to Start Resin Crafting → — the beginner roadmap: what to buy first, what to skip, and the easiest first project.
- 🍯 Why Is My Resin Sticky? 5 Fixes → — the deep-dive troubleshooting guide for tacky, gummy resin, with five causes and fixes for each.
- 🔬 How to Fix Resin That Didn’t Cure → — for resin that’s still liquid after 48 hours, the four root causes and how to salvage the mold.
- 🫧 Visit the Resin Safety Hub → — PPE, ventilation, and hazard basics before your next pour.
- How to Get Bubbles Out of Resin → — the full guide, before and after curing, with which tool to use for which mold.
Enjoyed this guide? Join the Resin Affairs newsletter for new tutorials, safety tips, and project ideas straight to your inbox.