How to Sand Epoxy Resin (and Get the Shine Back)
Quick answer: Wait until the resin is fully cured, then sand in steps. Start with a coarse grit only if the surface is uneven, work up through finer grits, wet sand the fine ones, then polish with a compound. It will look cloudy before it looks clear. That’s normal, and the polish brings the color back.
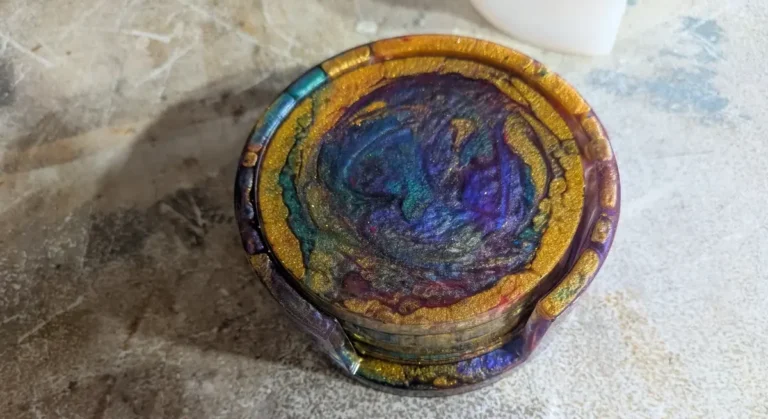
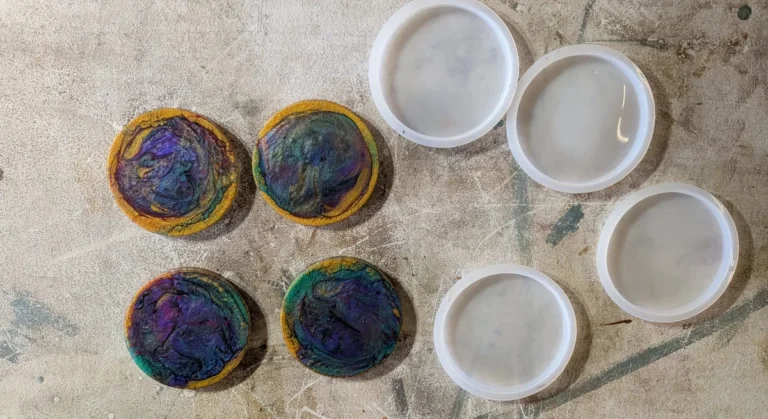
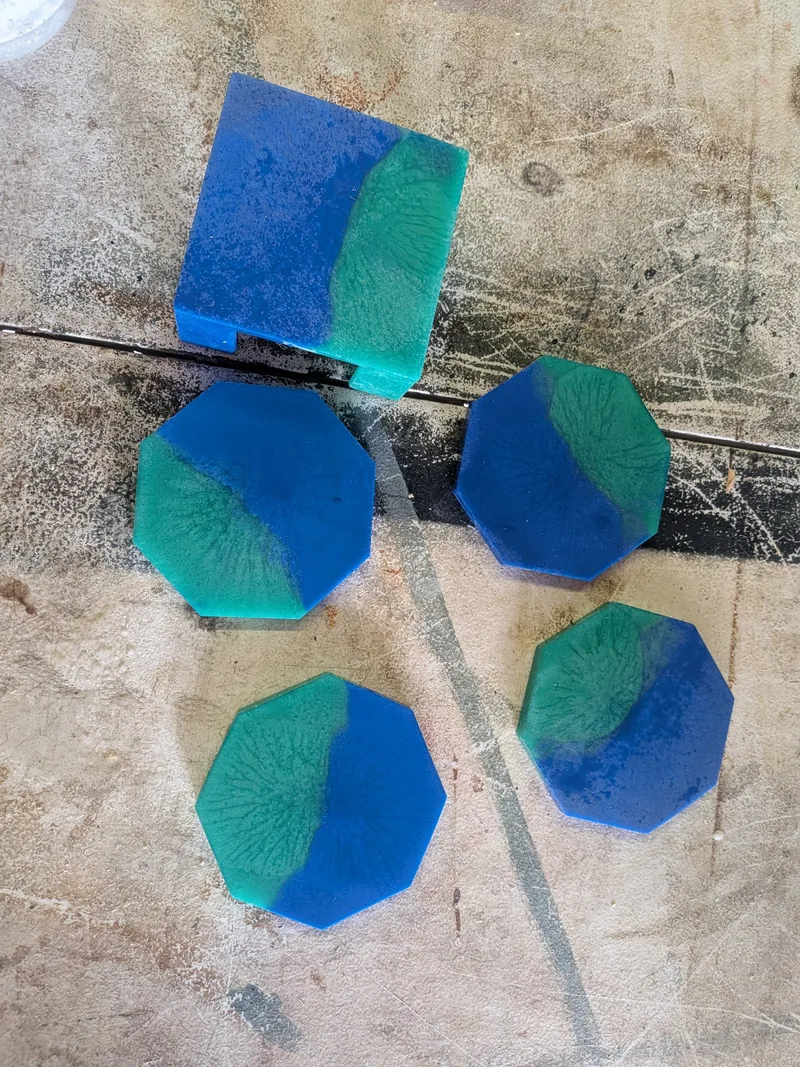
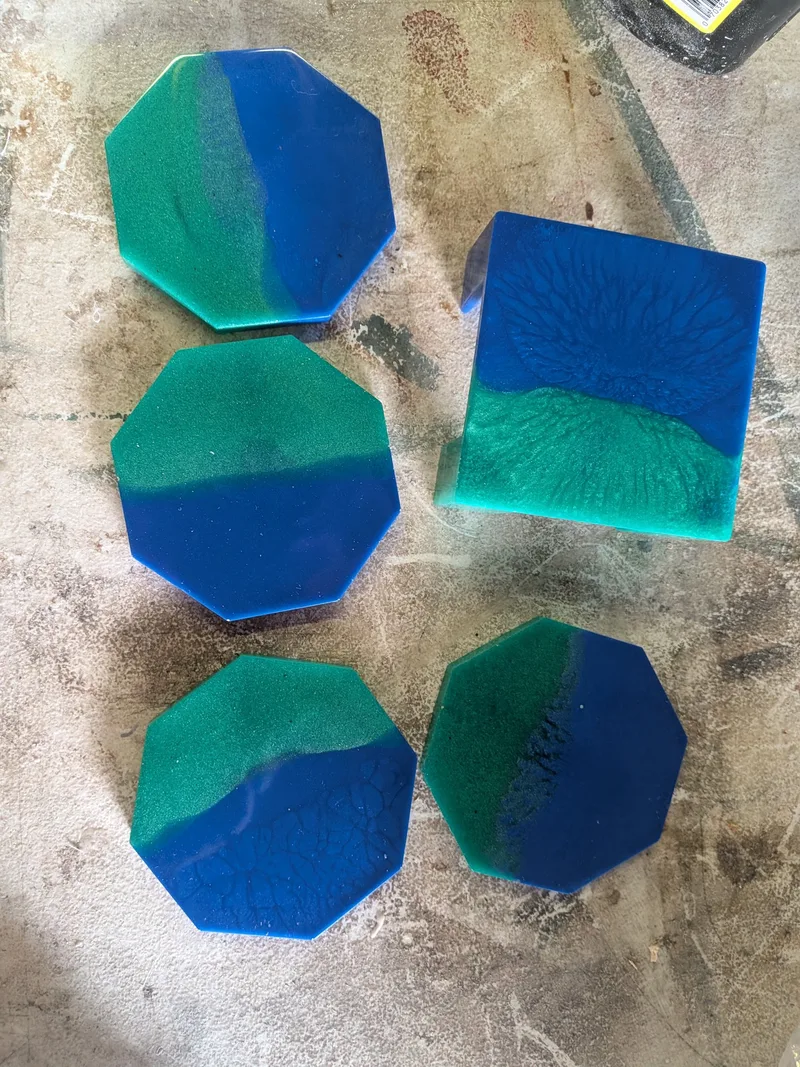
Sanding is the step that scares beginners most, because it makes a glossy piece look ruined. It isn’t. In the last few weeks I sanded three different projects: wood-and-resin inlay coasters, a set of octagon coasters and a few ornaments. Each one went matte, then came back. This is what I did, the grits I used, and what to do when one edge sits higher than the rest.
Before you sand: is it fully cured?
Don’t sand resin that is still soft, tacky or warm. Makers don’t agree on how long “cured” takes. ArtResin says to wait 72 hours before sanding. WEST SYSTEM says an epoxy can take over two weeks at room temperature to cure completely. So go by the full-cure time on your label, which is about 7 days for most craft epoxy, and give it longer in a cold room. My octagon coasters were about two weeks old when I sanded them.
Wear a dust mask or respirator rated N95 or better, and eye protection, every time you sand epoxy. WEST SYSTEM recommends both, and ArtResin says to wear the mask whether you sand wet or dry. I wore a mask when I sanded the coasters in this post, and ear muffs on the octagon coasters. For how to catch the dust at the source, see my dust collection setup, and for what to wear, the PPE guide. If you’re not sure whether yours is ready, see how long resin takes to cure.
What you need
- Sandpaper or sanding discs in a run of grits, from about 120 up to at least 1000. Wet/dry paper for the fine ones.
- A sanding block, a random orbital sander or a drill with a sanding pad. A block is fine for a small piece.
- A spray bottle of water for wet sanding.
- Polishing compound and a pad. I used a drill with a foam pad.
- A mask, eye protection and ear muffs if you use a power sander.
The grit sequence I used
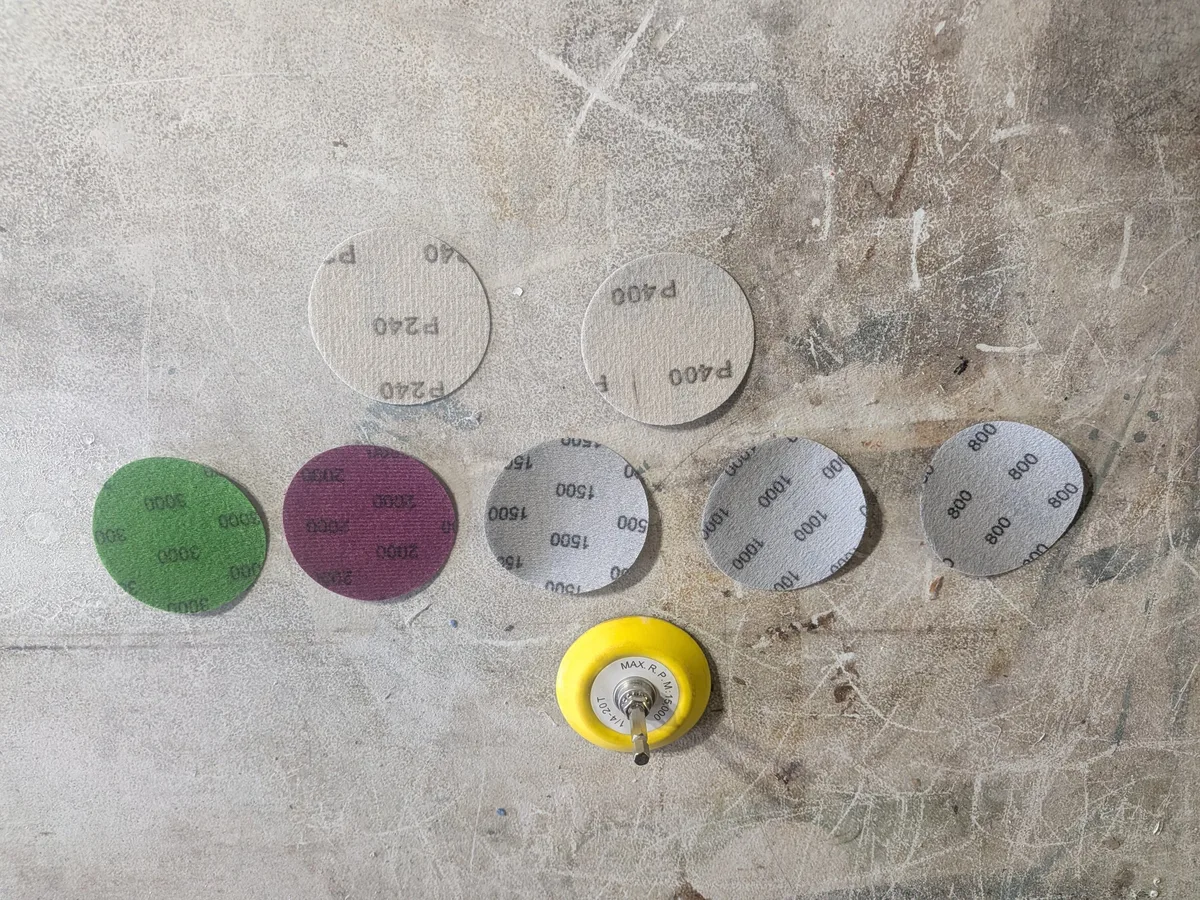
Here are the grits from my three jobs, next to ArtResin’s published sequence for comparison. Notice that they don’t all go to the same grit. How far up you go depends on who will see the surface.
| Job | Tool | Grits |
|---|---|---|
| Inlay coasters (wood with resin fill, show faces) | 5-inch random orbital sander, then a drill with a sanding pad | 120 on the sander, then 240, 400, 800, 1000, 1500, 2000, 3000 on the pad |
| Octagon coasters and holder (all resin, undersides) | 5-inch random orbital sander for every grit | 120, 240, 320, 600, 800, 1000, 2000, then polishing compound |
| ArtResin’s sequence | Wet/dry paper | 320, then 600 (two or three rounds), then 1500. For an uneven surface, start dry with 80 or 120, then 220 wet. |
The inlay coasters were show faces, so I took them all the way to 3000. The octagon coasters were undersides, which nobody sees, so I stopped at 2000 and let the compound do the rest. It still came up glossy. Sanding all five octagon pieces, from 120 through the compound, took me about an hour.
Whatever sequence you pick, move up only when the scratches from the last grit are gone. ArtResin makes the same point, and it is why skipping from 120 to 1000 never works.
Wet or dry?
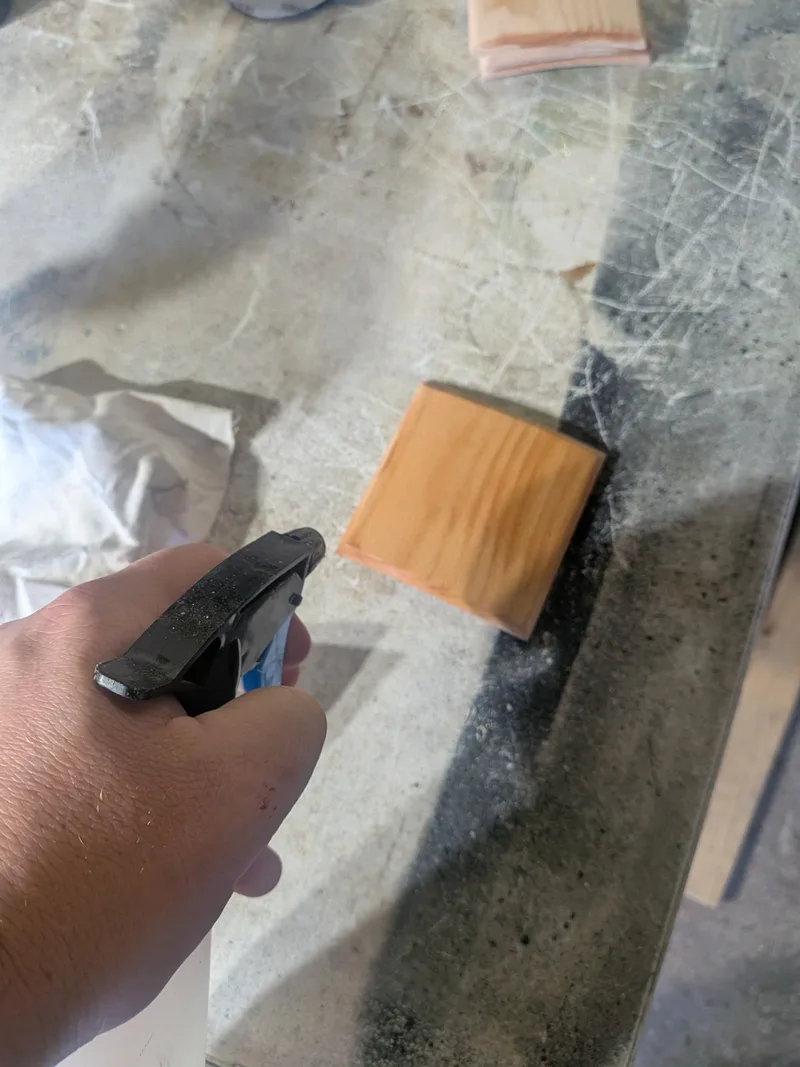
ArtResin uses dry sanding only for the coarse leveling step and wet sanding for the rest. It says the water stops fine dust from scratching the surface. I wet sanded the inlay coasters with a spray bottle.
On wood, the water does a second job. Wetting bare wood and letting it dry raises the grain, so you can sand off the swollen fibers before the finish goes on. Popular Woodworking describes the same trick, using a spray bottle and fine sandpaper. A mask still goes on for wet sanding.
Careful with thin wood
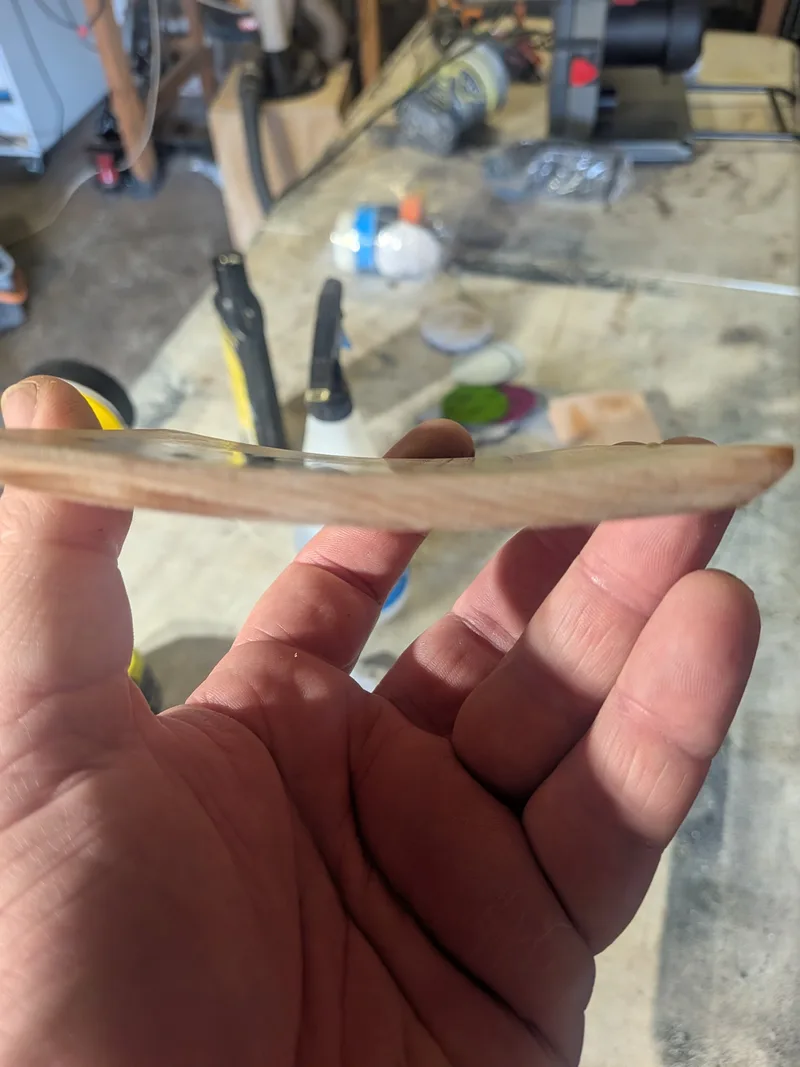
Wet sanding thin wood can warp it as it dries. It happened to one of my four inlay coasters, which bowed along its length. I fixed it by spraying the back with water and leaving the coaster to dry with the back facing up. BuildingAdvisor explains why a board cups: one face gets wetter, and so wider, than the other. Wetting the other side evens that out. If you sand a thin wood piece wet, keep an eye on it as it dries.
Why it goes cloudy first (and the shiny-spot trick)
Sanding scratches the surface in a pattern too fine to see, and those scratches scatter light, so the resin looks matte. It isn’t ruined. My inlay fills went flat and dull after sanding, and so did a red ornament, which looked like flat red paint until it got a clear coat. The colors and the depth come back when you polish or coat it.
One thing I noticed on the octagon coasters: halfway through, small glossy patches were left near the rims and corners, where the sandpaper hadn’t reached yet. Those patches were low spots. Keep going until the shine is gone everywhere, and you know the surface is level.
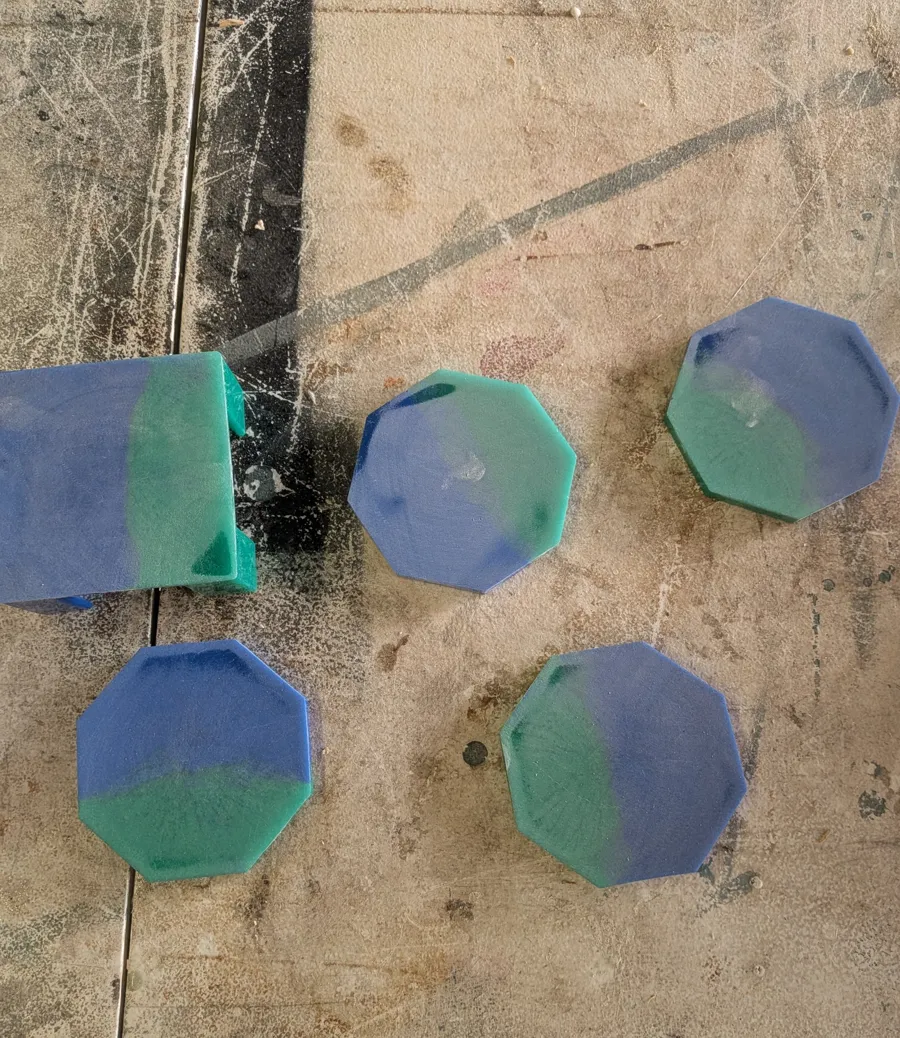
Sanding can also open bubbles that hid just under the surface. On my ornaments it cut some open, and each one showed as a white dot, sanding dust packed into the hole. Open the hole, clear the dust and fill it with the next coat.
Getting the shine back
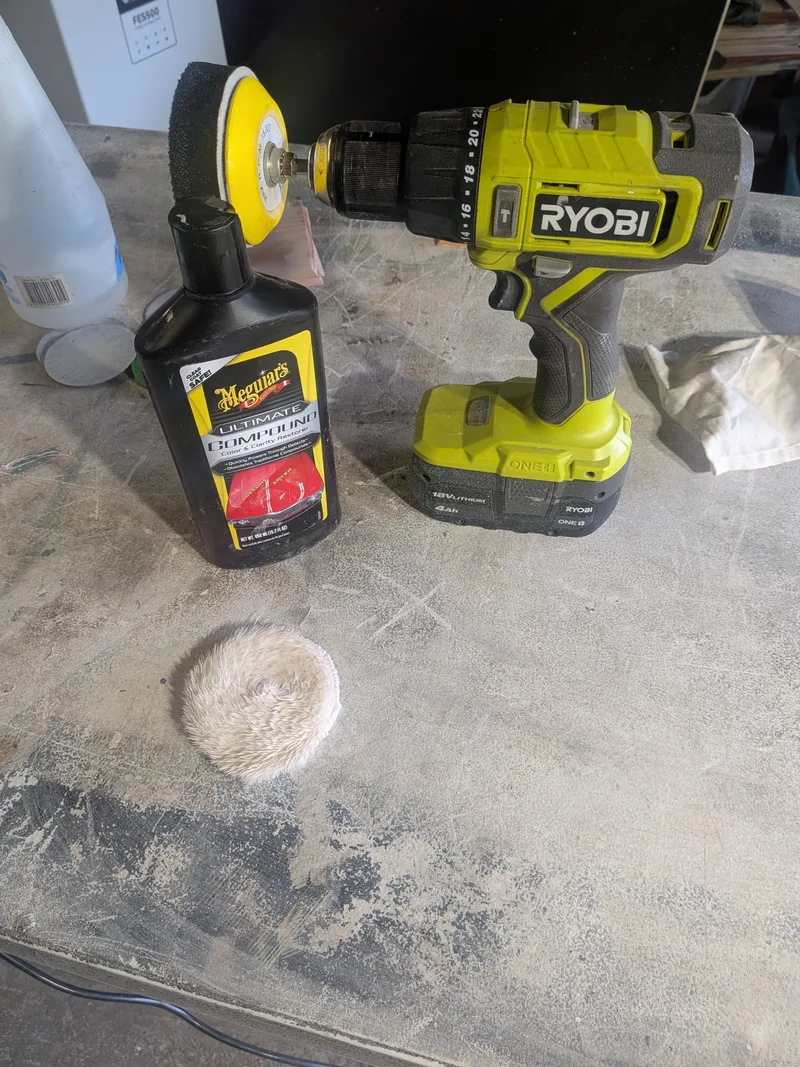
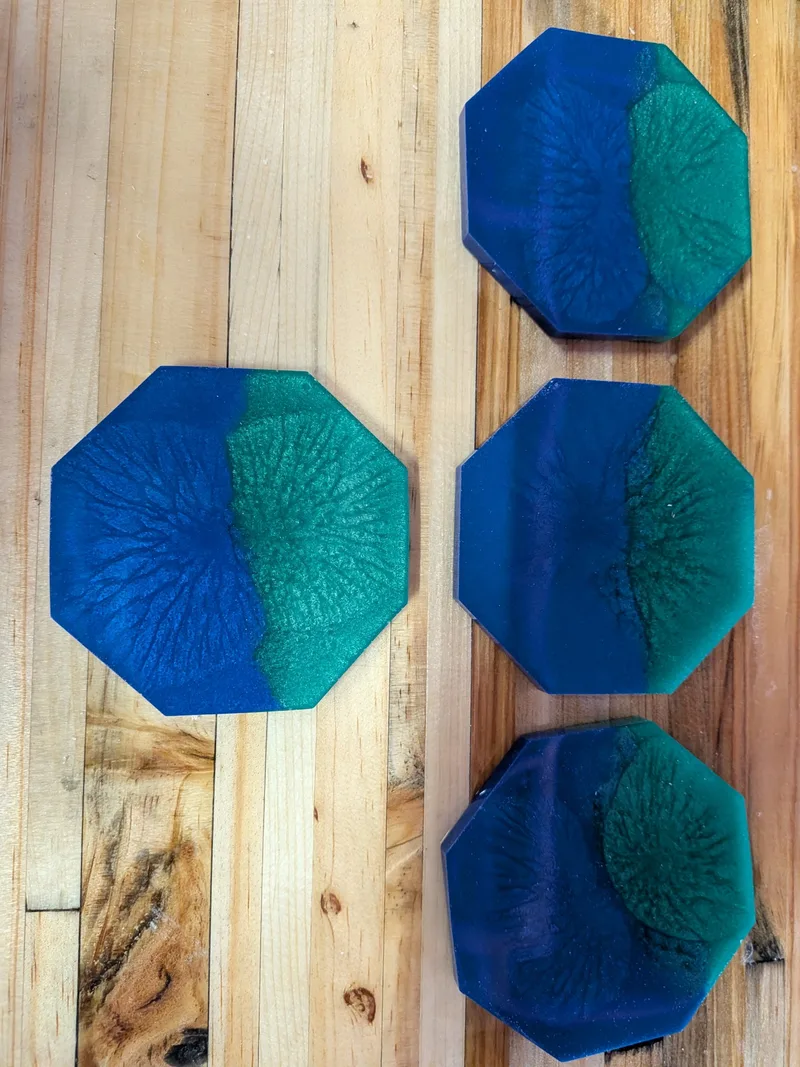
For the all-resin octagon coasters I polished with Meguiar’s Ultimate Compound on a drill with a foam pad. After that, all five pieces were glossy and the colors looked deep again. Meguiar’s page says the compound can be applied by hand or with a dual-action polisher, and elsewhere describes it as for hand use only. Using it on a drill was my own choice, not their instruction, so read the bottle first.
Two other options. ArtResin rubs on a generous coat of non-toxic wax, such as food-grade cutting board wax, with a lint-free cloth and stops when it’s as shiny as you want. Or you can pour a thin flood coat of resin over the sanded surface, which is covered in our serving tray guide.
Fixing a raised edge
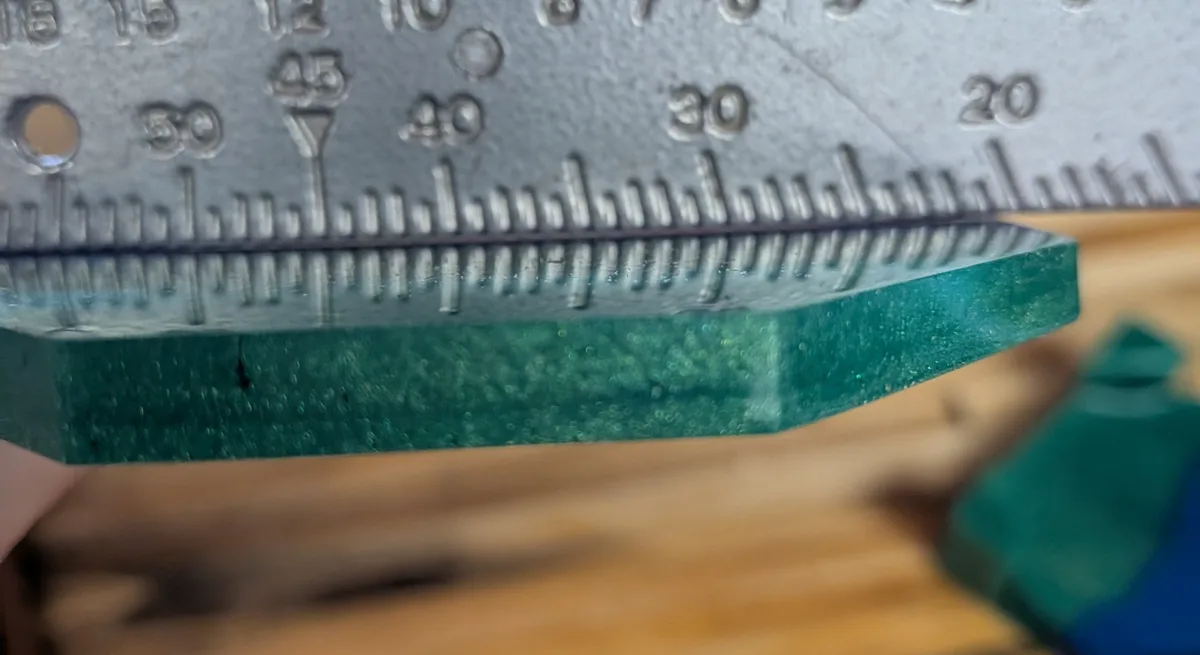
When I took my octagon coasters out of the mold, the back of each one had a thin rim standing slightly higher than the face. Resin Obsession says it’s normal and comes from heat and surface tension, and that you did nothing wrong. It also says to fix it, because the rim can be sharp enough to scuff a table. Its two fixes are to sand the edge off or to pour a flood coat on that side. I sanded.
To see how high the rim is, lay a straight edge across the face. I used a speed square. Before sanding, the square rode on the rim and left a thin line of light under it across the rest of the face. The rim looked highest at the corners. By my rough estimate it stood about half a millimeter proud, which is enough to rock a coaster on a table.
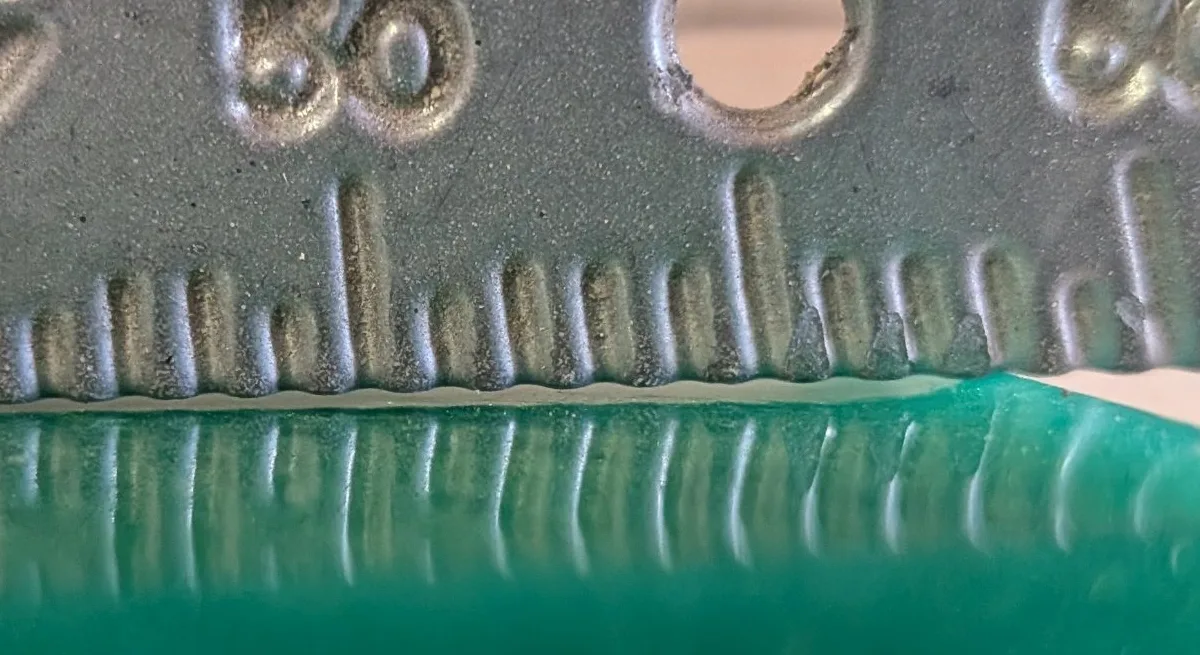
I sanded the backs from 120 up to 2000 on the random orbital sander, with the mask and ear muffs on. Part of the way through, as above, small glossy patches showed up near the rims and corners, and I kept going until they were gone. After the compound I checked again: the square lies on the face with no light under it.
For more mold problems, see common resin problems and how to fix them and the coasters guide.
What grit should I use to sand epoxy resin?
It depends on the surface. If it’s uneven, ArtResin starts with 80 or 120 grit dry, then 220 wet. For a smooth surface it goes 320, 600 and 1500. I sanded the show faces of my inlay coasters through 120, 240, 400, 800, 1000, 1500, 2000 and 3000, and the undersides of my octagon coasters from 120 to 2000.
Should I wet sand resin?
Yes for the finer grits. ArtResin says to use dry sanding only for the coarse leveling step and wet sanding after that, because water stops fine dust from scratching the resin. Wear your mask for wet sanding too.
Why is my resin cloudy after sanding?
Sanding leaves fine scratches that scatter light, so the surface looks matte. It isn’t damaged. Keep going up the grits, then polish with a compound or wax and the clarity returns.
How long should resin cure before sanding?
Until it is fully cured and no longer soft, tacky or warm. ArtResin says 72 hours; WEST SYSTEM says full cure can take over two weeks at room temperature. Use the full-cure time on your label, which is about 7 days for most craft epoxy.
How do I make resin shiny again after sanding?
Polish it. I used Meguiar’s Ultimate Compound on a drill with a foam pad for my all-resin coasters. ArtResin suggests rubbing on non-toxic wax with a lint-free cloth. A thin flood coat of resin is a third option.
Get new guides in your inbox
For step-by-step tutorials, safety reminders and honest gear recommendations as we publish, join the Resin Affairs newsletter →
Sources
- ArtResin, How to get a matte resin finish: 72 hours before sanding, the 320 / 600 / 1500 sequence, wet sanding, mask, wax
- WEST SYSTEM, Preventing Overexposure: dust mask or respirator rated N95 or better when sanding, eye protection, full cure can take over two weeks
- Resin Obsession, Git Rid of Resin Edge Problems Once and For All: why a resin edge forms and the two ways to fix it
- Meguiar’s, Ultimate Compound (G17216): how the maker describes using it
- Popular Woodworking, Grain raising: wetting wood and sanding off the raised grain
- BuildingAdvisor, What caused cupping: wood cups when one face is wetter than the other
Enjoyed this guide? Join the Resin Affairs newsletter for new tutorials, safety tips, and project ideas straight to your inbox.