Resin Jewelry for Beginners: Pendants, Earrings & Charms
Disclosure: This article contains affiliate links. If you purchase through these links, we may earn a small commission at no extra cost to you. We only link to gear we would use ourselves.
As an Amazon Associate I earn from qualifying purchases.
Why Resin Jewelry Is the Perfect Next Project After Coasters
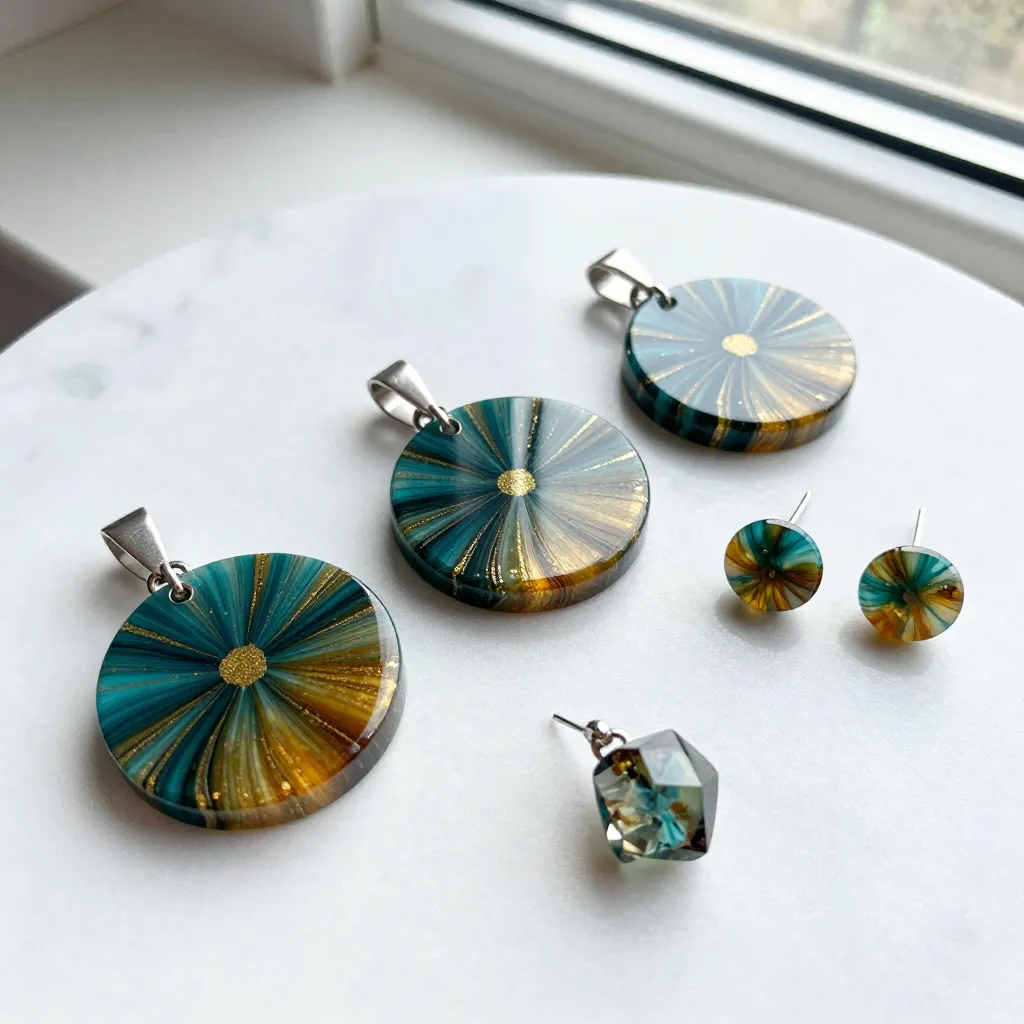
This resin jewelry for beginners guide covers everything from picking UV vs. epoxy resin to finishing your very first pendant.
If you’ve already poured a set of coasters or a serving tray, you already know the basics — measuring, mixing, popping bubbles, waiting for cure. Resin jewelry uses every one of those skills, just at a much smaller scale. And that’s actually what makes it such a great next project: the pours are tiny, the molds are cheap, and — if you switch to UV resin, which we’ll get to in a second — you can go from “empty mold” to “wearable pendant” in under ten minutes instead of three days.
It’s also one of the few resin projects that pays for itself fast. A single bottle of resin and a handful of jewelry molds can realistically produce dozens of pendants, earring pairs, and charms — perfect for gifting, craft fairs, or an Etsy shop, if that’s ever a direction you want to take this.
Let’s get your first batch of resin jewelry made — properly, without the cracked holes and cloudy pieces that trip up almost everyone’s first attempt.
UV Resin or Epoxy Resin? Pick the Right One for Jewelry
Everywhere else on this site, we default to epoxy — it’s the better choice for coasters, trays, and anything poured in volume. Jewelry is the exception, and here’s why: epoxy needs 24–72 hours to fully cure, which is a long wait for a piece the size of a coin. UV resin cures under an ultraviolet lamp in 2–10 minutes depending on thickness — which means you can pour, cure, and demold several pieces in a single sitting instead of stretching one project across a whole weekend.
Epoxy still has a place here: for chunky pieces — a thick statement pendant, for example — UV light only cures about 1/16 inch (2 mm) deep per layer, so epoxy will give you a more even cure. If you’d rather stick with the epoxy you already own from a coasters or tray project, that works fine too — you’ll just be waiting days instead of minutes.
For your first batch, we recommend UV resin. It’s more forgiving for small pours, and the fast cure means you get to see — and fix — your mistakes the same afternoon instead of three days later.
What You’ll Need: Your Jewelry-Making Supply List
Jewelry has the shortest supply list of any resin project on this site, which is one reason resin jewelry for beginners is such an easy starting point — small molds, small quantities, and a few findings you probably don’t already own.
💧 The Resin
Our Pick: LET’S RESIN UV Resin — a hard, crystal-clear formula made for small pours, with a fast cure time that’s ideal while you’re still learning.
✨ Mica Powder & Pigments
This is where jewelry gets fun — a little mica powder goes a long way in a piece this small. This mica powder set gives you a full color range from one purchase, which is more than enough to experiment with for months of pendants and earrings.
🔷 Molds
Two mold styles will cover almost everything you’ll want to make starting out:
- A multi-shape pendant & charm mold with built-in holes — the fastest way to pour a whole batch of small pendant and charm shapes in one go, with the hanging holes already built in.
- A geodesic-shape mold — faceted, statement-piece shapes that look far more advanced than the five minutes of effort they actually take.
🔩 Findings & Tools
These are the small jewelry-specific parts that turn a resin shape into something wearable — most craft stores sell them in an inexpensive assorted pack:
- Jump rings (small metal loops that connect your pendant to a chain)
- Earring hooks or studs, if you’re making earrings
- A pin vise or a fine sewing pin, for placing your jump-ring hole (more on this below)
- A toothpick, for popping bubbles and nudging mica powder into swirls
- Fine sandpaper (400–3000 grit) and a microfiber cloth, for finishing
How to Make Resin Jewelry: Step-by-Step
- Set up on a level, protected surface. Wax paper or a silicone mat under your mold catches any drips and keeps your cured pieces from sticking to the table.
- Get your resin ready. UV resin: nothing to mix, pour straight from the bottle. Epoxy: jewelry molds only need a few grams per cavity, so small measuring mistakes matter more than in a coaster pour — measure exactly to your label’s ratio (by volume or by weight, as the label specifies).
- Add your color. Stir in a tiny pinch of mica powder — start with less than you think you need. It disperses further than expected, and a too-dark pendant is a common first-batch mistake.
- Pour into the mold. Fill each cavity slowly, slightly overfilling by a millimeter — resin domes naturally, and a full pour gives you that glossy, rounded top.
- Pop your bubbles. Drag a toothpick or a quick pass of a heat gun/torch across the surface (see our heat gun vs. hair dryer guide if you’re not sure which to use) to bring trapped air to the surface and pop it.
- Cure. Under a UV lamp, most jewelry-sized pieces cure in 2–10 minutes — check your specific resin’s instructions for cavity depth. Epoxy pieces need the standard 24–72 hours, undisturbed.
- Demold. Once fully cured (not just surface-dry — see the mistakes section below), gently flex the silicone mold to release each piece.
💡 Pro tip: the easiest time to make your jump-ring hole is before it fully cures. Drilling fully cured resin works if you use a pin vise and go slowly, but a hole made at the tacky stage (or a mold with built-in holes) is easier and tidier. Instead, once your piece has reached the tacky, semi-firm stage (usually a minute or two into a UV cure, or a few hours into an epoxy one), press a pin vise or a fine sewing pin straight down near the top edge and let the resin finish curing around it. You’ll have a clean, pre-formed hole with zero risk of a last-minute crack.
Common Mistakes (and How to Avoid Them)
- Trapped bubbles in tiny cavities. Small, deep mold cavities hide bubbles more than a flat coaster pour does — pop them twice, once right after pouring and once a minute later, since more can rise to the surface as the resin settles.
- Too much mica powder. Overloading a small pour with pigment can leave a pendant permanently tacky or cloudy instead of glass-clear. Start light — you can always make a second, darker piece.
- Drilling a fully-cured piece. As covered above, this is the #1 cause of cracked pendants. Place your hole while the resin is still tacky.
- Demolding too early. A UV-cured piece can look solid on top while the center is still soft. Give it the extra minute the instructions call for — rushing this step is how pendants warp or dent right out of the mold.
Finishing & Polishing Your Pieces
Straight out of the mold, most pieces already have a glossy top — but the edges (where the resin met the mold’s seam) usually need a little attention:
- Wet-sand the edges starting at 400 grit to knock down any sharp seam lines, then work up through 800, 1500, and finally 3000 grit for a smooth, rounded edge.
- Buff with a microfiber cloth to bring back the shine any sanding dulled.
- Attach your jump ring through the hole you pre-formed, then add an earring hook or a chain.
- Give it one final wipe with rubbing alcohol on a soft cloth to remove any fingerprints or dust before it’s ready to wear or gift.
Frequently Asked Questions
Can I use epoxy resin instead of UV resin for jewelry?
Yes — epoxy works fine for jewelry, and it’s actually the better choice for chunky pieces, since UV light only cures about 1/16 inch (2 mm) deep per layer. The trade-off is time: epoxy needs 24–72 hours to cure versus a few minutes under a UV lamp.
How long does resin jewelry actually take to cure?
UV resin: typically 2–10 minutes per piece under a UV lamp, depending on thickness and your specific resin’s strength. Epoxy resin: 24–72 hours at room temperature, same as any other epoxy project on this site.
Is resin jewelry safe and waterproof to wear every day?
Once fully cured, both UV and epoxy resin are hard, stable, and water-resistant — safe for everyday wear, including light contact with water. Avoid prolonged soaking or very high heat (a hot car dashboard, for instance), which can cause discoloration over time. The one exception is under-cured resin: if a UV piece is even slightly tacky, cure it longer (including the back after demolding) before it touches skin, because uncured acrylates are strong skin allergens. Use nickel-free findings if the wearer has metal sensitivities.
Do I need a UV lamp, or will sunlight cure it?
Direct sunlight can cure thin UV resin layers, often in 10 minutes or more, but it’s weather-dependent and uneven, and with a higher chance of a tacky, under-cured layer on top. A basic UV/LED lamp is inexpensive and gives you a consistent, predictable cure every time, which matters a lot while you’re still learning to judge “done.”
Keep Learning on ResinAffairs.com
That covers resin jewelry for beginners from start to finish — here’s where to go next if you want to keep building your resin skills:
- 🧪 Which Type of Resin Should You Use? → — a deeper look at resin types if you want to go beyond UV vs. epoxy.
- 🛠️ Essential Resin Tools Every Beginner Needs → — the full tool kit, if you’re building out your resin setup beyond jewelry.
- 🩹 Common Resin Problems and How to Fix Them → — for troubleshooting stickiness, bubbles, or soft spots on any resin project, jewelry included.
- 💗 Valentine’s Resin Jewelry → — the seasonal spin on this guide: heart molds, red-and-pink palettes and gift-ready project ideas.
- 🧤 Resin Safety Hub → — working resin close to skin for jewelry pieces calls for the right gloves and ventilation; see the full safety essentials.
- 🎁 Resin Gift Ideas for Beginners → — turn any of these jewelry pieces into a ready-to-wrap holiday gift, with more gift-ready project picks.
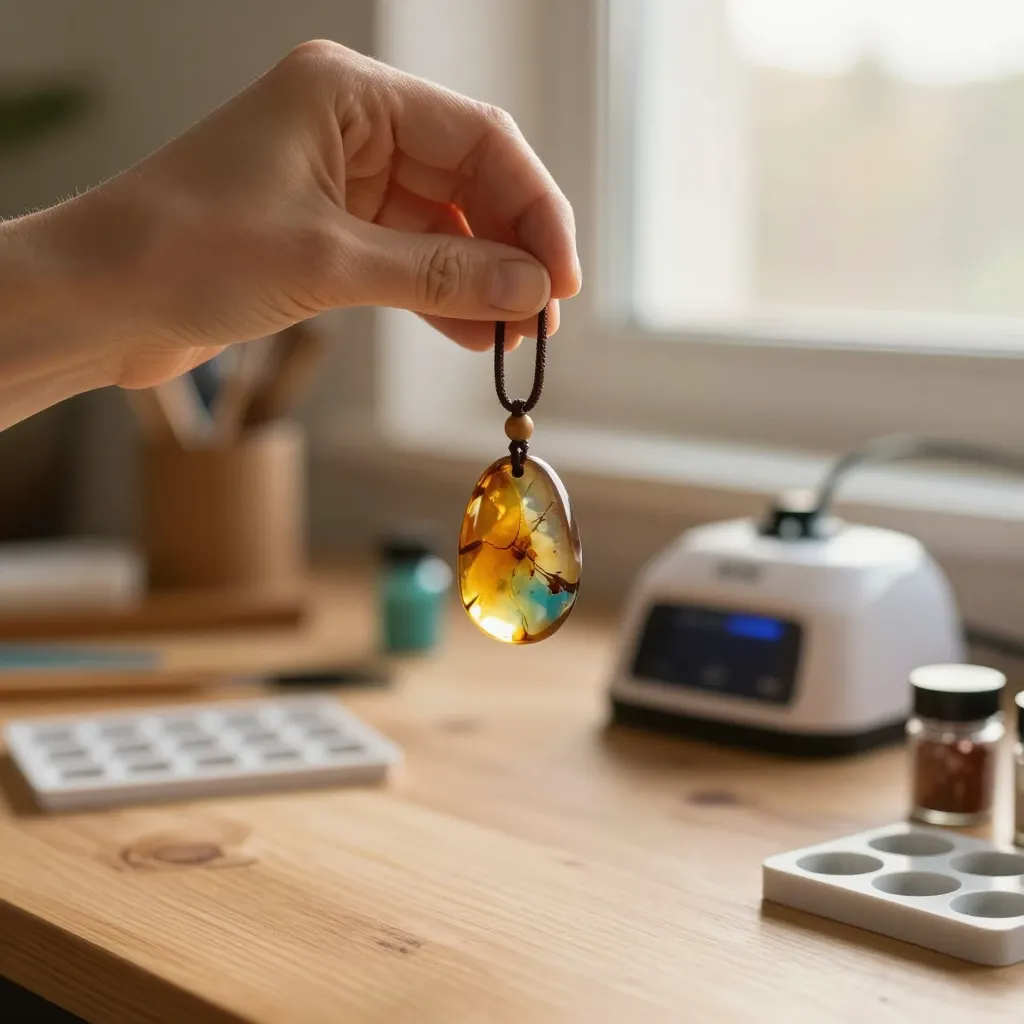
A single afternoon and a $20 mold set is genuinely all it takes to have your first finished pieces in hand. Go pour something small and wearable.
Enjoyed this guide? Join the Resin Affairs newsletter for new tutorials, safety tips, and project ideas straight to your inbox.